Difficulty: Depends on your fitness level and whether you’re self-propelled or e-propelled (Class 1 only). It also depends on your sensitivity to, or acclimatization to, altitude, as you’ll be +/- 8k ft.
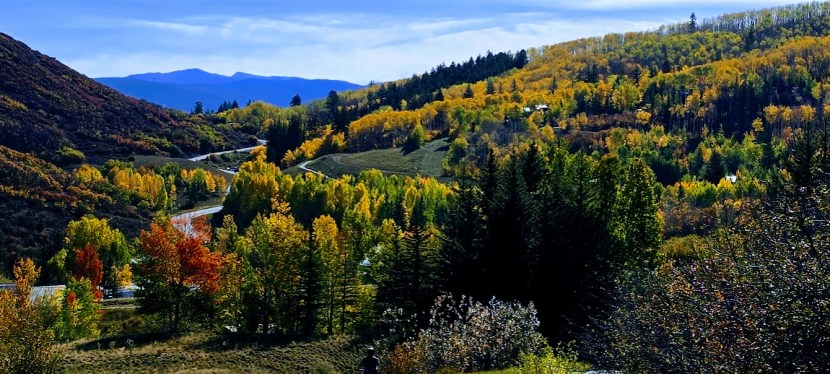
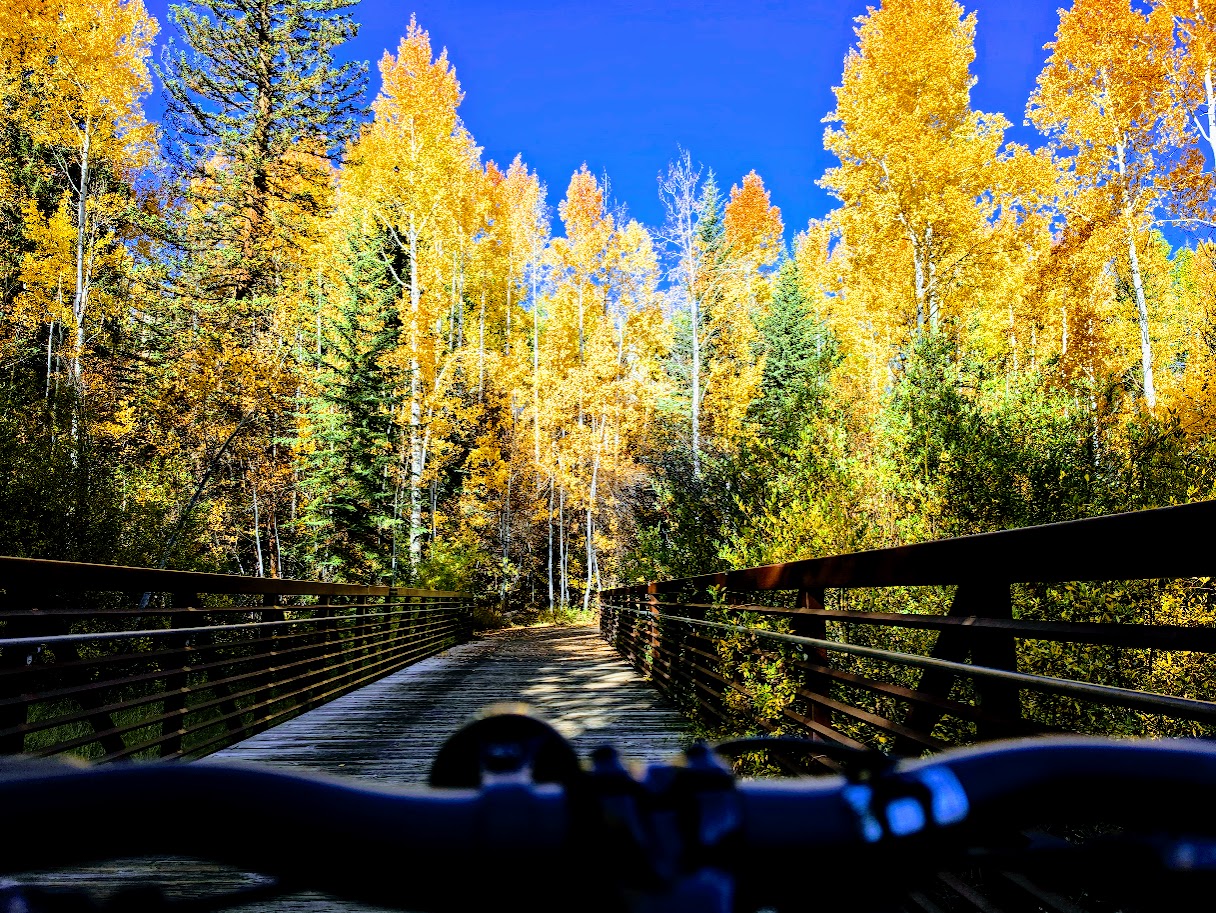
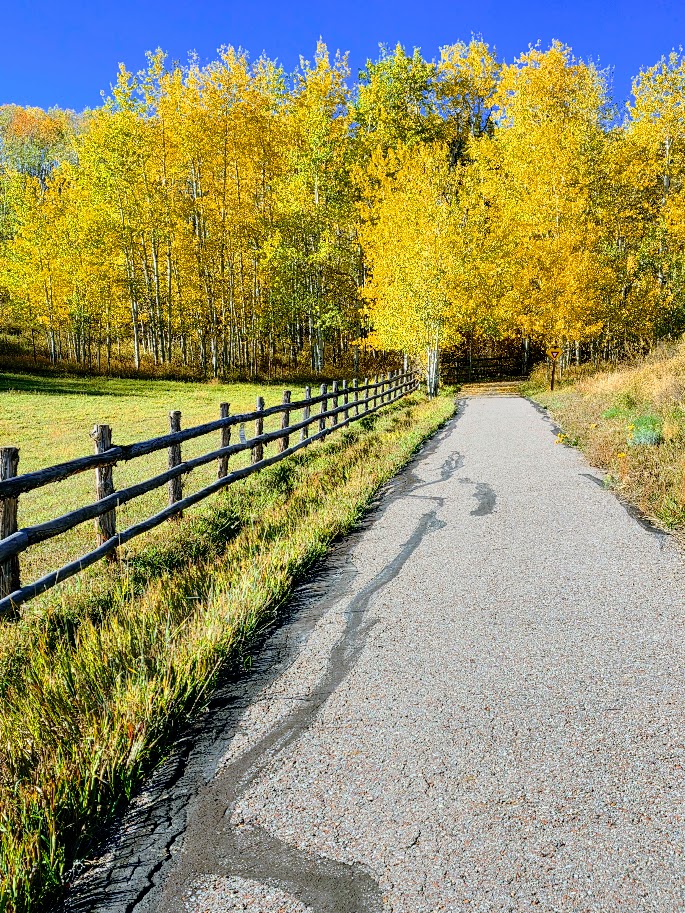
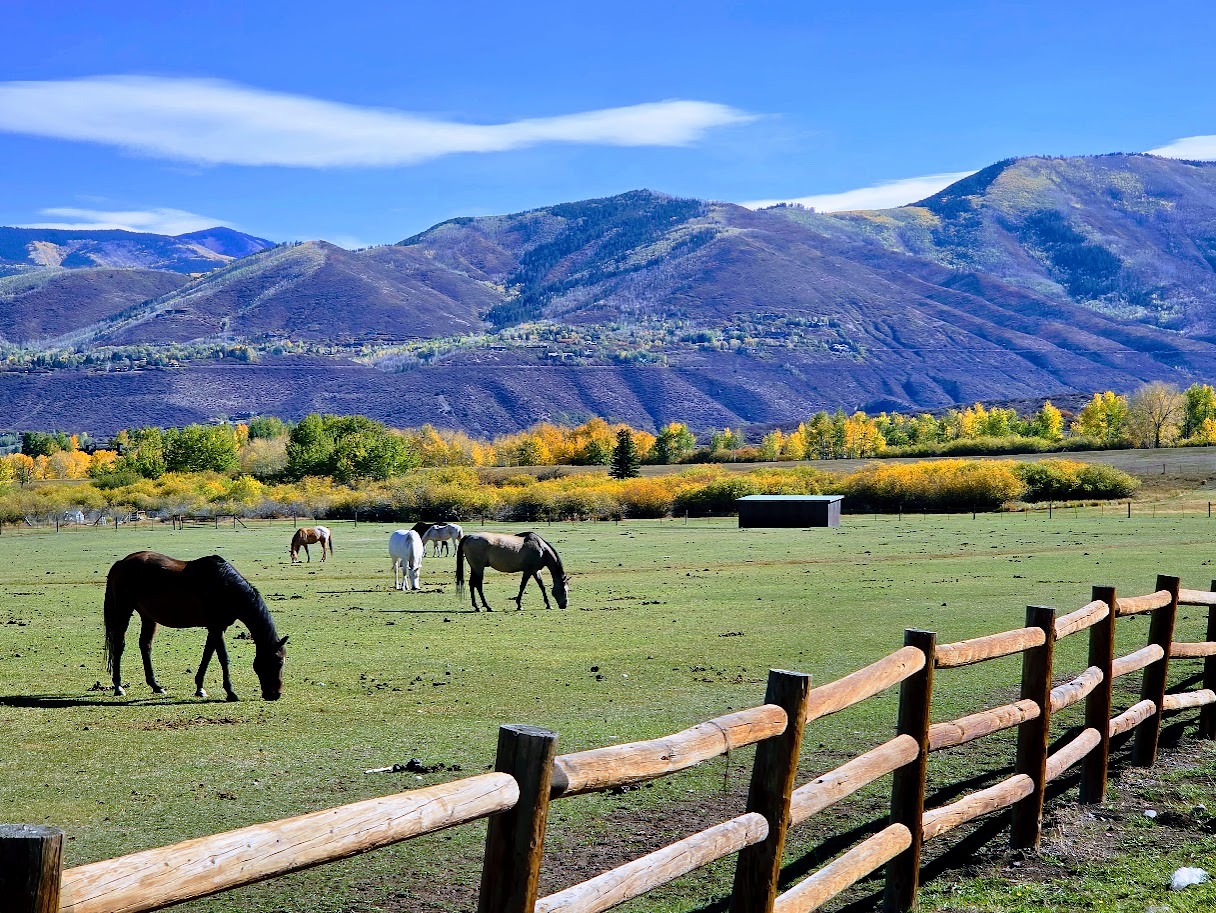
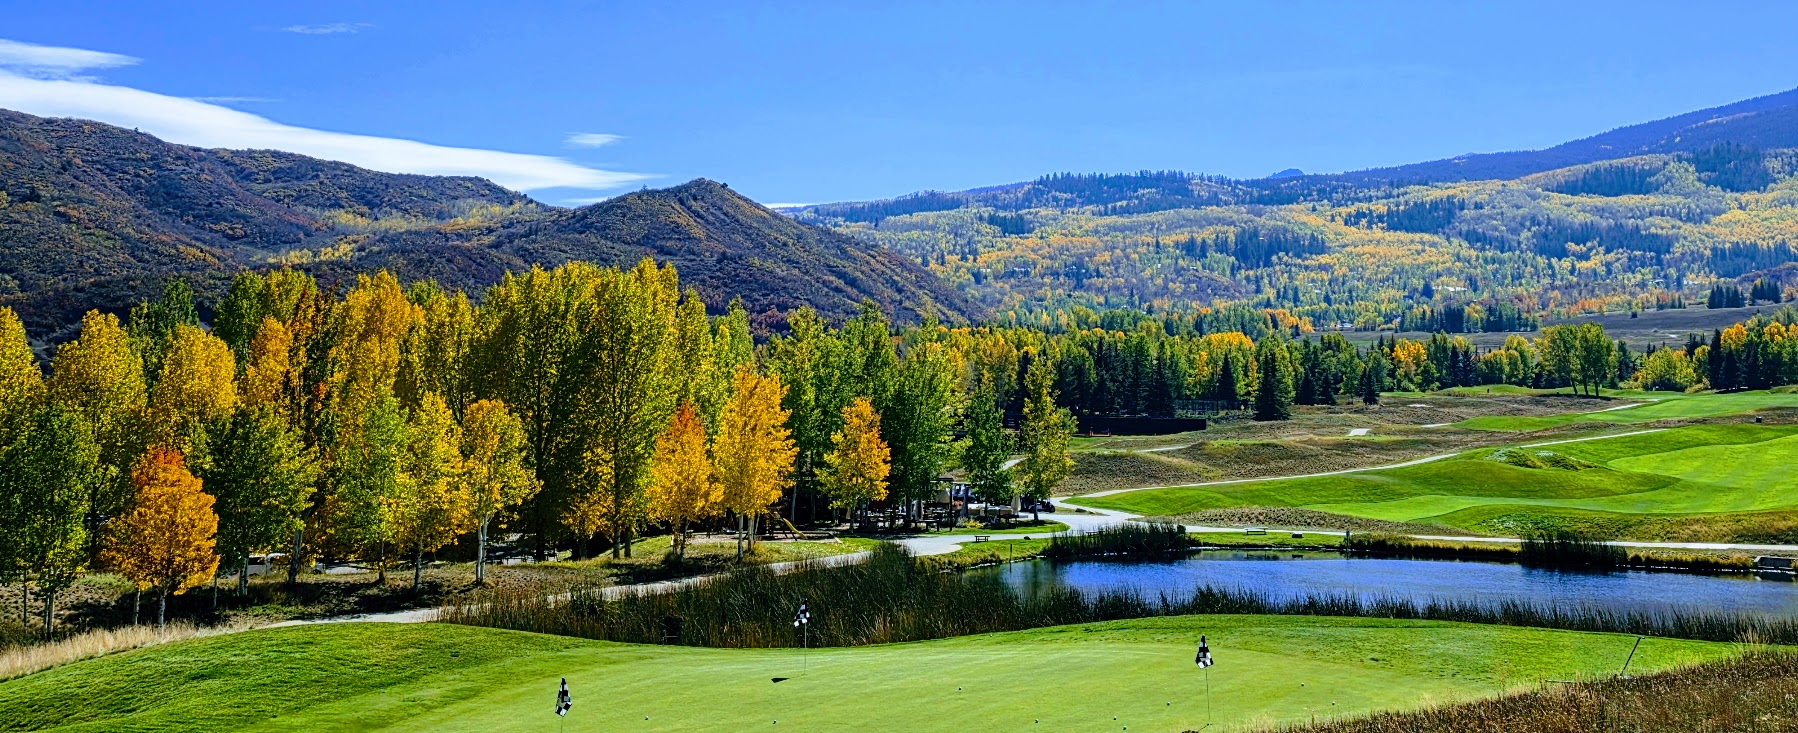
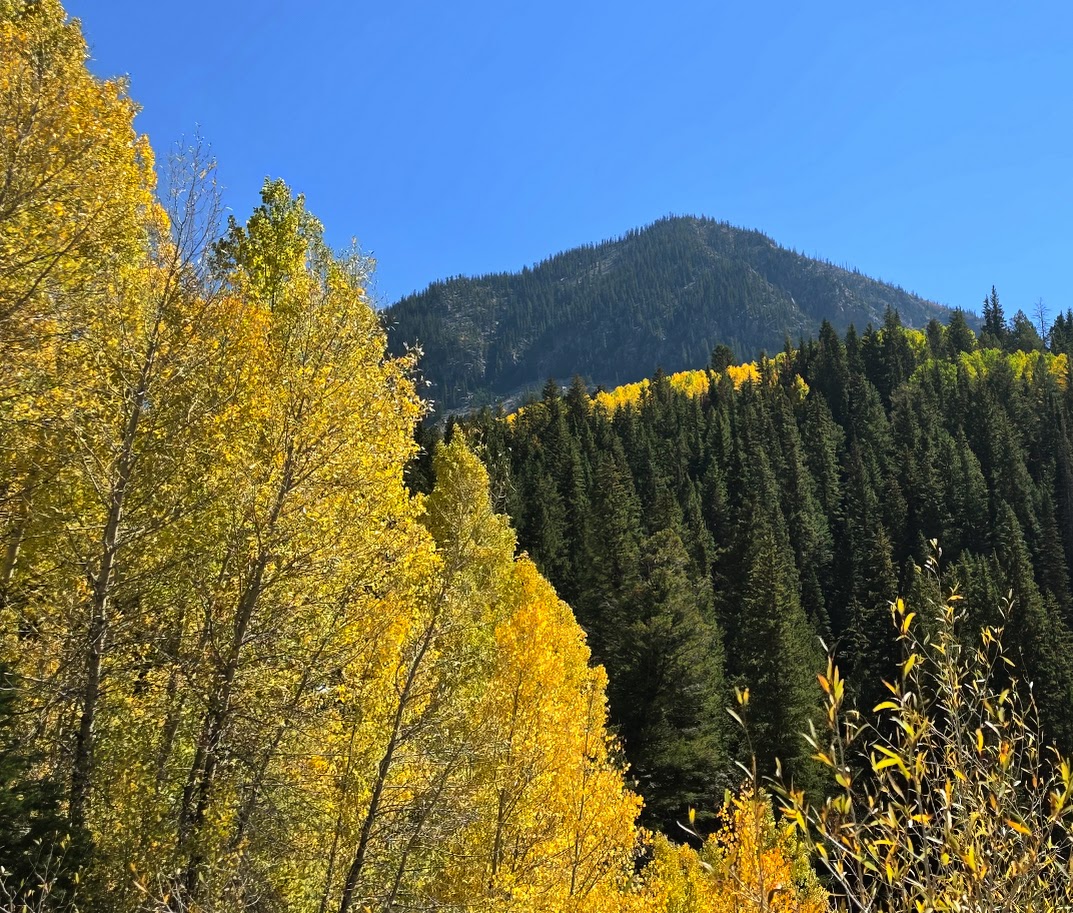
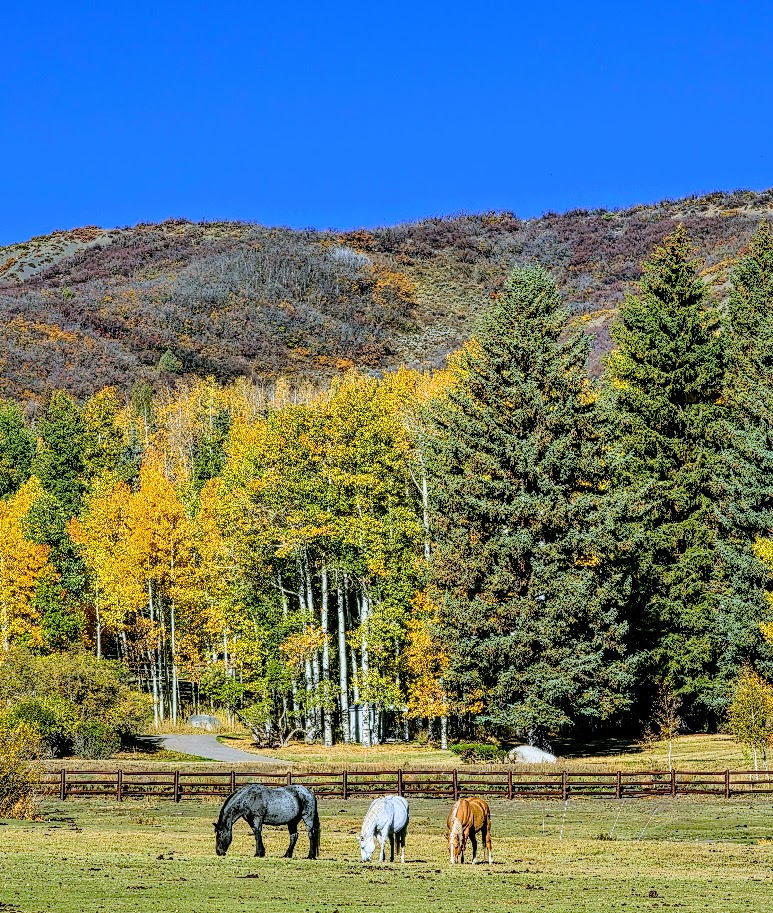
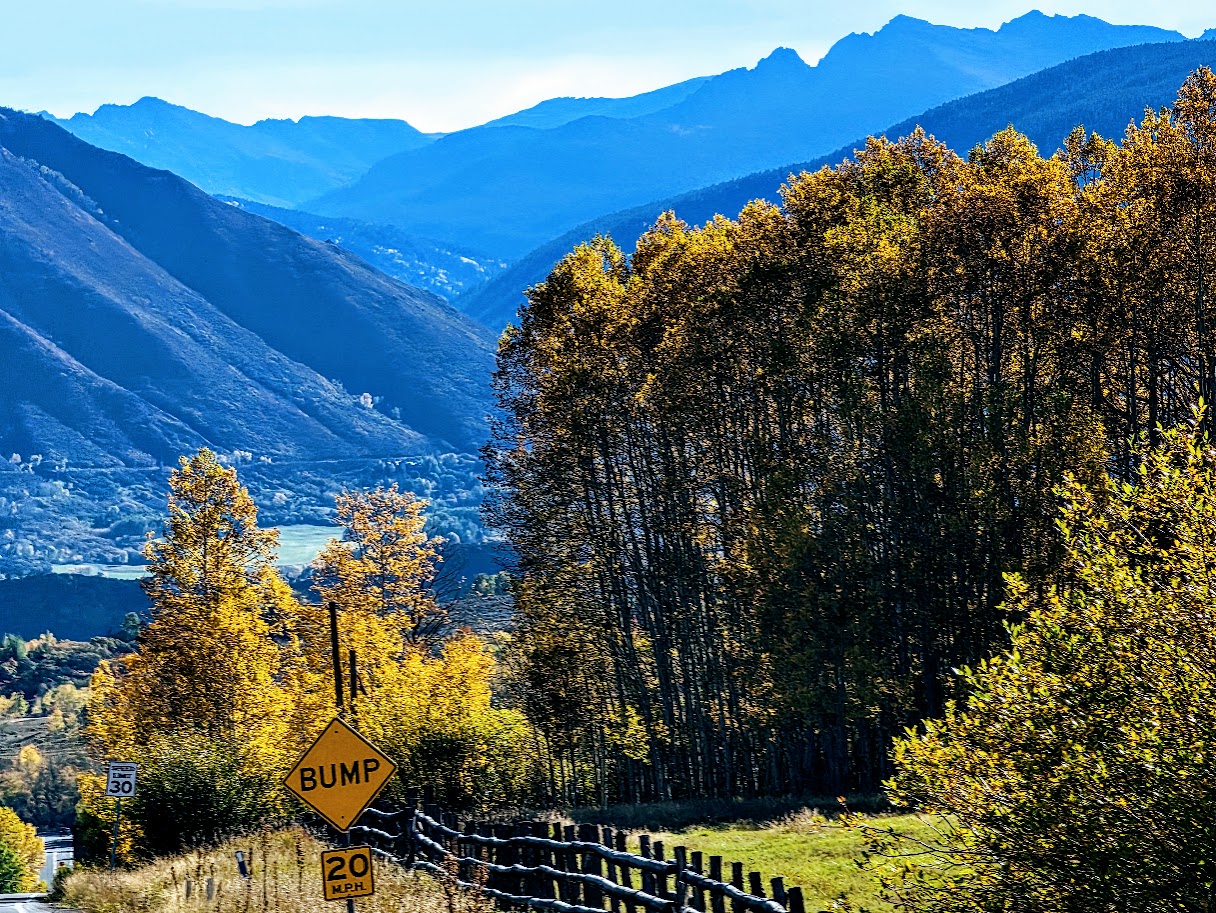
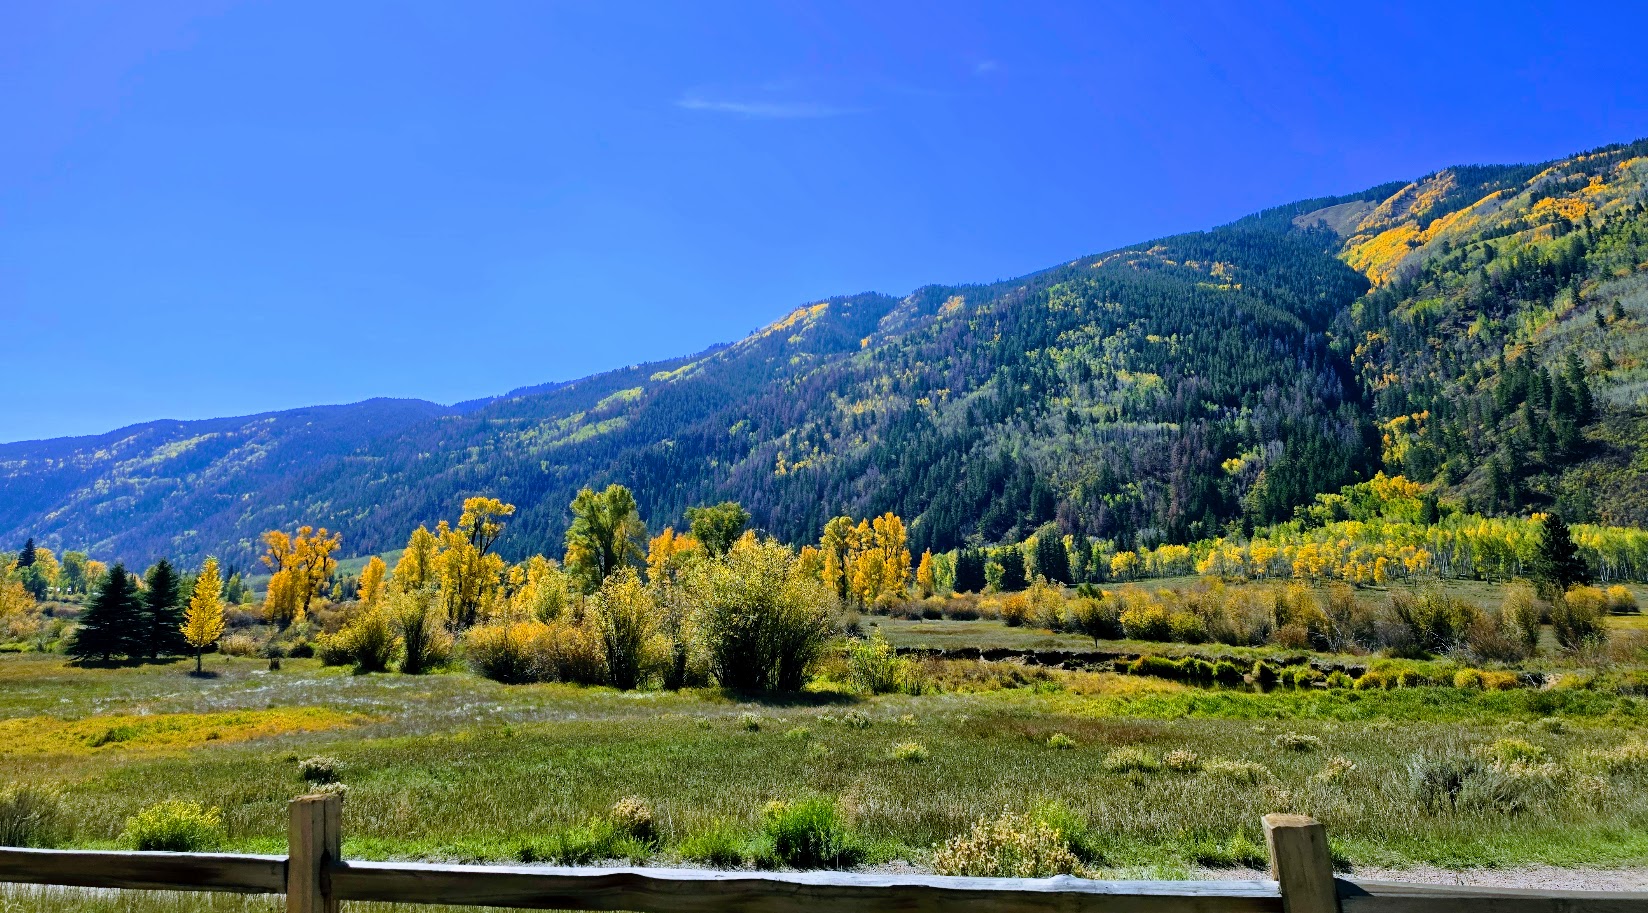
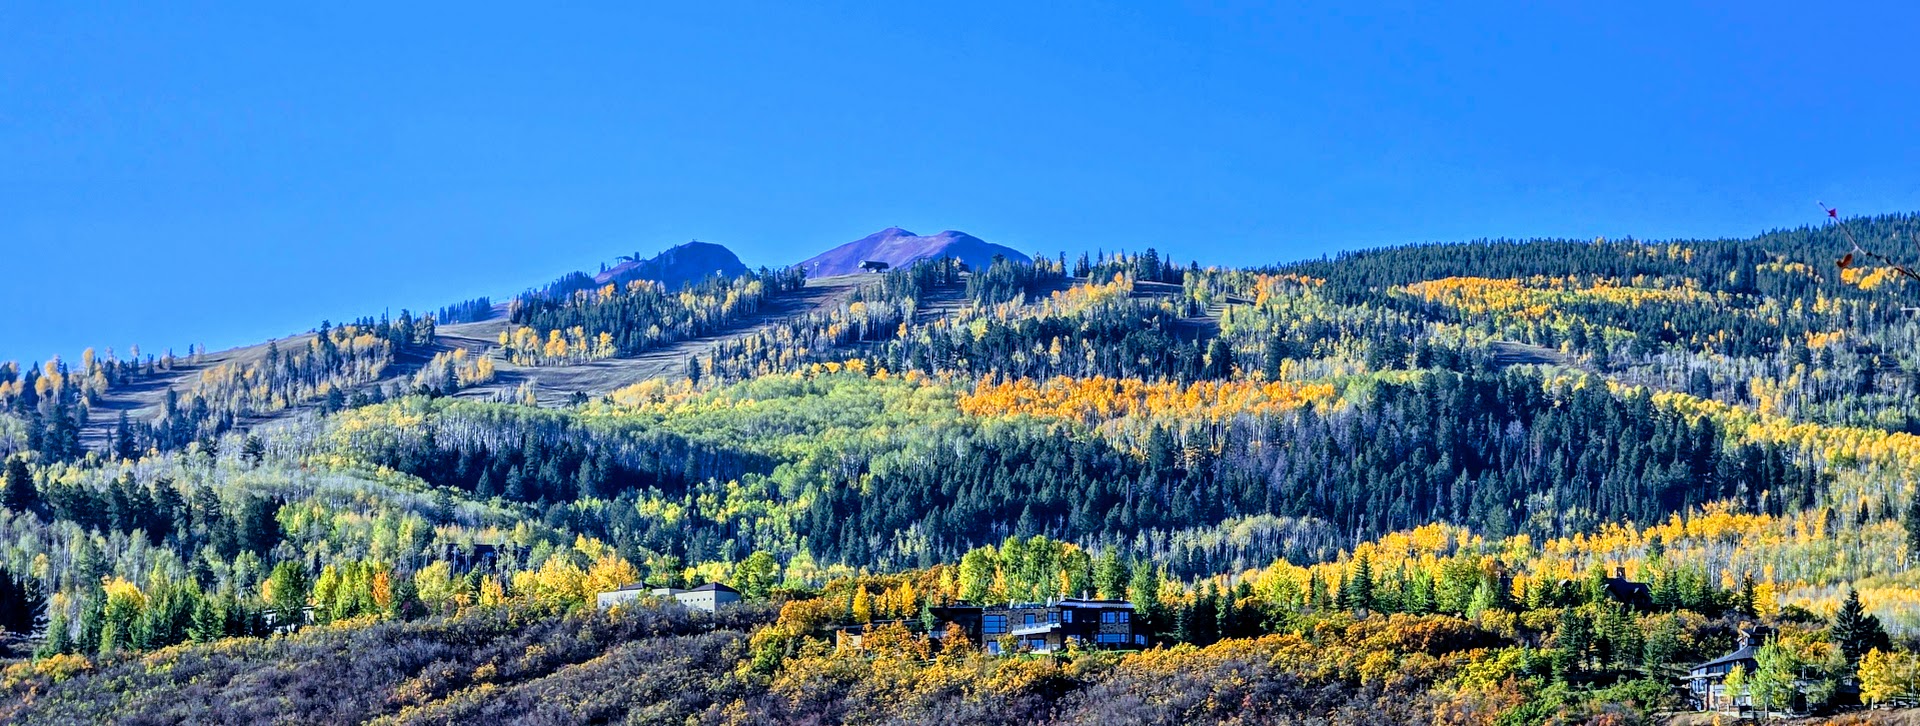
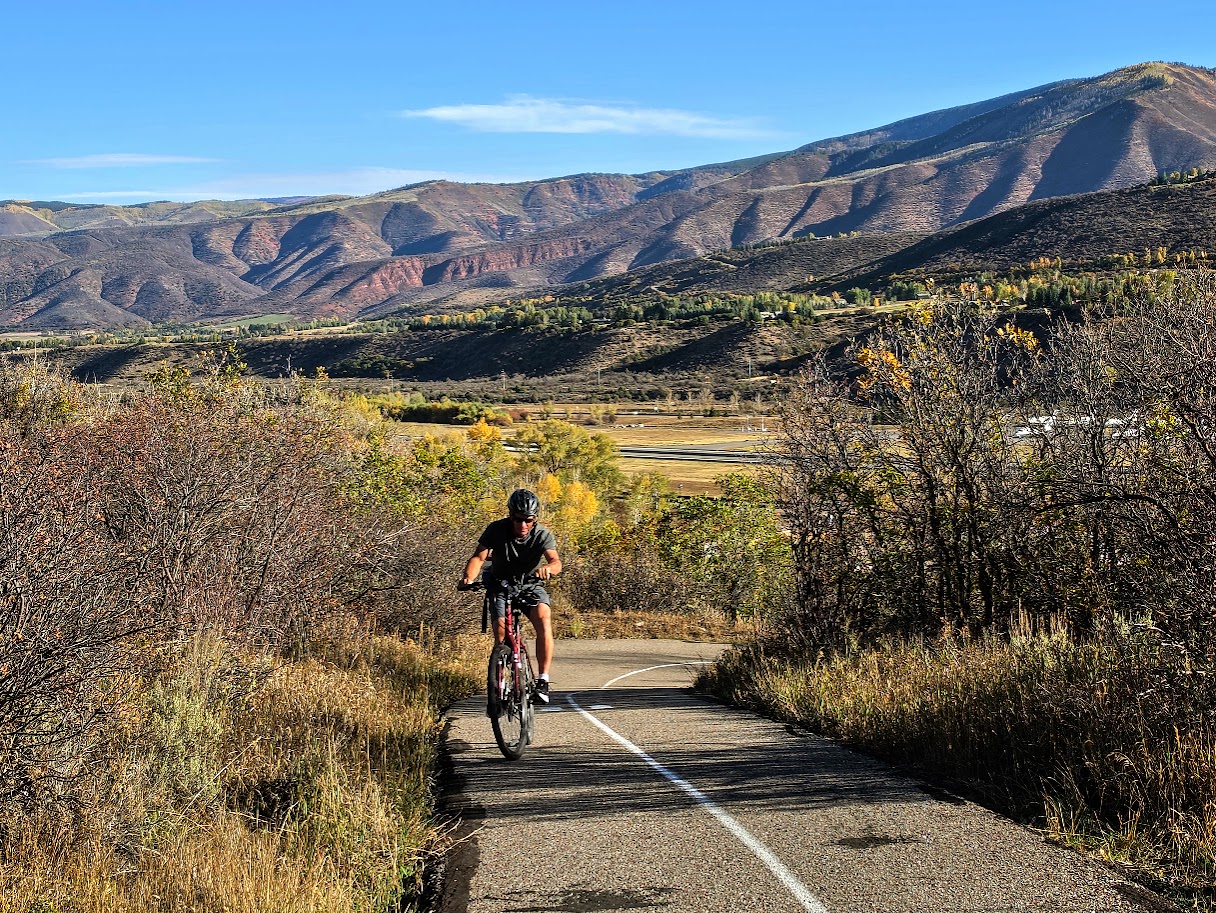
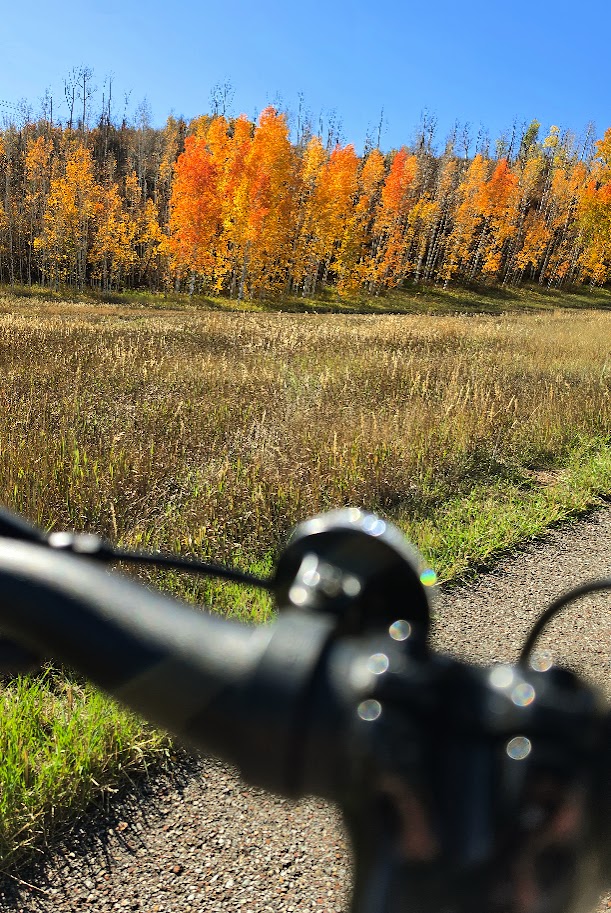
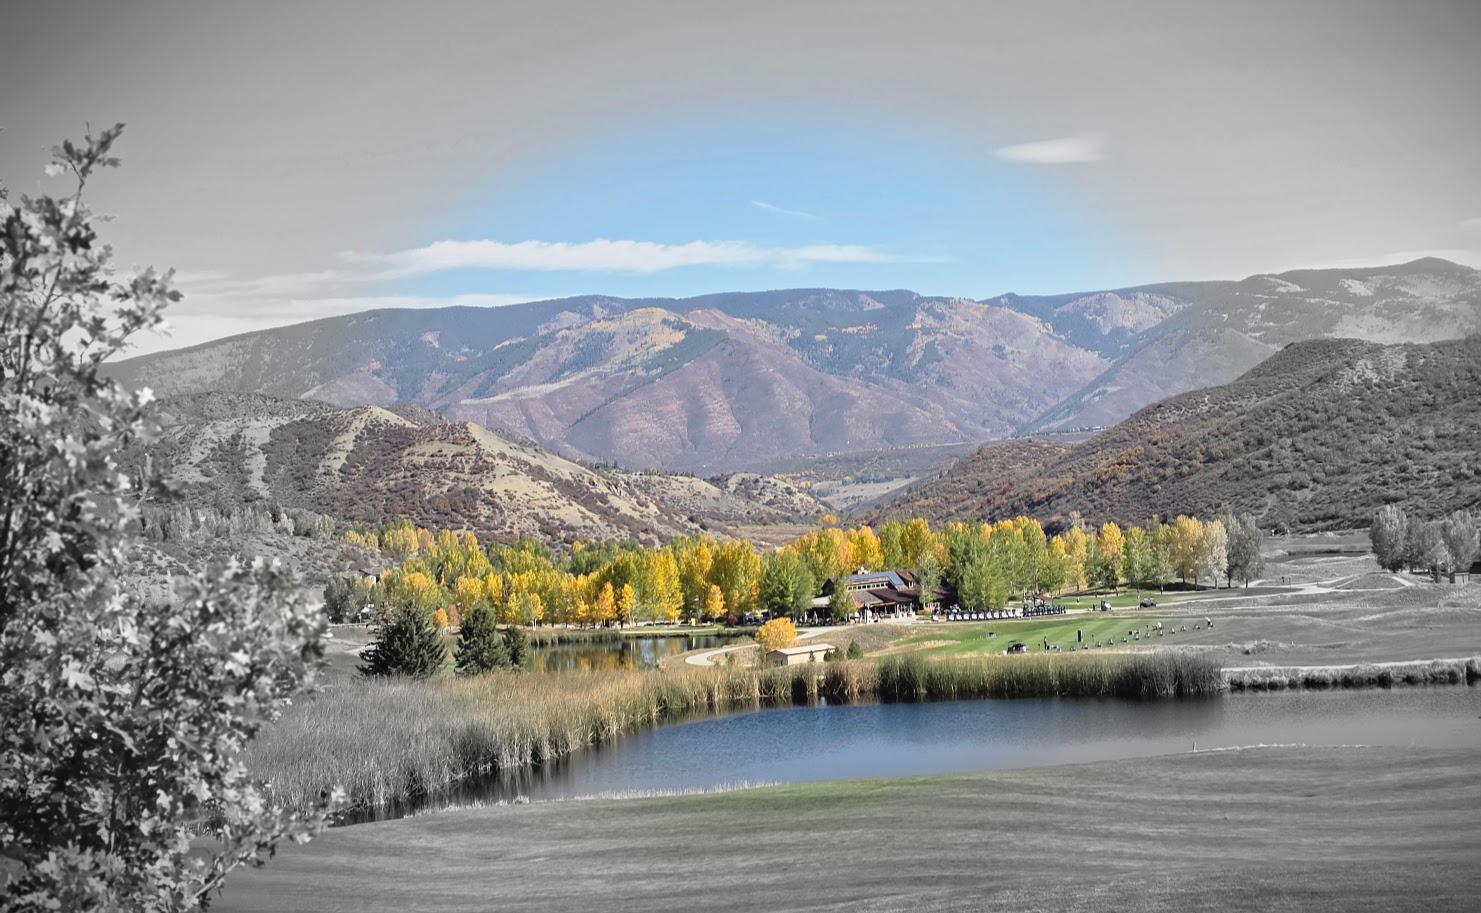
This lovely path starts near the airport and winds through scenic horse farms and aspen groves, crossing tree-covered bridges. If you are in Aspen in the Fall, you must make time for this quintessential Autumn experience—on foot or wheels.
I let the beauty be my guide and explored some offshoot roads along the way. Disclaimer: if you “chose your own adventure,” as I did, you’ll likely encounter more elevation gain. My total gain was ~1,600 ft.
Bike rentals are available in Aspen and Snowmass. My favorite place to stay is the Inn at Aspen, which is at the Buttermilk start of the bike path. The Inn has a limited supply of standard bike rentals and also arranges e-bike delivery through a vendor. It also has a pool and jacuzzi, a BBQ restaurant, great entertainment, and free shuttle rides into town too. (Top pick post to come.)
Another popular paved path is the Rio Grande Trail, a 42-mile trail between Aspen and Glenwood Springs. I wanted to sample this one too, but unfortunately, I ran out of time.
Aspen and the surrounding Roaring Fork Valley are designated by the International Mountain Bicycling Association as a Gold-Level Ride Center and an overall biking Mecca for their world-class paved paths, road cycling, and rugged singletrack. Whether you’re into mountain biking, road biking, gravel biking, fat biking, trail running, or hiking (of course), Aspen has it all. I can’t wait to return with my road and gravel bikes.
Elevation Gain: 2,798 ft (Elevation at the peak is 7,876 ft.)
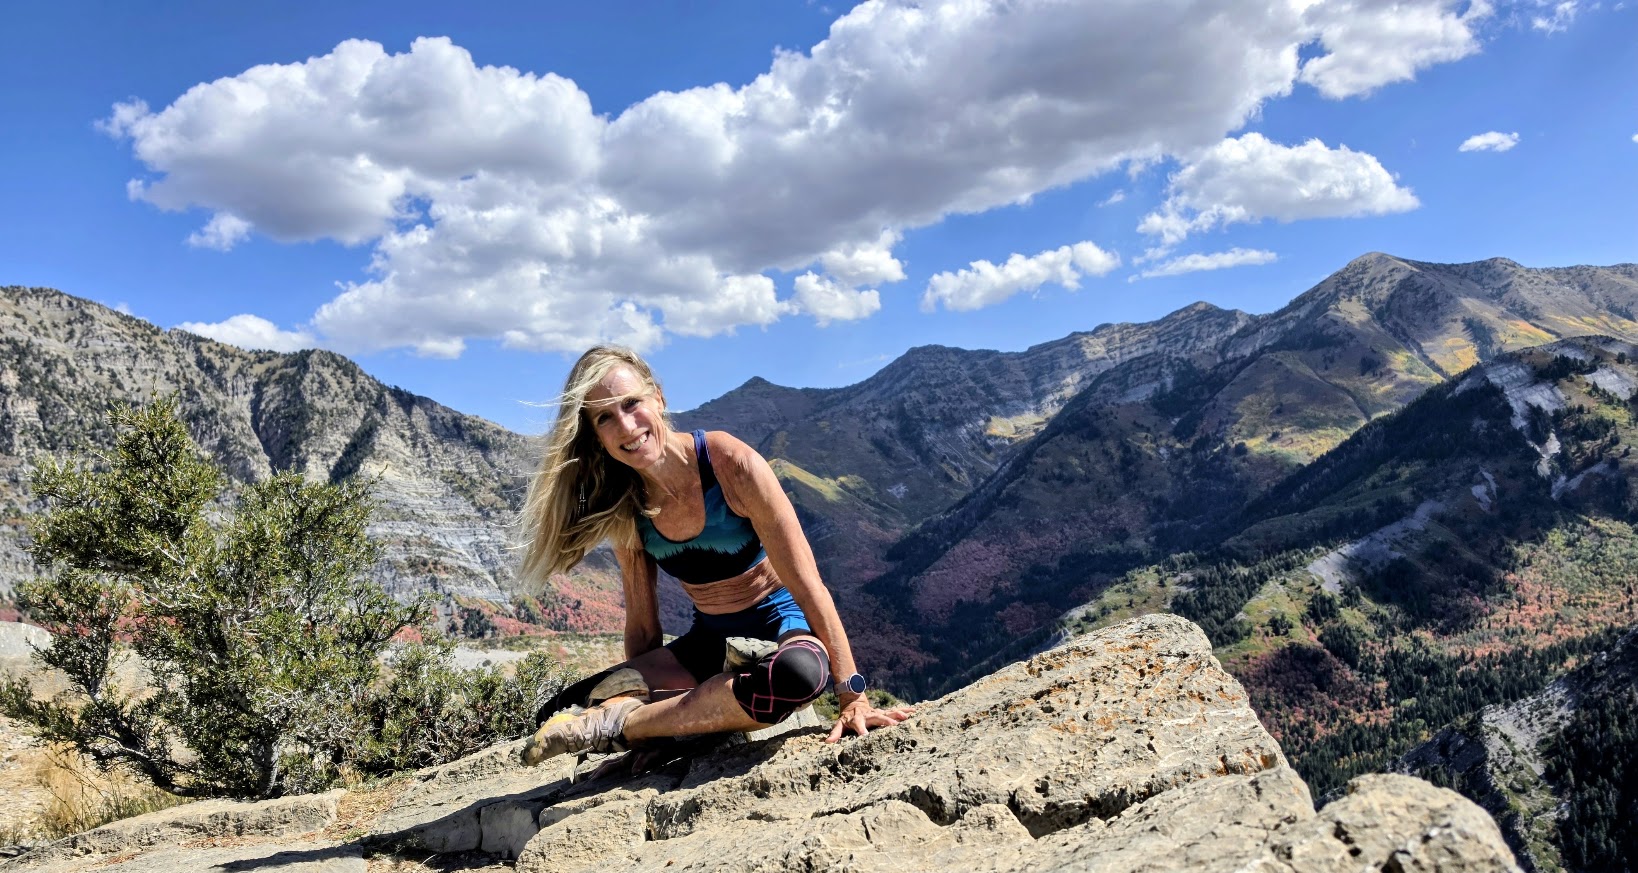
Difficulty: Moderate to hard, depending on your fitness level (AllTrails rates it hard and states that it takes 5-6 hours to complete. I finished in under 3 hours with plenty of photo ops / yoga pose shenanigans.)
Kyhv Peak was my recovery day hike after Mt. Nebo (post to come). Kyhv is the Ute word for mountain and is pronounced “kive” (like dive with a k).
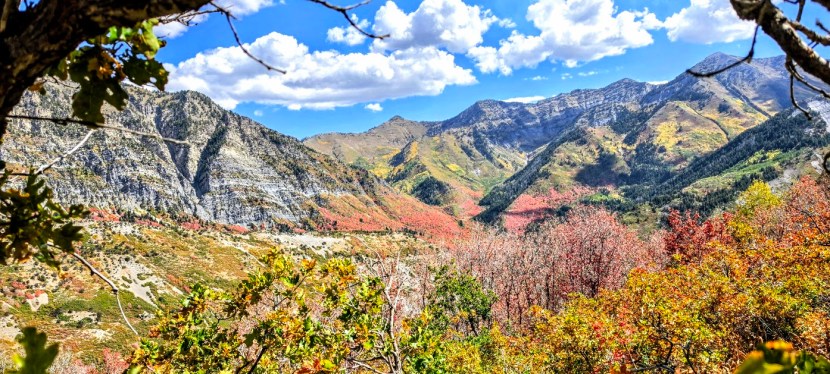
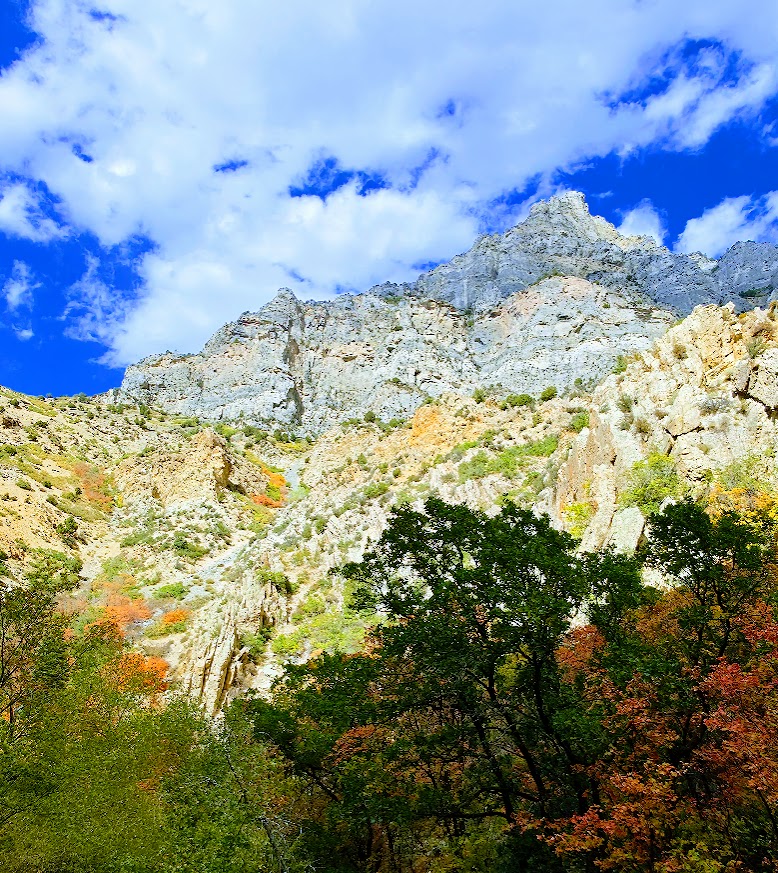
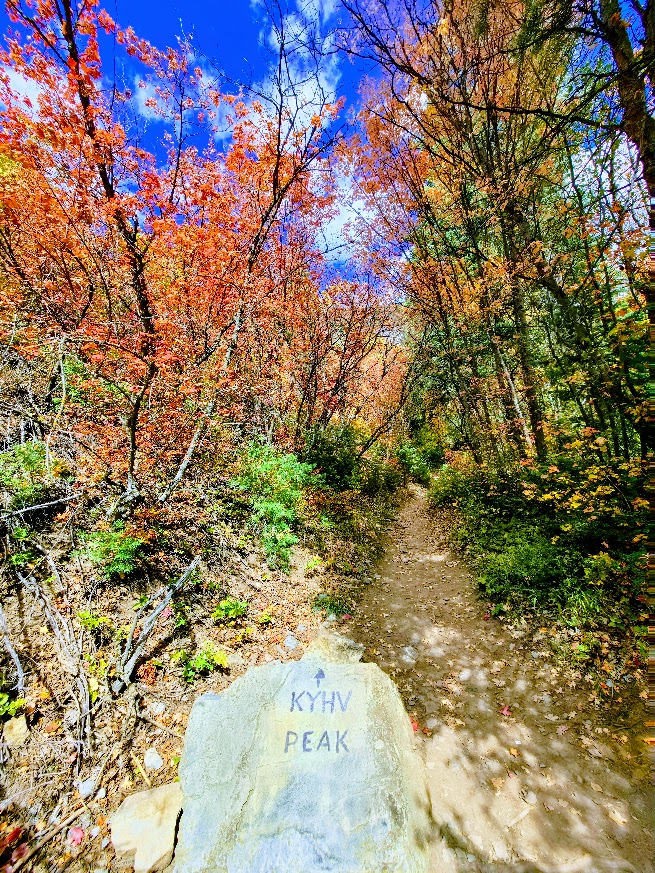
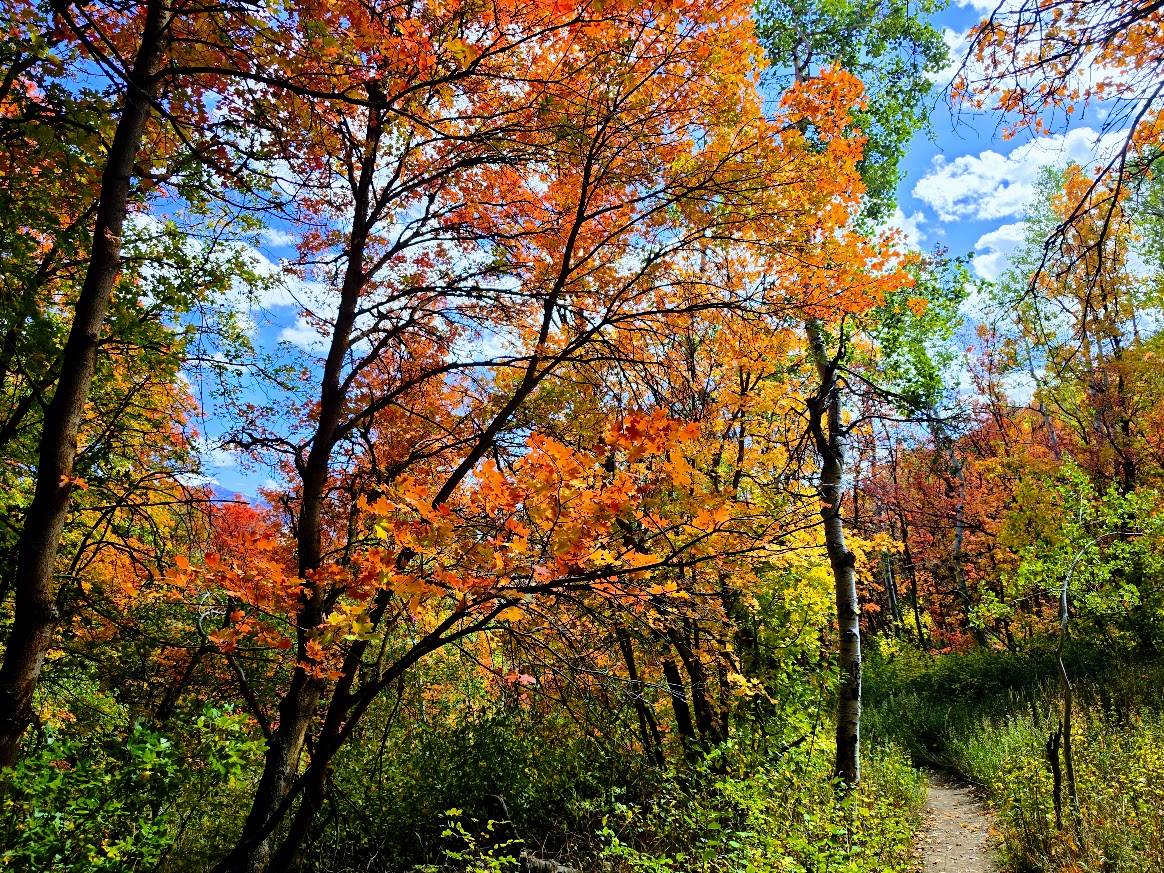
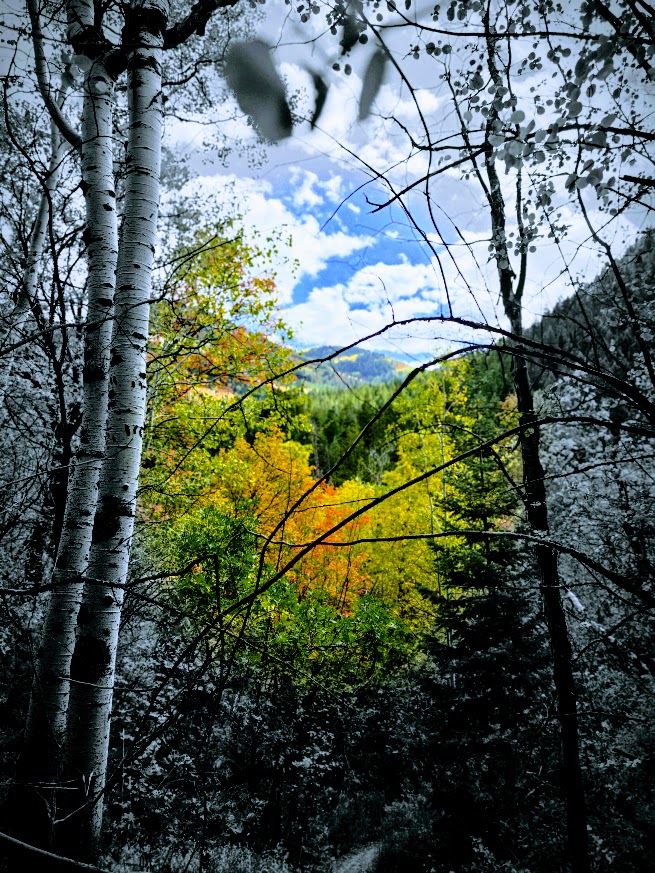
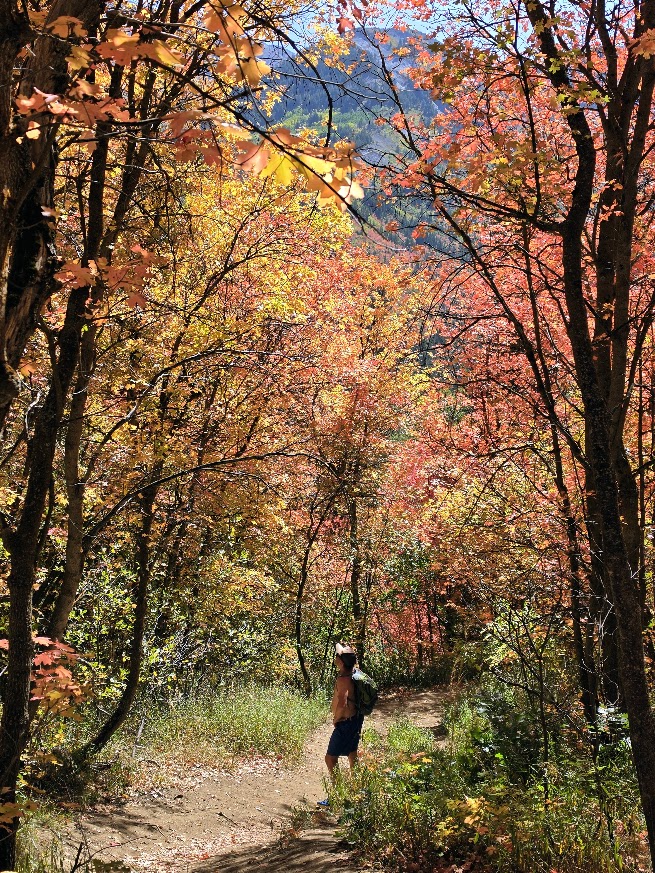
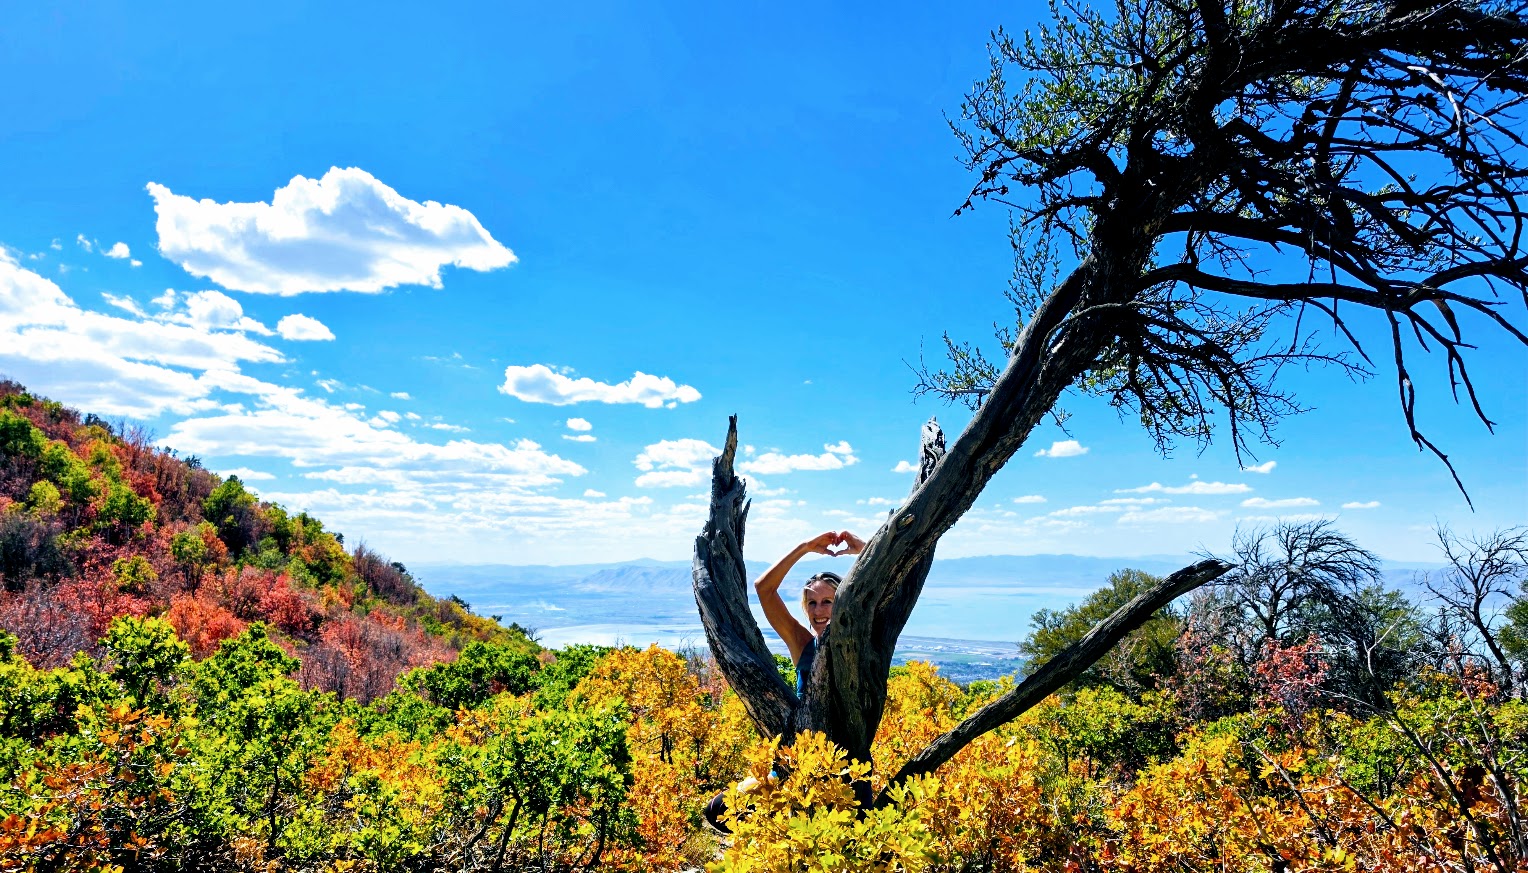
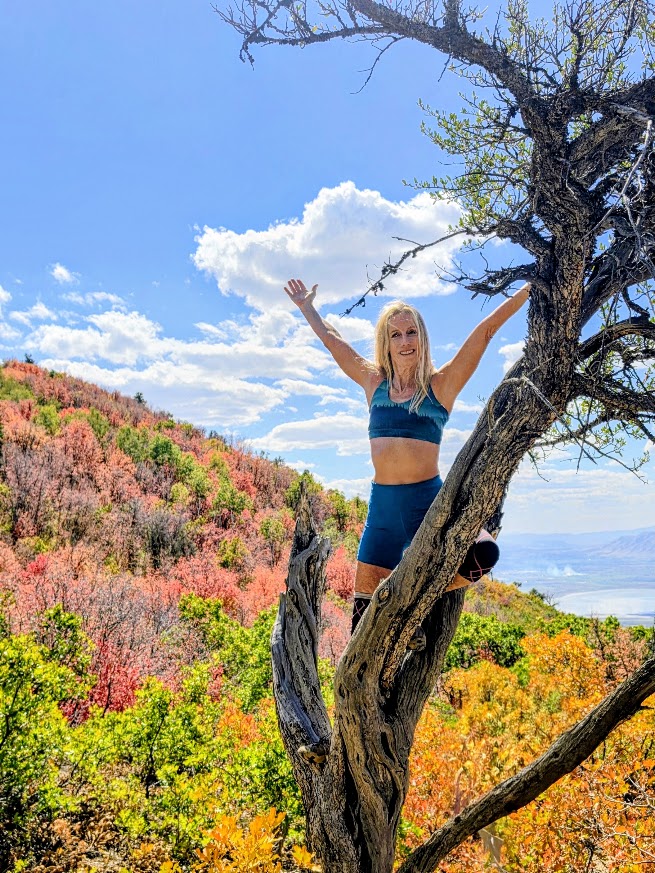
What a delightful Fall hike! I was so happy to catch peak colors. The first 1.5+miles are on a gravel road. You’ll cross 5 wooden bridges on the way.
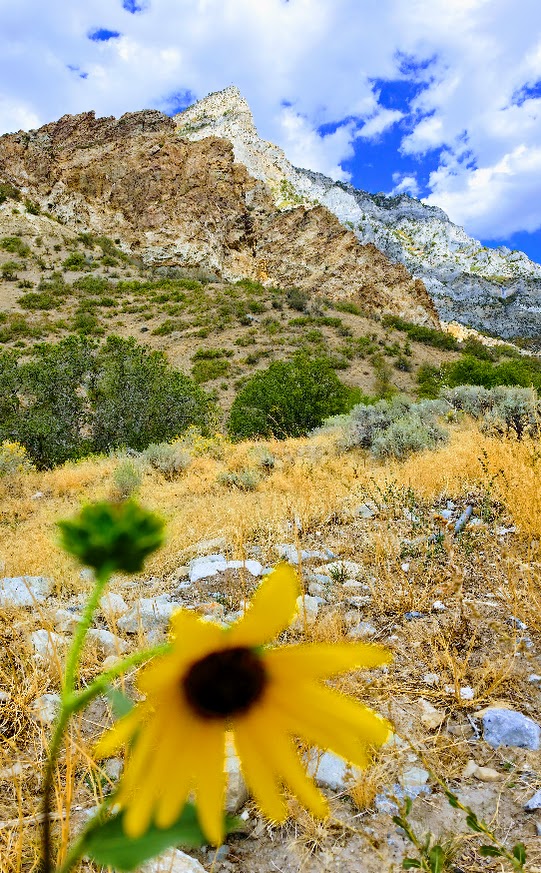
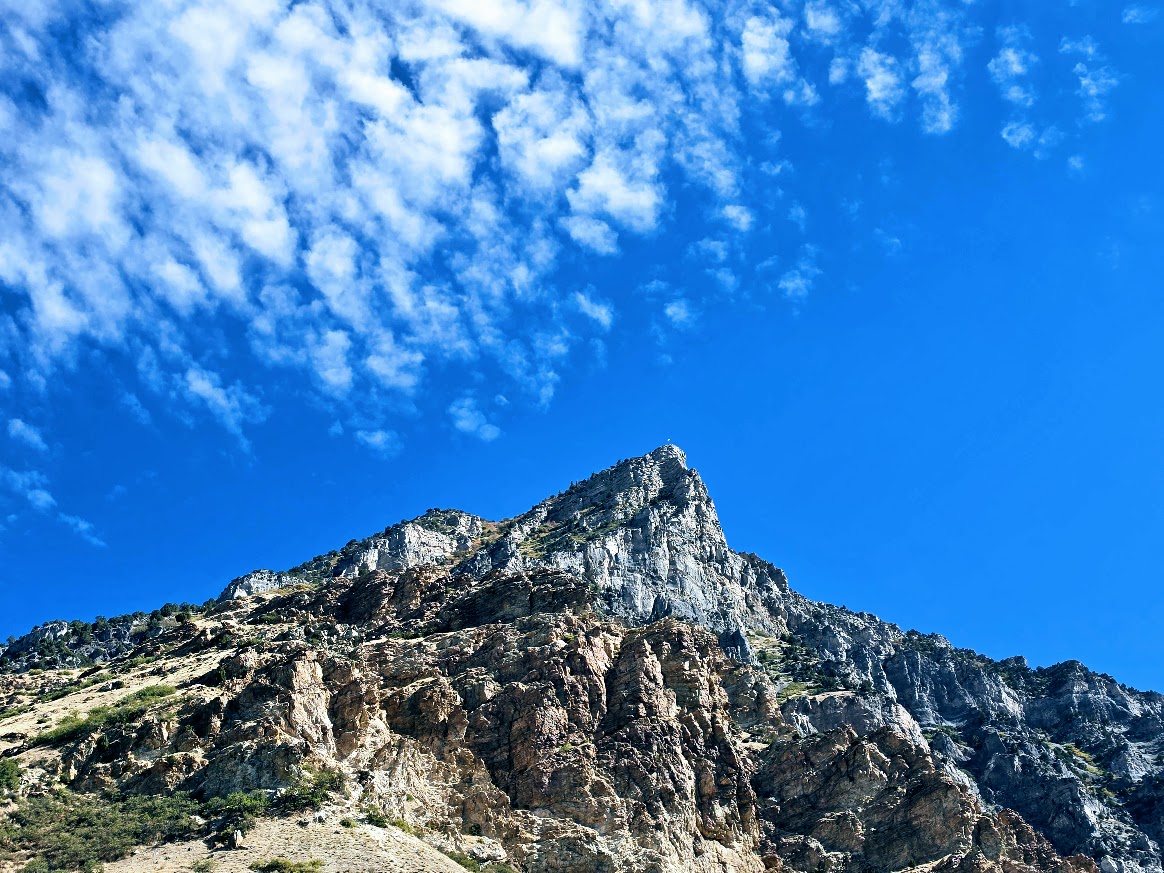
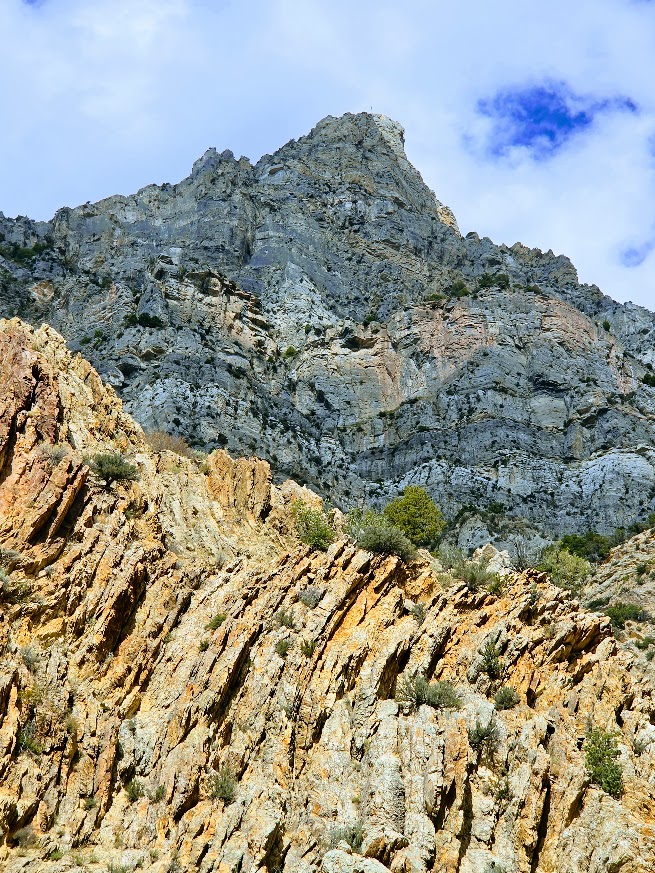
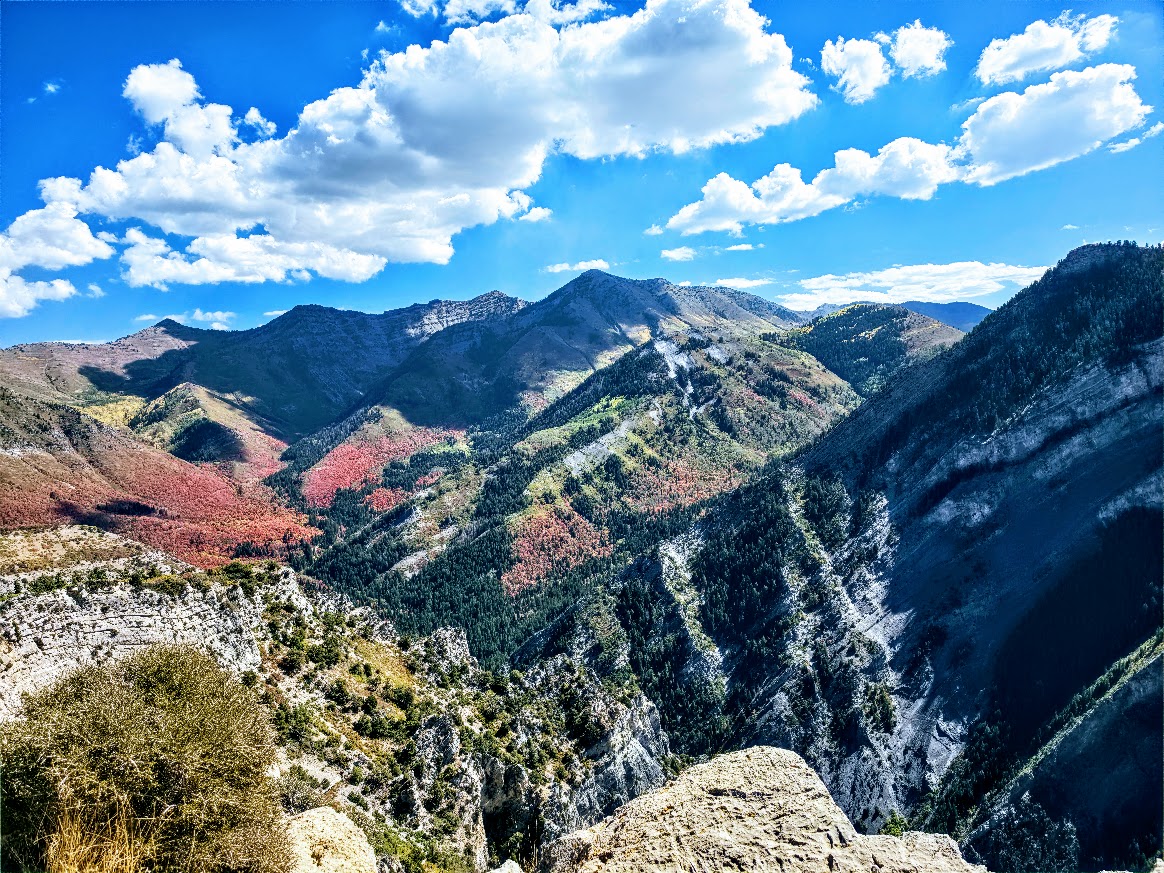
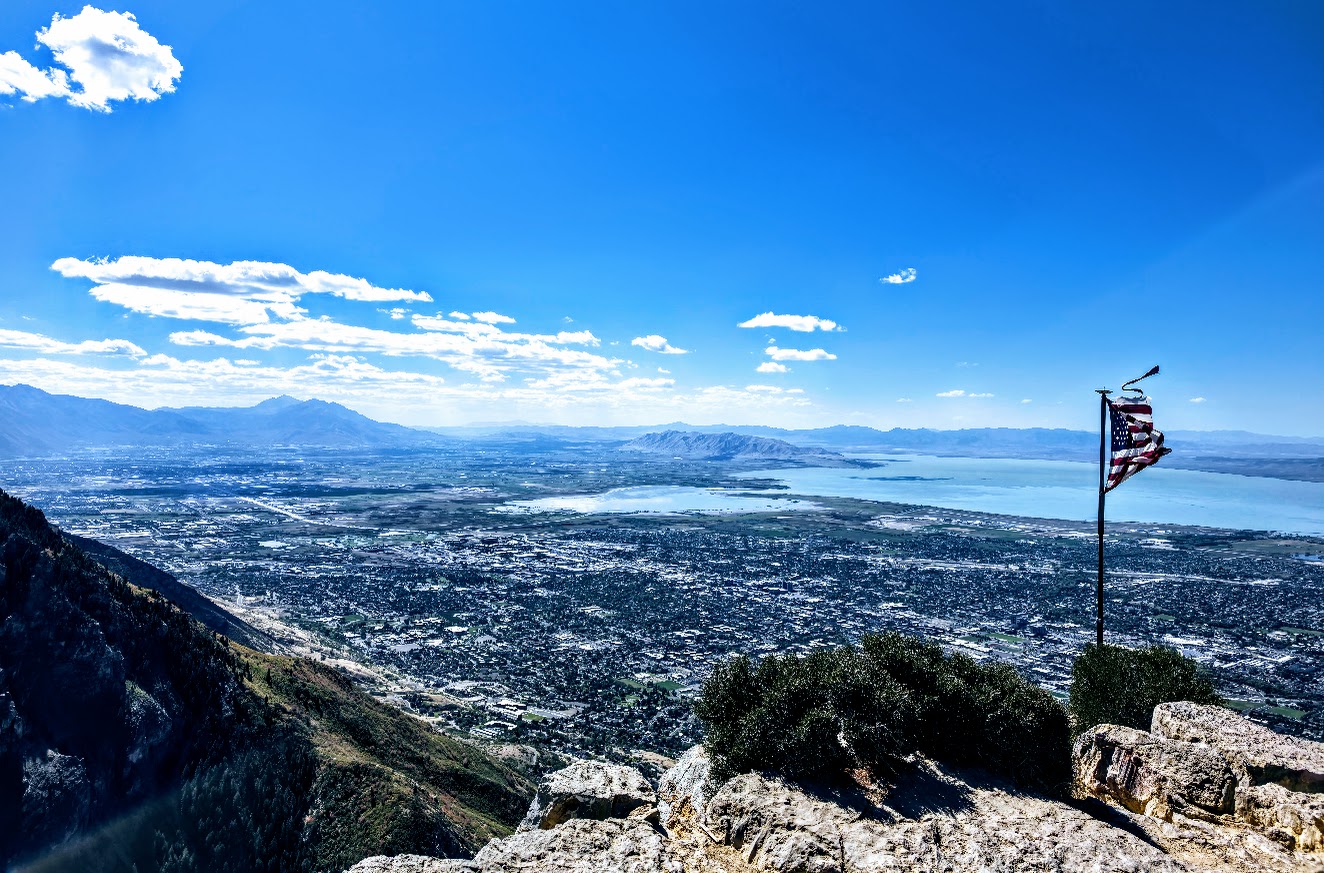
Seeing the peak looming in the distance can be a bit daunting, but the trail itself isn’t intimidating at all. If you look closely at the pictures below, you may be able to see the flag on the peak.
Take a left at the marked boulder and enjoy mostly smooth, shaded, charming single track (consistent incline that “pops” in a couple places, never for too long) as you climb up through the forest. If you’re up for it, the terrain is trail runnable.
Enjoy the journey, it’s beautiful all the way up!
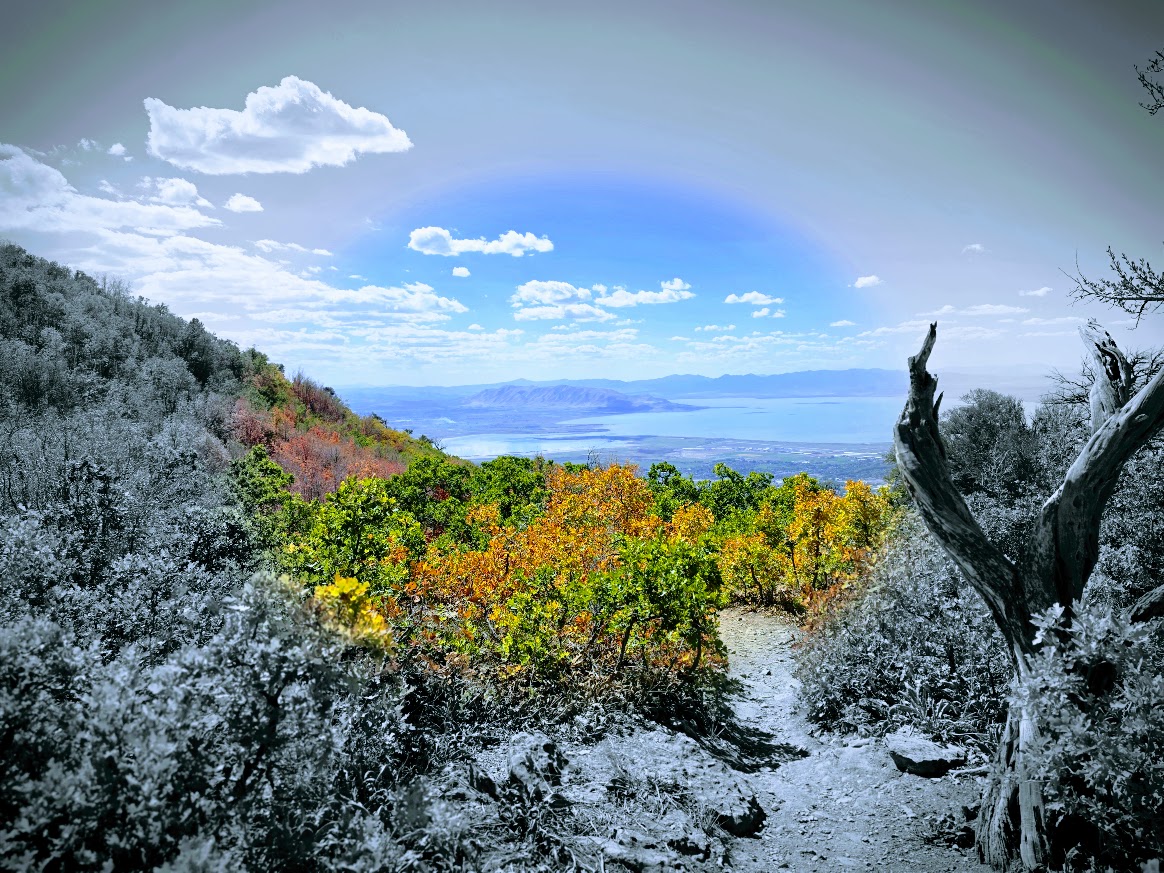
The peak rewards with panoramic views of Utah Valley, Utah Lake, and Mount Timpanogos.
Getting There: I-15, exit 269, left onto 900 East, right on Temple View Drive, right on E 2300 North to the Rock Canyon Trailhead parking lot.
Note: For a shorter, less intense hike (1–4 miles, ~285–1,377 ft elevation gain), take Provo Canyon (US-189), turn onto Kyhv Peak Road and continue past the paved overlook onto the rough dirt road. High-clearance vehicle recommended. To see the views without a hike, enjoy the paved overlook.
Happy Trails! This was definitely my Autumn BLISS!
The Wildflower Trail, The Easy Way: Via the Snowbird Ski Resort Tram: 1 mile rt + ~400ft elevation gain – Begin at Hidden Peak, wind down switchbacks through Mineral Basin and through the Peruvian Tunnel.
The Hard Way From the Bottom of the Tram: + 7.5 miles + ~3k ft elevation gain (Take the tram down or double your mileage)
Continue to Cecret Lake Saddle Overlook: add ~ 2 miles with a total of 4,524 elevation gain (Take the tram down or double your mileage.)
If you know me by now, you won’t be surprised that I took “the hard way” up (alternating between the fire road and the multiuse Big Mountain Trail (keep your eyes and ears open for downhill mountain bikers) to the Wildflower Trail and beyond to Cecret Lake via Gorilla Pass and Mount Baldy. This time, it wasn’t entirely intentional. I was ready to hike before 8AM, but the tram wasn’t scheduled to tram until 11AM. (Surprising Summer hours, given that hikers usually want to get an early start to avoid afternoon storms.) The solution was obvious—beat the tram up the mountain, and so we did.
The sublime, surreal reward of the Wildflower Trail left me both breathless and speechless. Hopefully, you can see why.
It’s not surprising that this trail is often featured in the annual Wasatch Wildflower Festival a free, annual multi-day summer event hosted by the Cottonwood Canyons Foundation which spans the four Cottonwood Canyons ski resorts (Brighton, Solitude, Snowbird, and Alta) that are just 45 minutes from Salt Lake City. I’ve experienced the California super blooms, which are incredible, but this had a totally different, ethereal feel. Perhaps it’s because there were no traffic jams en route, nor cars piled up by the side of the road, and it wasn’t overrun by too many humans, particularly influencers crushing the wildflowers underfoot and underbody for their shots and the kids and adults picking them. (In fact, I hiked the Wildflower Trail twice around sunset and we had it all to ourselves!) So happy for the spontaneous rendezvous with my dear high school friend Kathy, whom I haven’t seen in forever! What a treat to share the trail with her. She knew all the wildflower names! In the bottom right picture, she is pointing to the coneflowers. The cone is made up of hundreds of tiny disc flowers that turn into seed heads, which provide winter food for goldfinches and songbirds.
Note: The Wildflower Trail hike and the top of the tram (Hidden Peak) are at 11k feet, as is the ridgeline you traverse if you continue on to Mount Badly and beyond to Cecret Lake Saddle or down to the lake itself.
The descent to the connector trail to Cecret Lake is rugged and scarmbly, with loose rocks and slippery scree (See pic below, top row, 3rd to right). It makes you wonder if you’re really on a trail. Not sure what happened there, but it’s a mess and in stark contrast to all the other well-groomed, runnable trails. Proceed with caution if you decide to add on.
Even though you’re at high altitude and it’s cooler than at the bottom, you’re still completely exposed to the intense, alpine sun and susceptible to heat- and altitude-related illness. So remember your sunglasses, hat, sun-cover shirt, and bring plenty of water. (If the restaurant is open, you can refill at the top.) Cautionary tale: My other hiking buddy didn’t bring enough water, didn’t refill at the top, and hiked shirtless, with his dark, tanned back absorbing UV radiation (which, I learned, increases by about 10% for every ~3,280 feet of elevation gain). In my friend’s defense, he thought we were going to take the tram up and hike a shorter hike, and we both forgot to refill our water at the top. Unfortunately, on the tram down, he felt sick from extreme dehydration and heat- and altitude-related illness that nearly sent him to the hospital. (The medic at Snowbird was awesome, as were the firemen.) Fortunately, he recovered fine, but it serves as a stark reminder to both of us that altitude, sun exposure, and dehydration are never to be taken lightly.
Lodging: I highly recommend treating yourself to a stay at the Snowbird Resort. Superb experience, incredibly helpful and accommodating staff, good food, fun times. Keep your eyes open for an upcoming “Top Pick Post” on Snowbird Resort.
Happy Trails!
PSA: Reminder, please don’t pick or walk on the wildflowers anywhere; it harms the delicate ecosystem, impacts pollinators, and means fewer flowers each year.
Challenge yourself to find creative photo op solutions. (I scouted the shot above with the wildflowers in the foreground by placing myself on the switchback of the trail ahead, so it appears that I am standing in an uninterrupted field of wildflowers.)
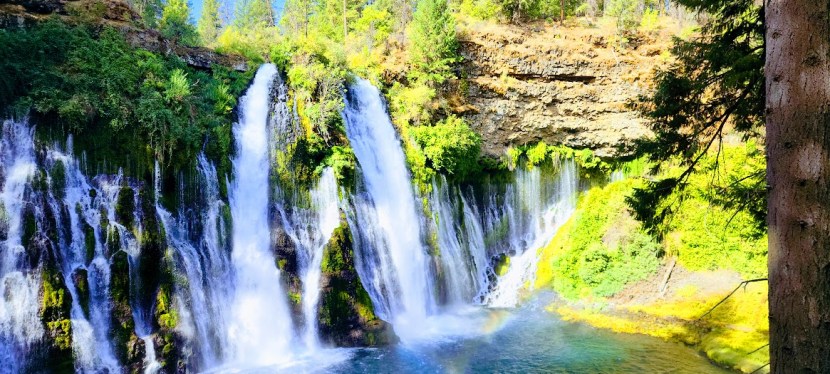
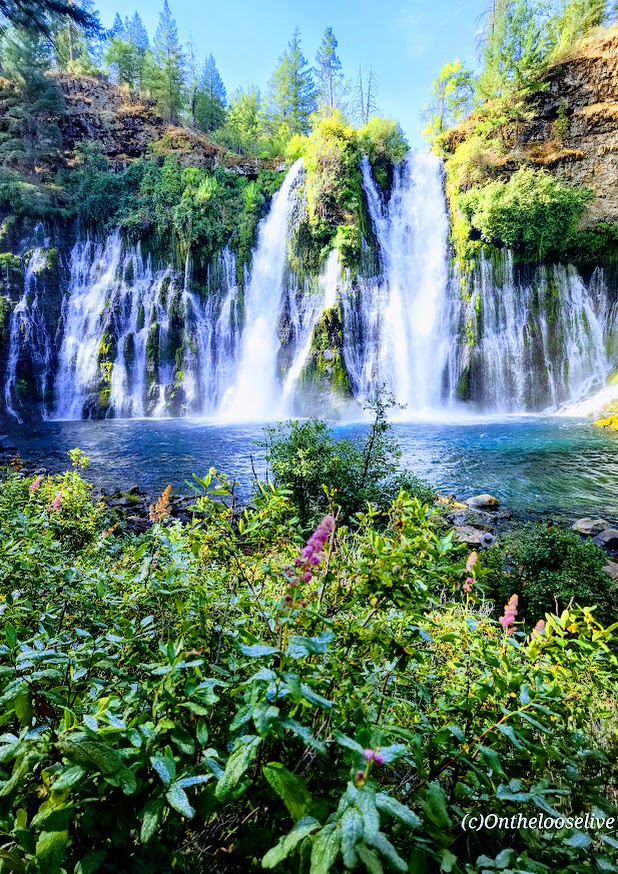
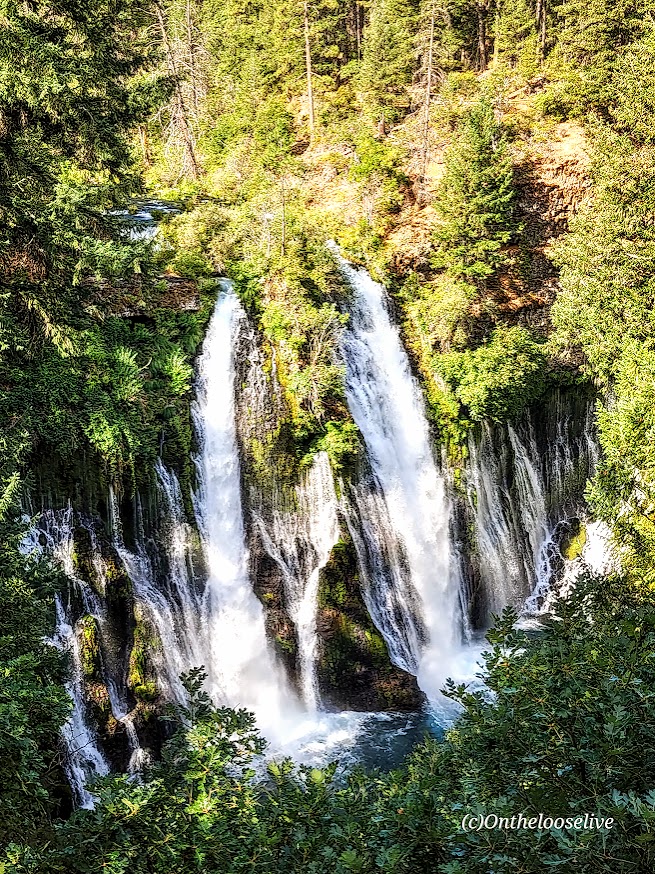
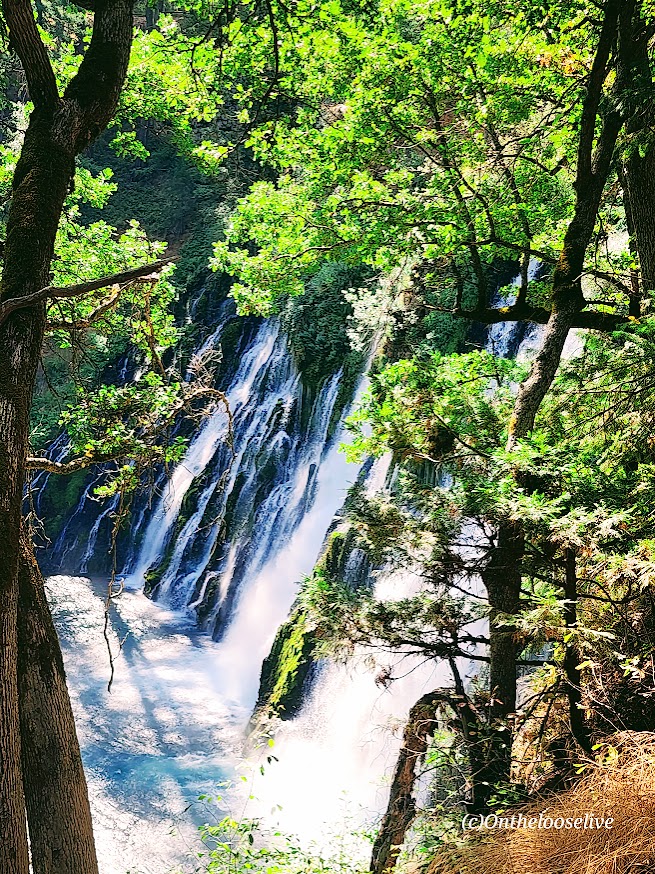
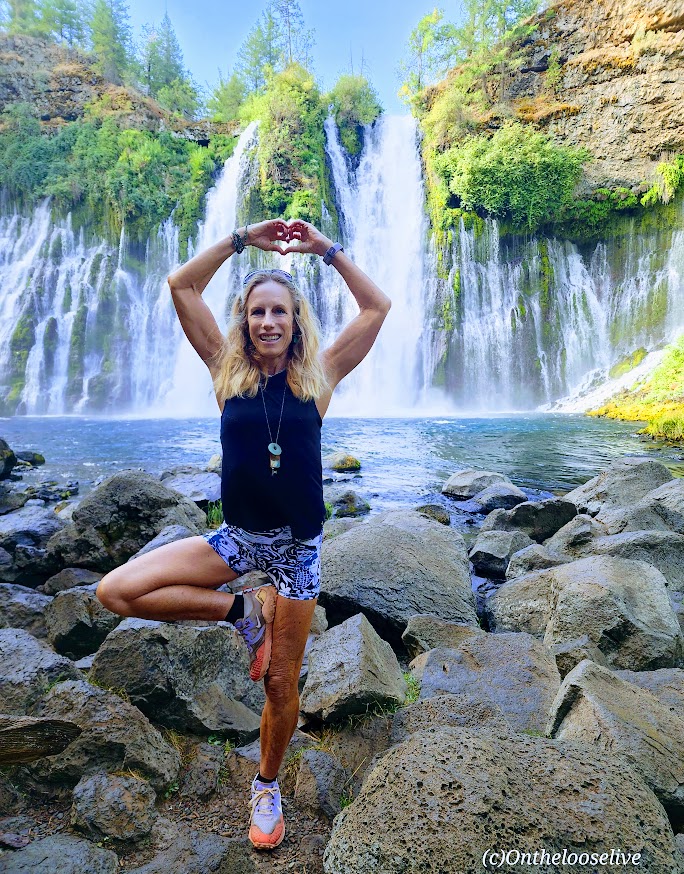
Wowza, I’ve chased a lot of waterfalls in my time, but Burney Falls stands out for its terraced, storybook, enchanting beauty.
And talk about an easy chase —huge reward for minimal effort— easy 1-mile round-trip stroll with an elevation gain of 161 ft
At 129 feet high, Burney Falls is the main attraction of California’s McArthur-Burney Falls Memorial State Park. I’d never heard of it, but it has to be one of the most gorgeous waterfalls that I’ve seen. It has an impressive daily flow of 100 million gallons, and the water temperature ranges from 42 to 48 degrees. While it was tempting, I didn’t take the cold plunge this time.
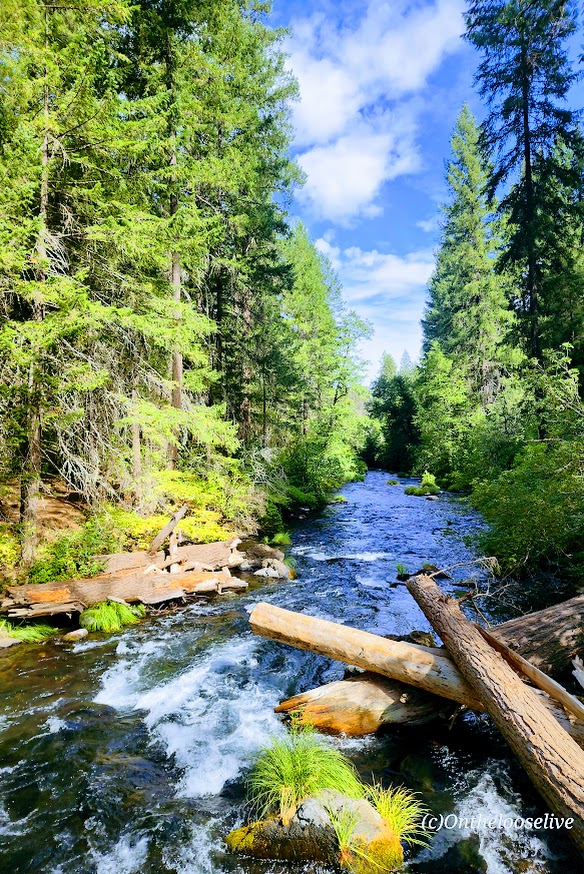
Apparently, there are 5 more miles of trails in the park, but it’s really all about the waterfall. If you’re adventuring in Lassen Volcanic National Park, Burney Falls is just ~40 miles North off of CA-89.
Notes: Day-use parking fee: $10. No dogs are allowed on trails or day-use areas. Go early; the small parking lot fills up fast.
Getting there: It’s off CA-89 N. (~40 miles from Lassen Volcanic National Park)
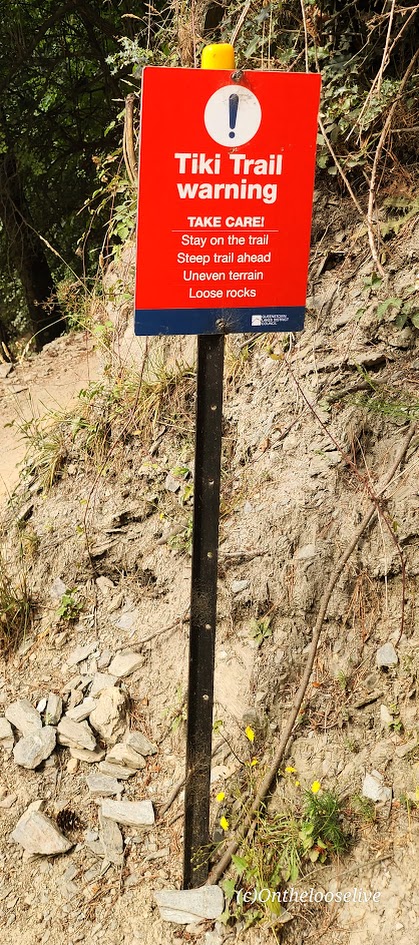
Tiki Trail/ Base of Gondola Start to SummitDistance rt from Tiki Trail: ~9.7 miles Elevation Gain: ~4,786
Top of Skyline Gondola Head Start to SummitDistance rt: ~7.1 miles Elevation Gain: ~3,310 ft
Difficulty: Moderate/difficult, depending on your fitness level. (AllTrails rates it as strenuous/advanced/highly challenging.)
Of my two weeks of adventures in New Zealand, this was one of my favorite days—and easily one of my favorite days anywhere. Simply EPIC from start to finish.
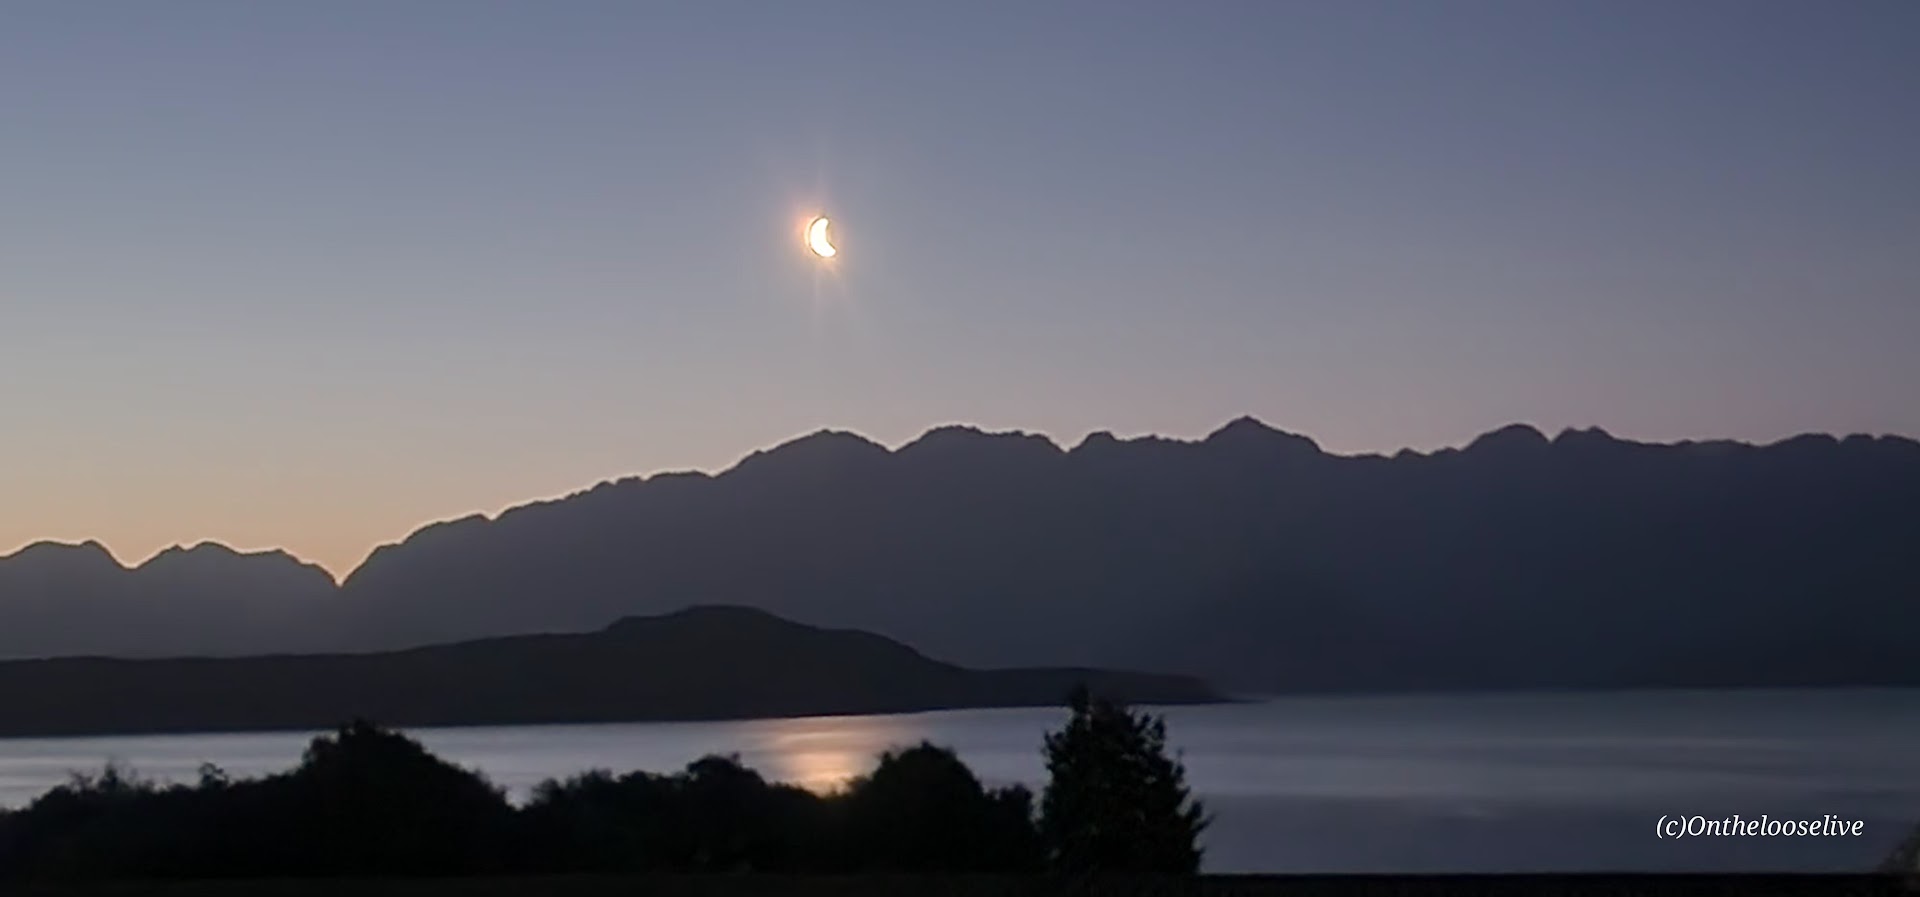
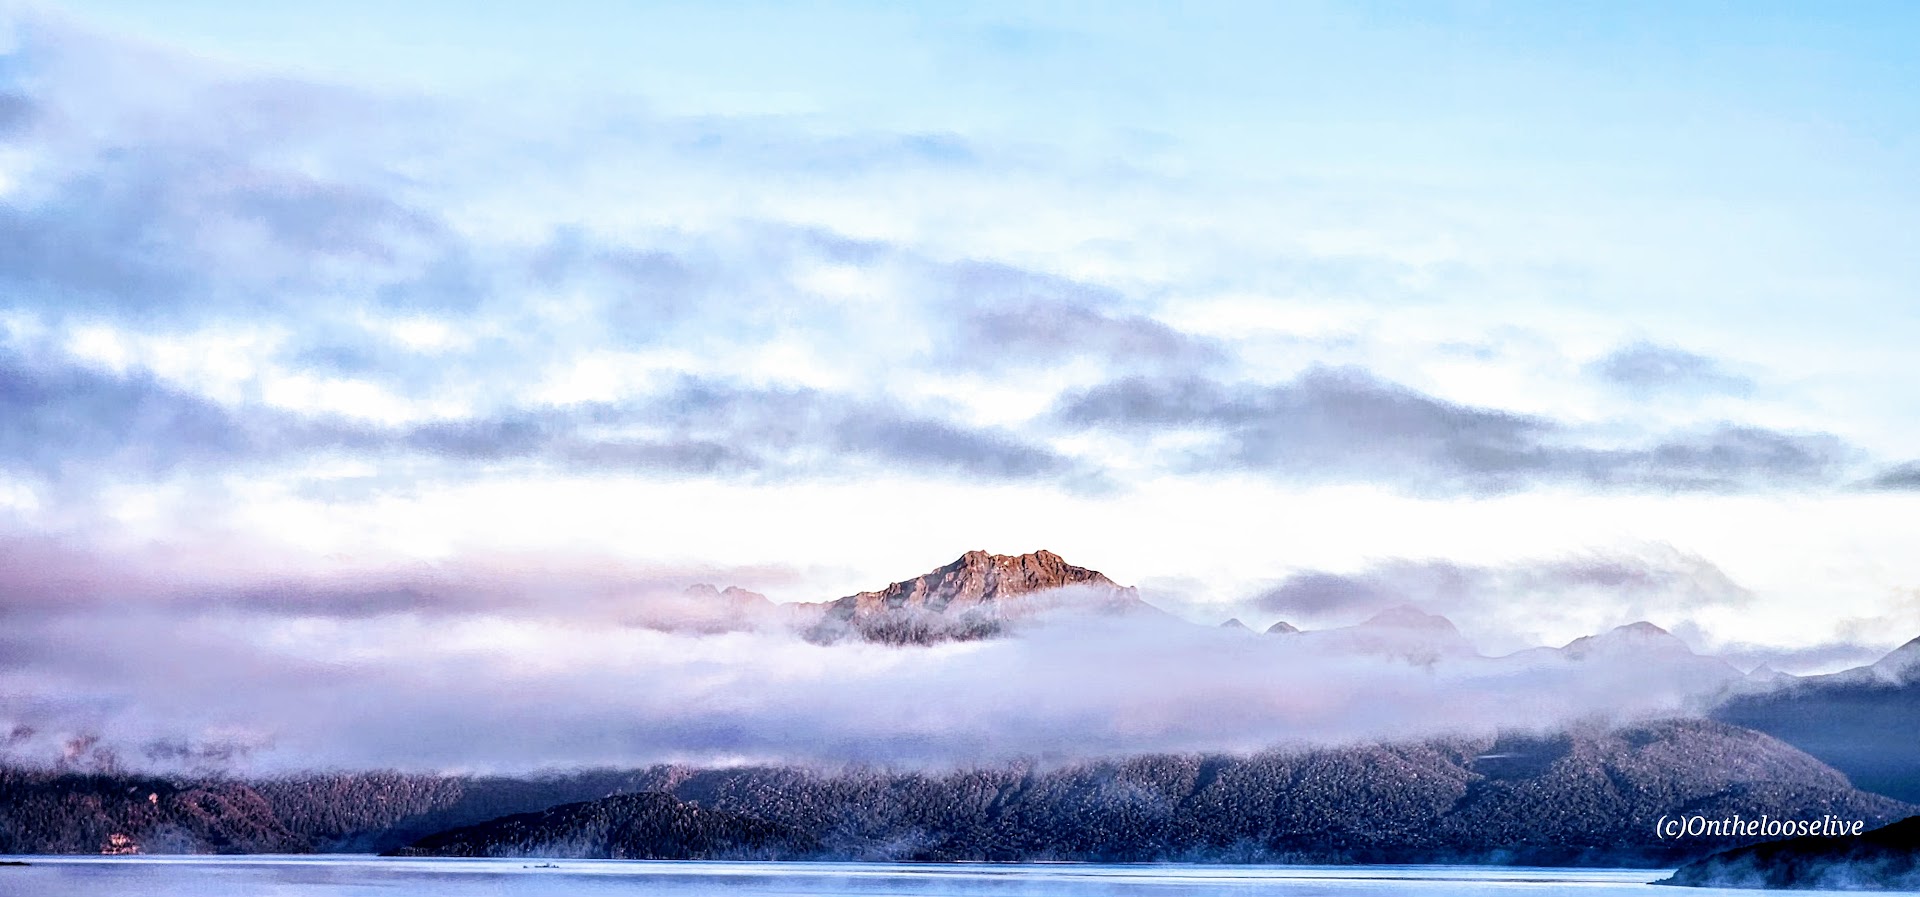
After hiking the Marian Lake Track and Key Summit the day before, I spent the night in a small, somewhat dilapidated motel in the scenic, lakeside village of Manapouri. While the accommodation left much to be desired, falling asleep and waking up to the spectacular view below more than made up for it—a fortuitous start to a day that would prove exceptional both on and off the trail.
Queenstown, the South Island’s Adventure Mecca
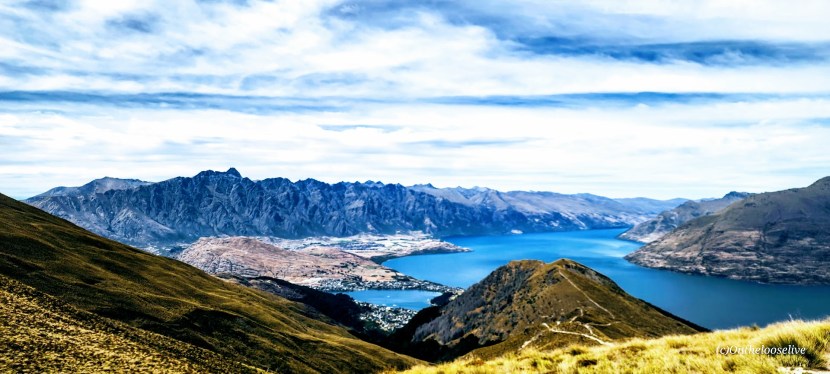
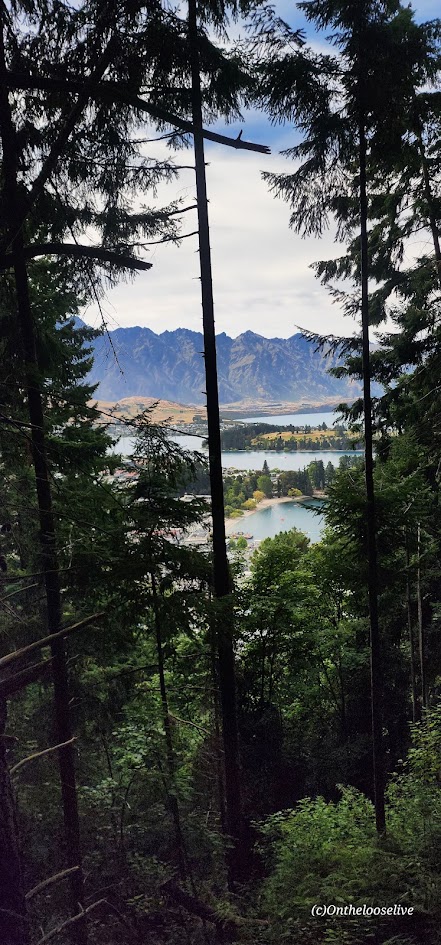
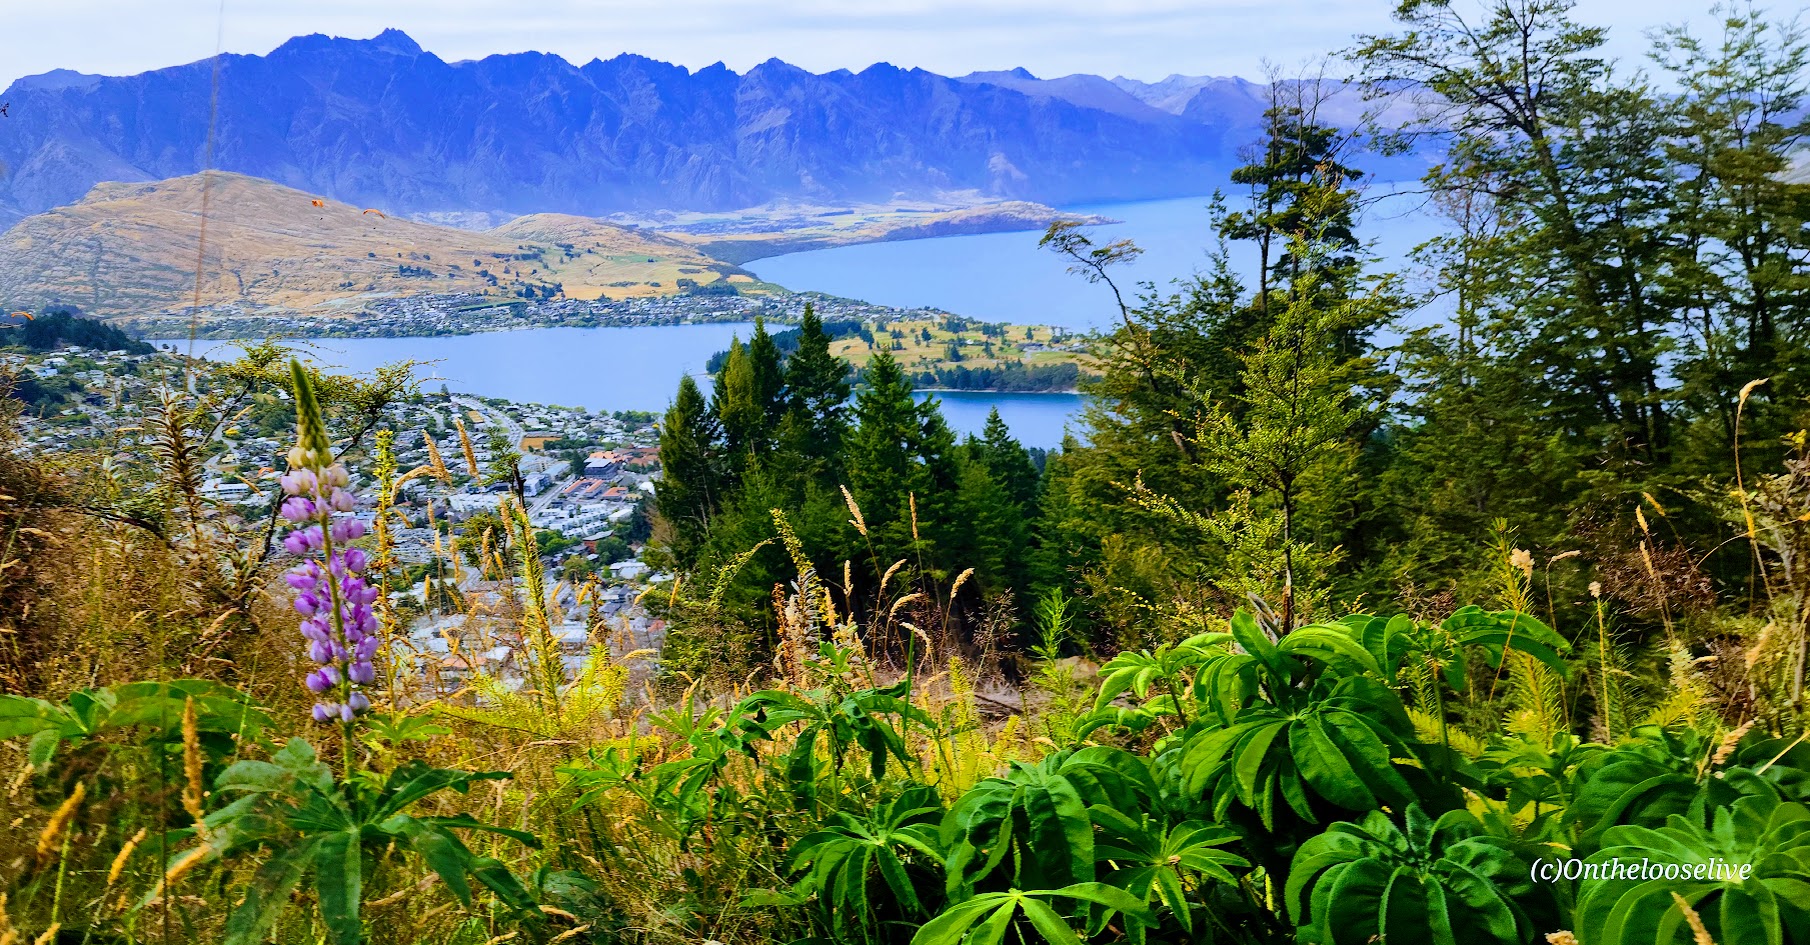
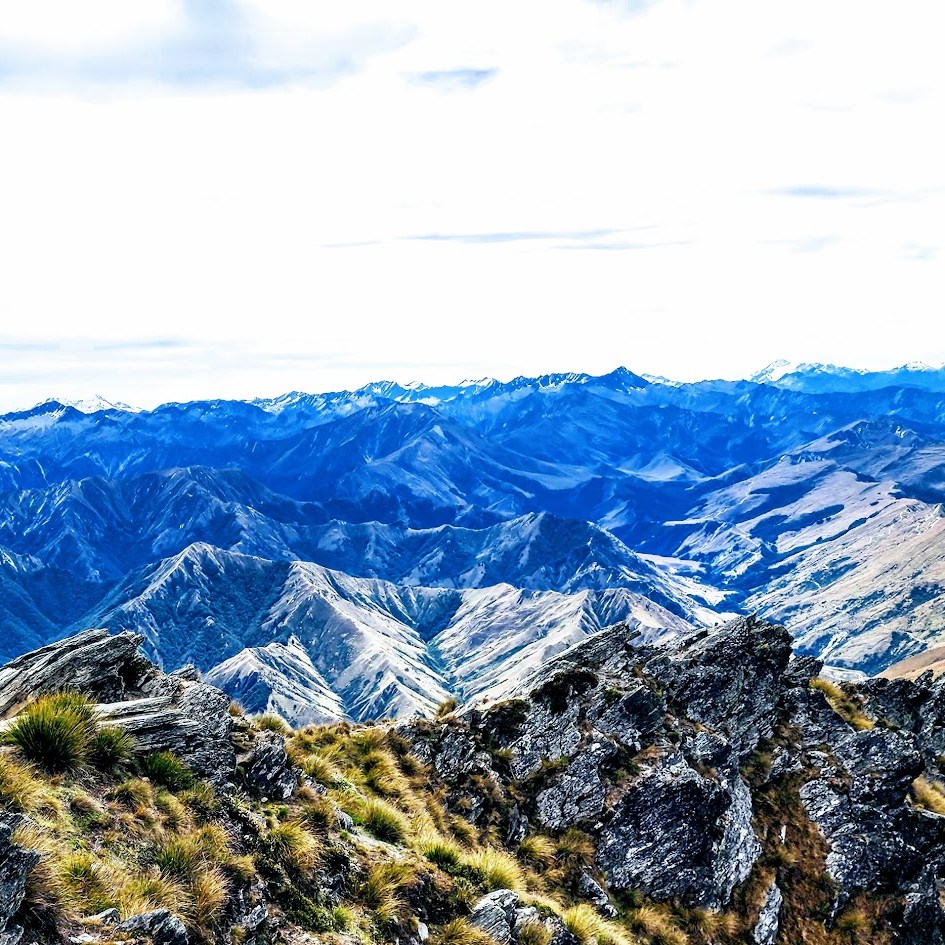
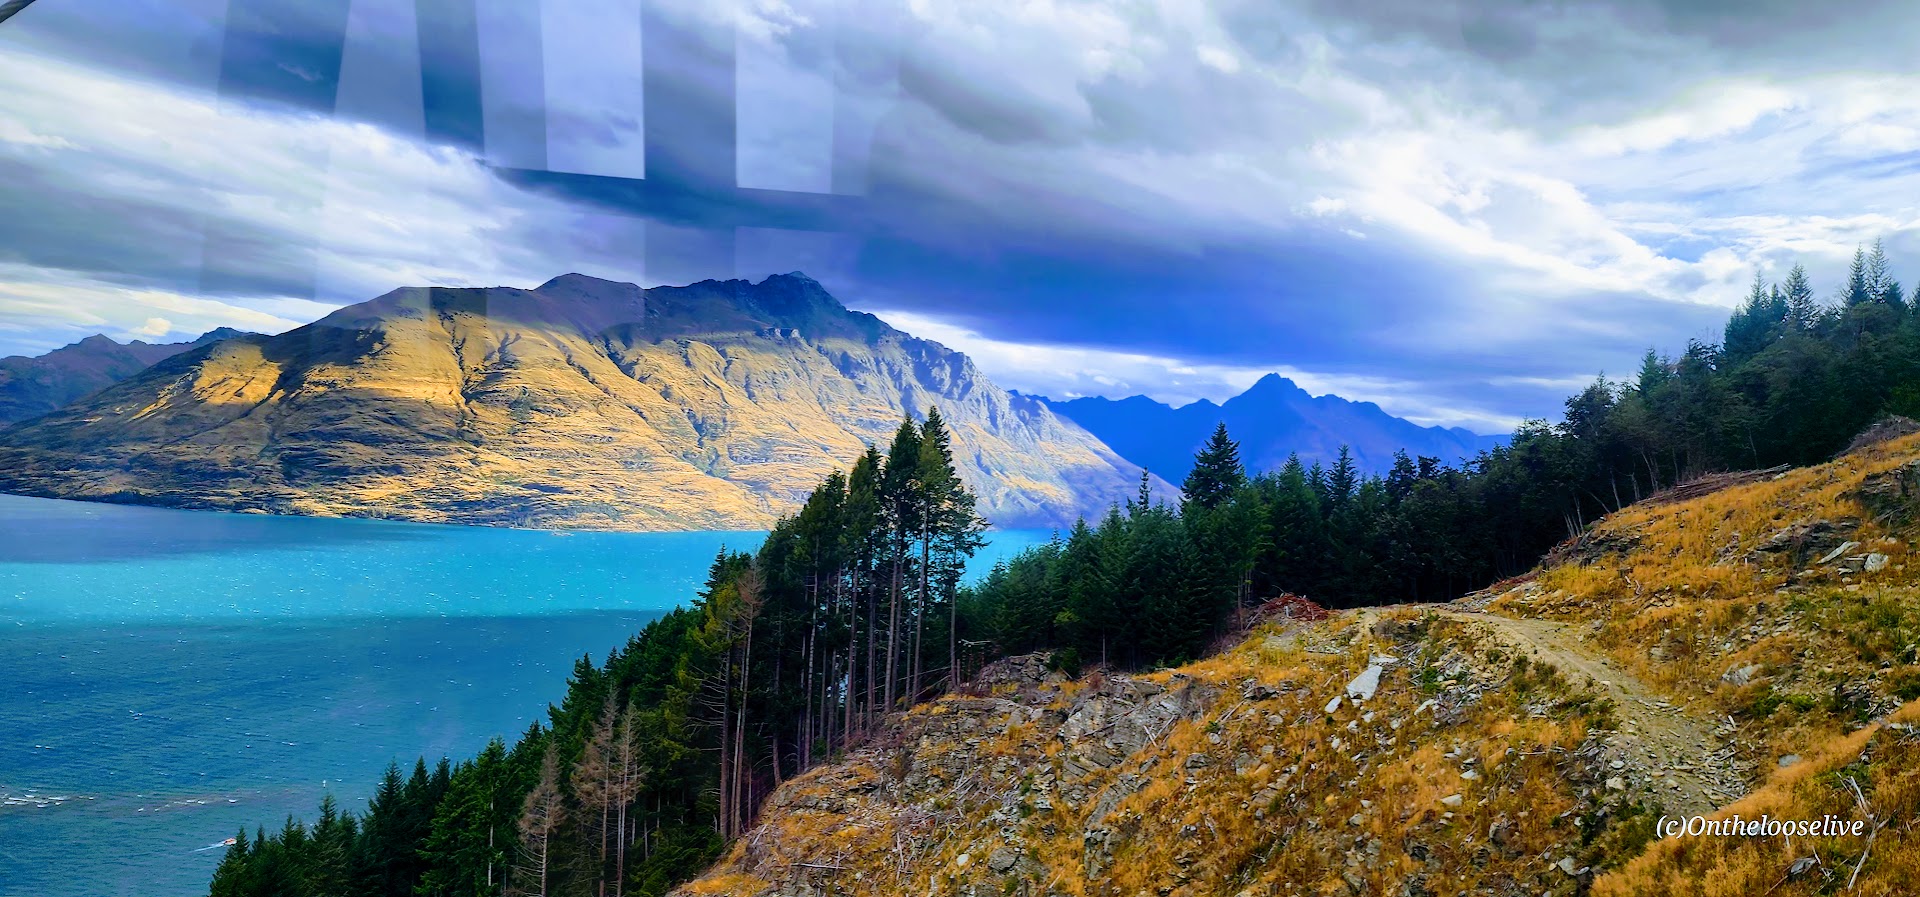
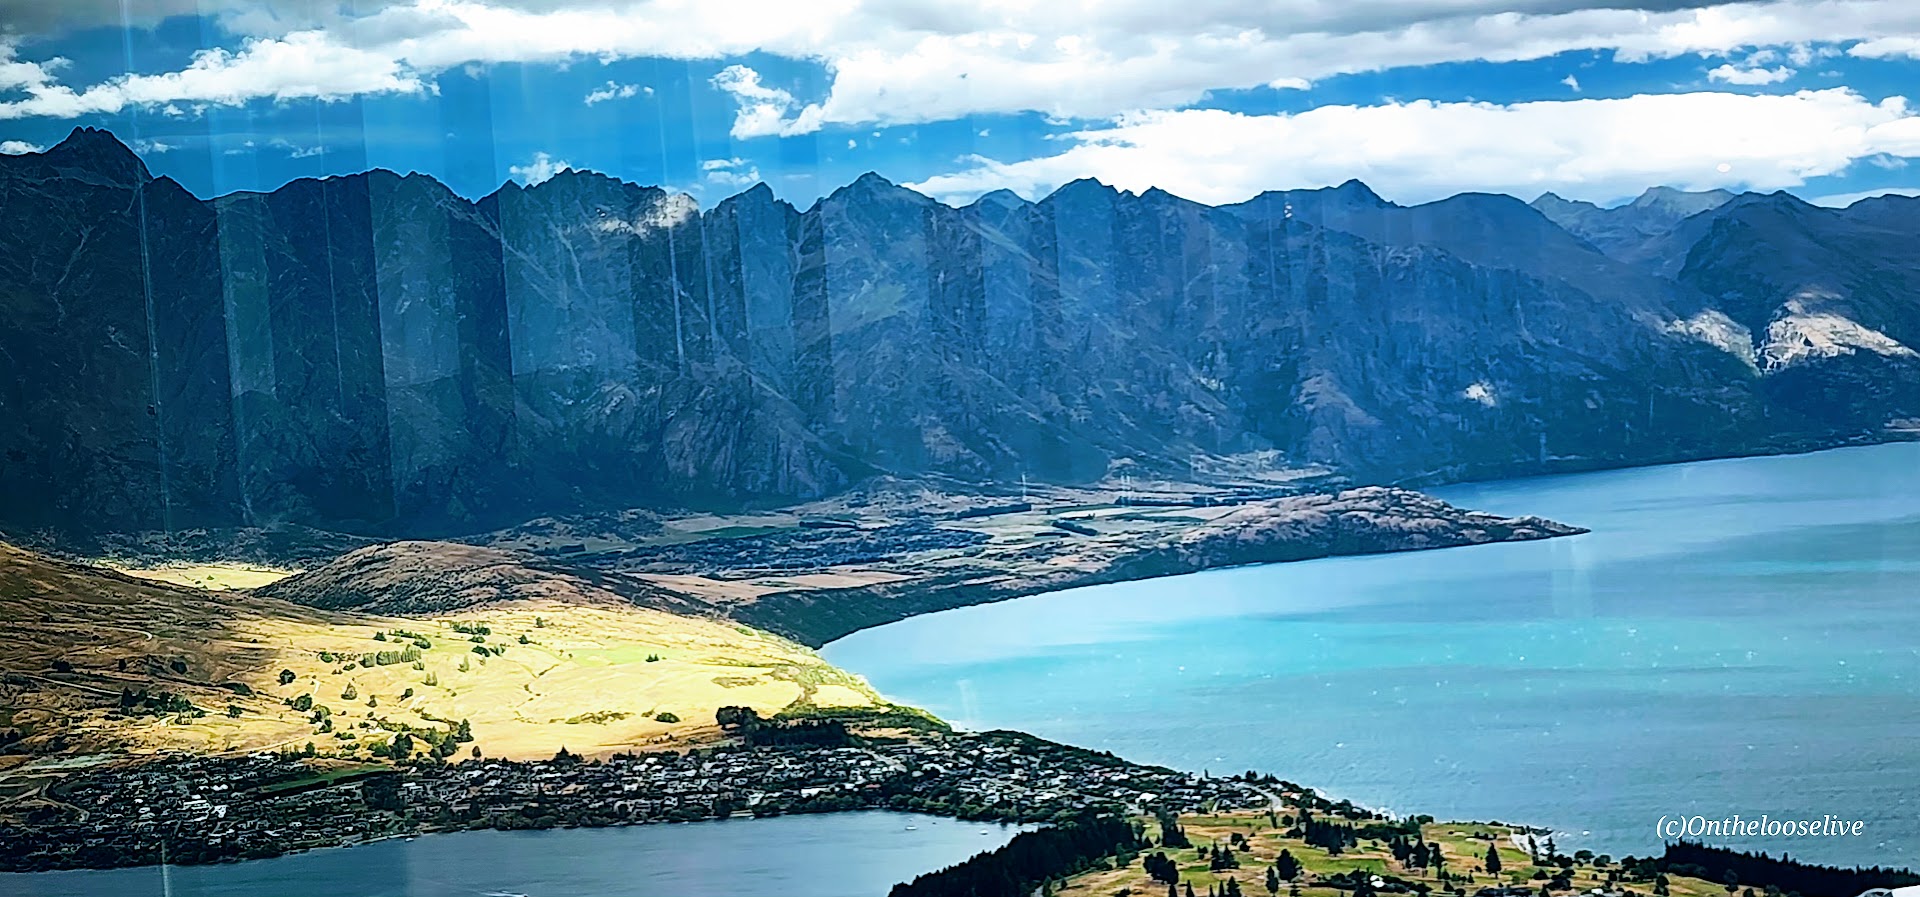
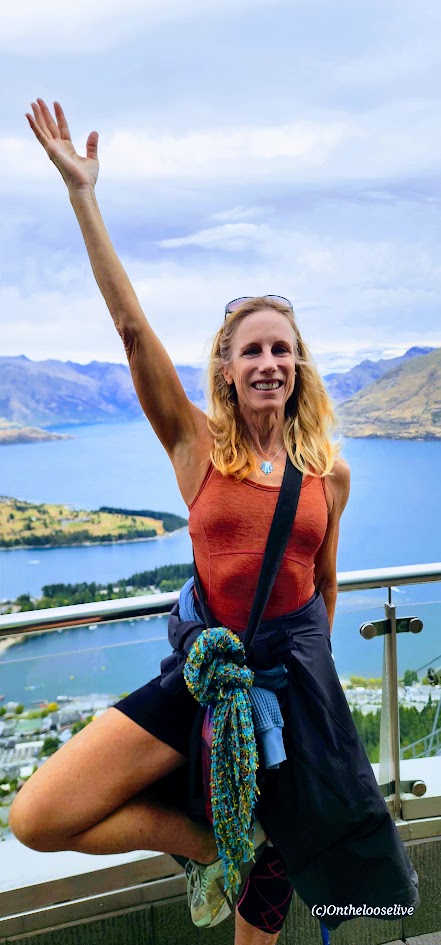
Here, every step you take leads to breathtaking scenery and an exhilarating experience. Set against the dramatic backdrop of the jagged peaks of The Remarkables mountain range with the shimmering waters of Lake Wakatipu (NZ’s longest lake – 50 miles long) reflecting the surrounding beauty, Queenstown is arguably one of the most stunning destinations in New Zealand and a gateway to some of the country’s most memorable outdoor experiences—including the spectacular Ben Lomond Track.
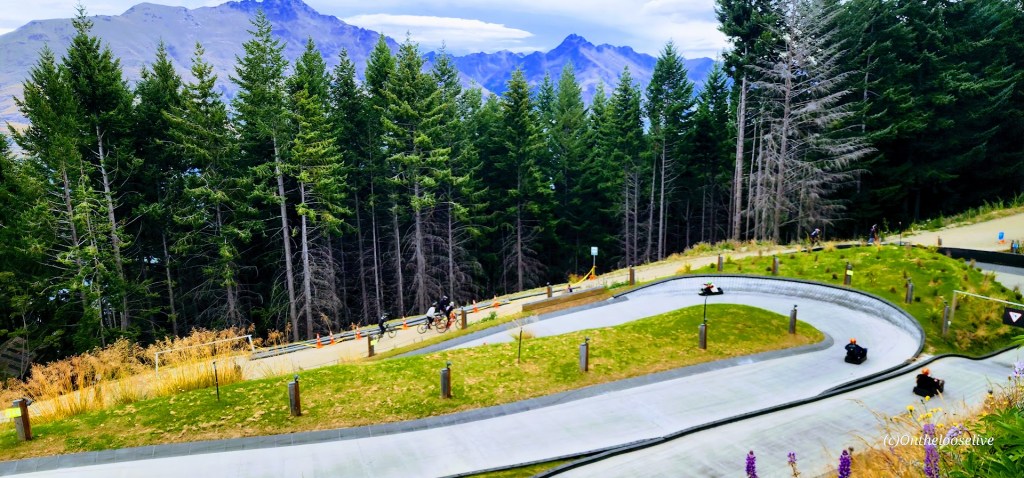
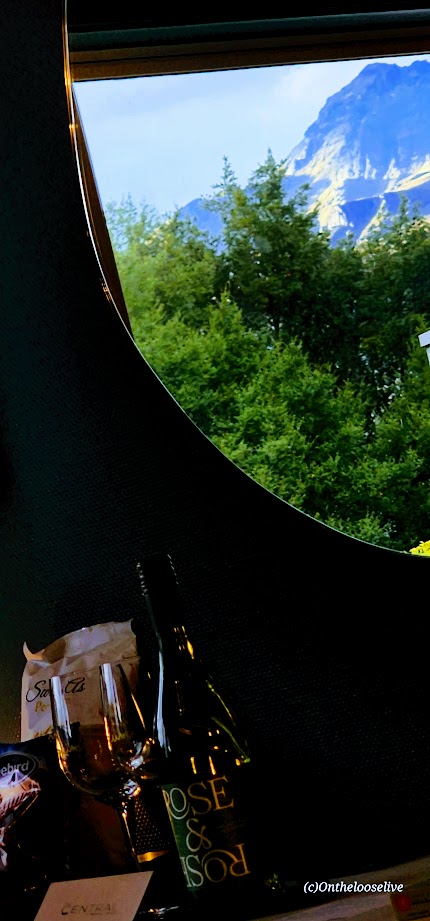
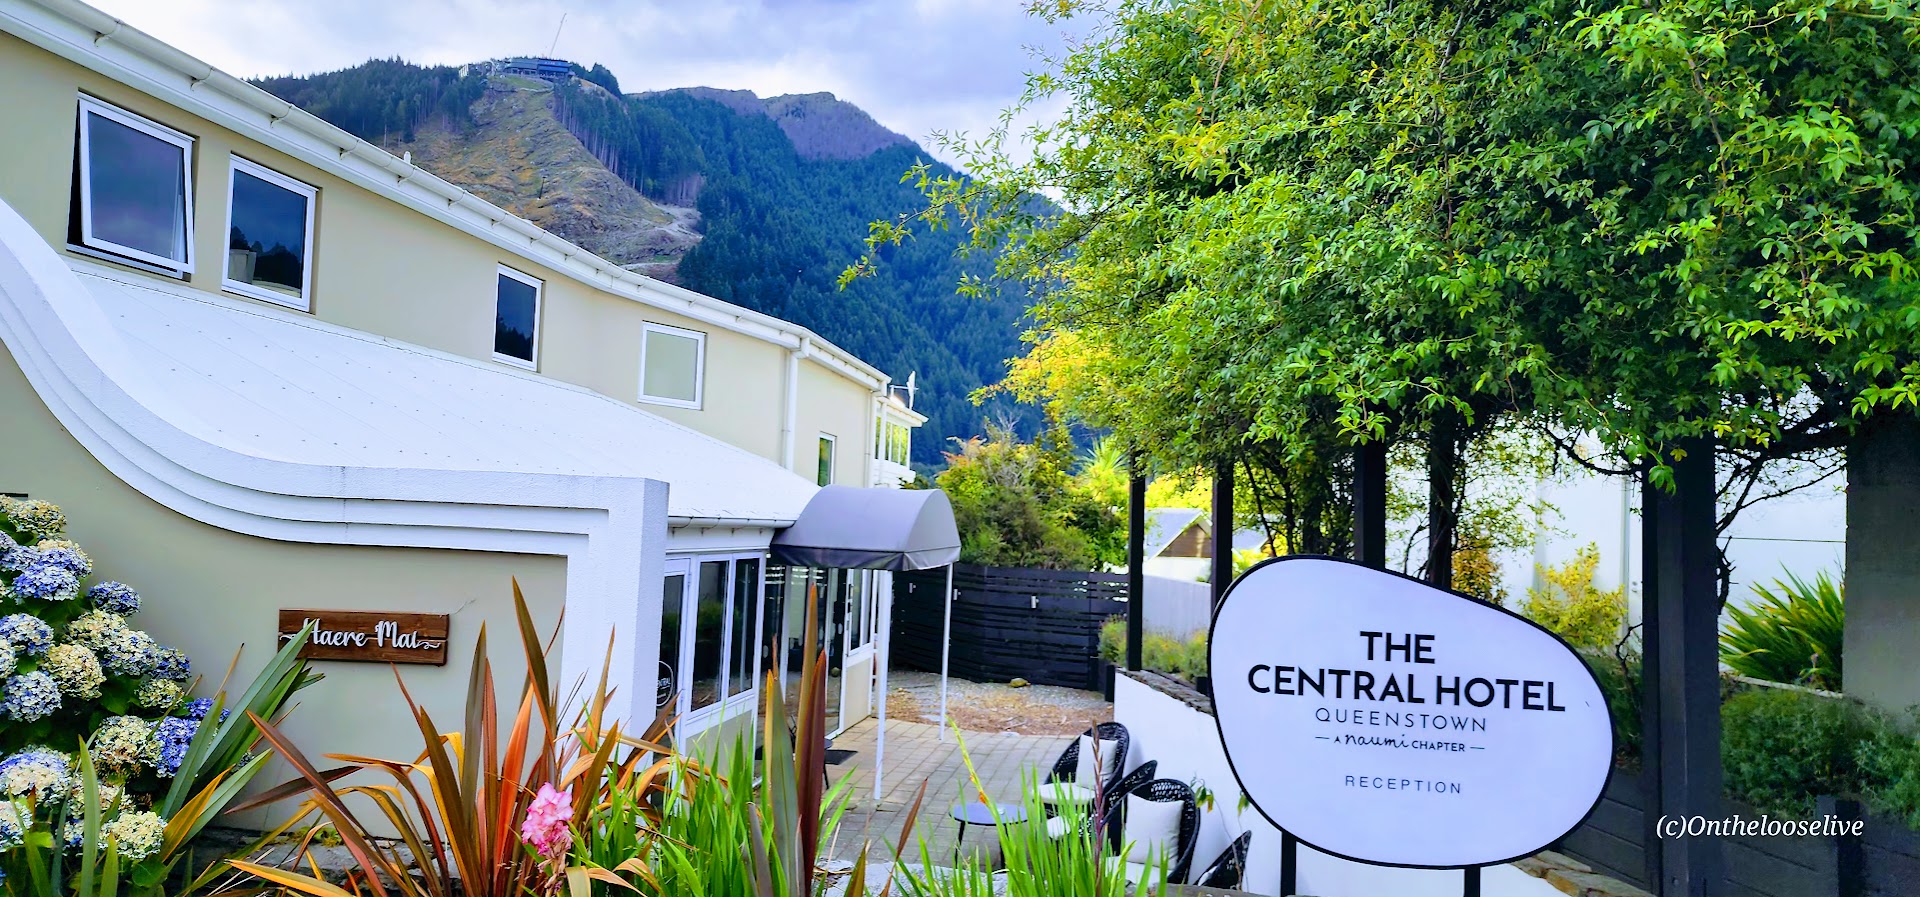
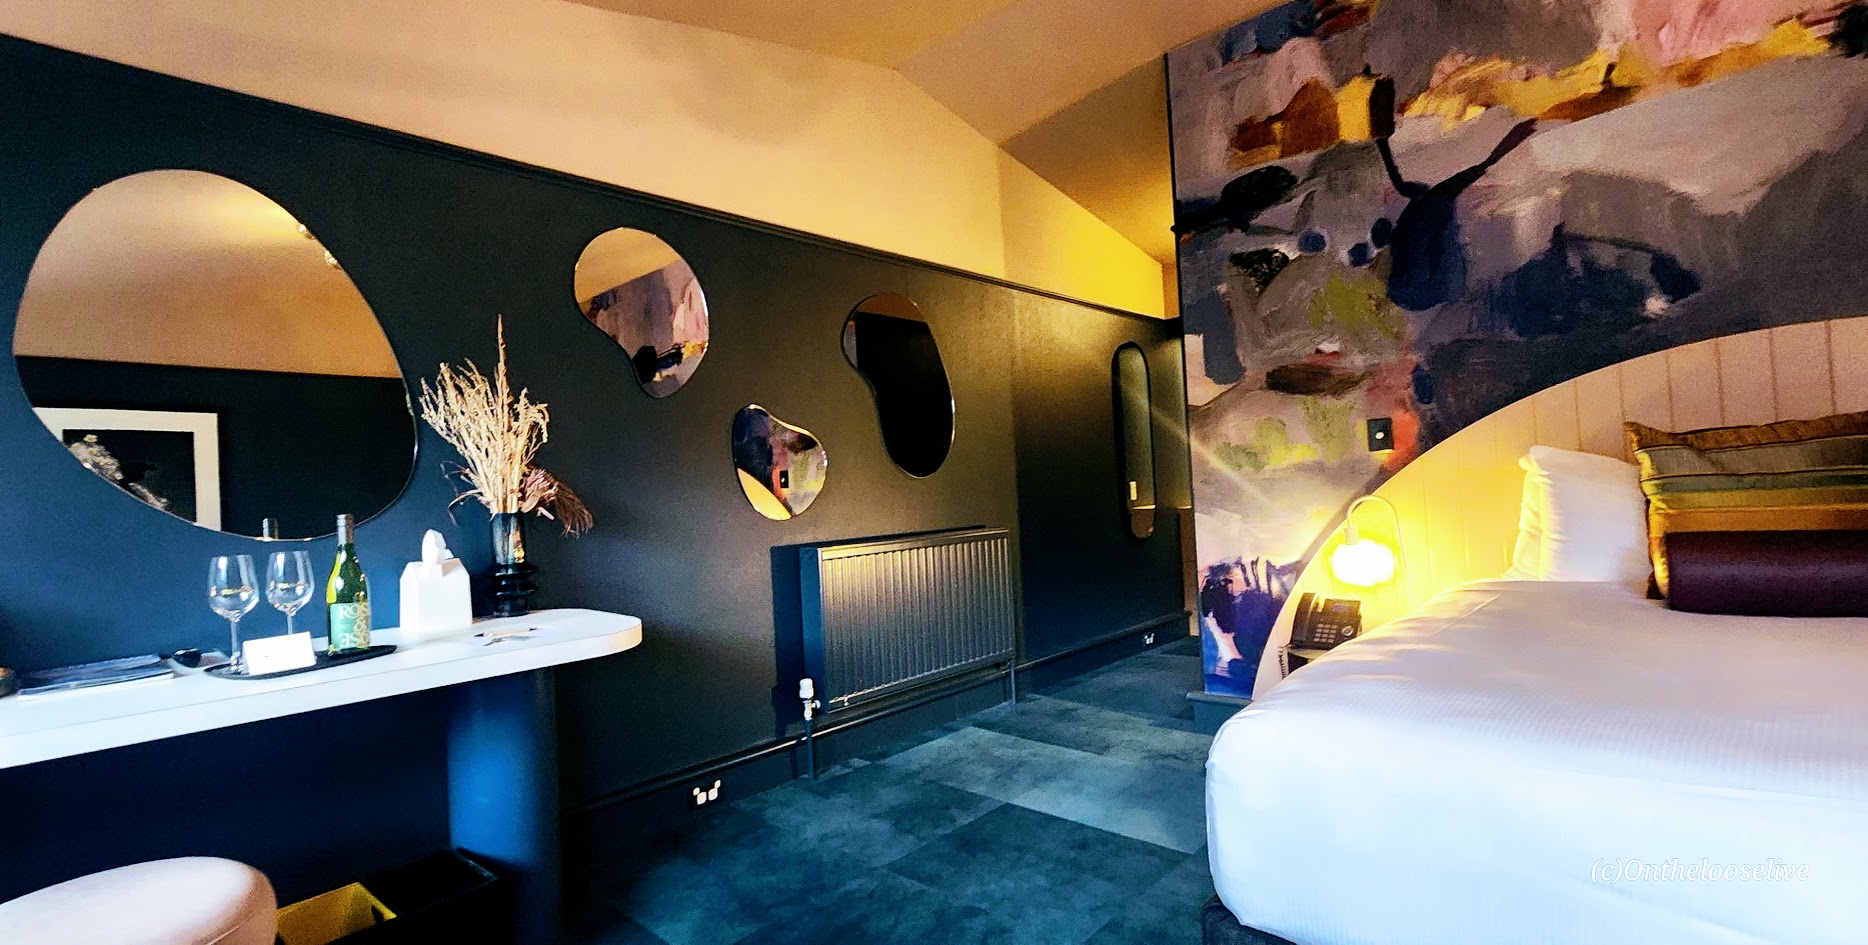
Whether you’re hiking alpine ridges, carving down mountain bike trails, riding gondolas, the luge, the Vortex Slide, or the Zipline, or mixing it up, your outdoor bliss awaits in Queenstown. The town itself doesn’t disappoint either—vibrant streets lined with galleries, restaurants, shops, and gorgeous boutique hotels like the one I stayed at, The Central Hotel, where the perks included a complimentary bottle of local wine, snacks, and continental breakfast.
While Kiwis, (as New Zealanders call themselves), may dismiss Queenstown as overly touristy, its popularity is clearly well-earned. (Also, in my opinion, the “touristy” vibe in NZ feels far more subtle than the US, and generally, crowds are smaller. than what you encounter stateside.)
A Queenstown Must Do: The Breathtaking & Ravishingly Beautiful Ben Lemond Track
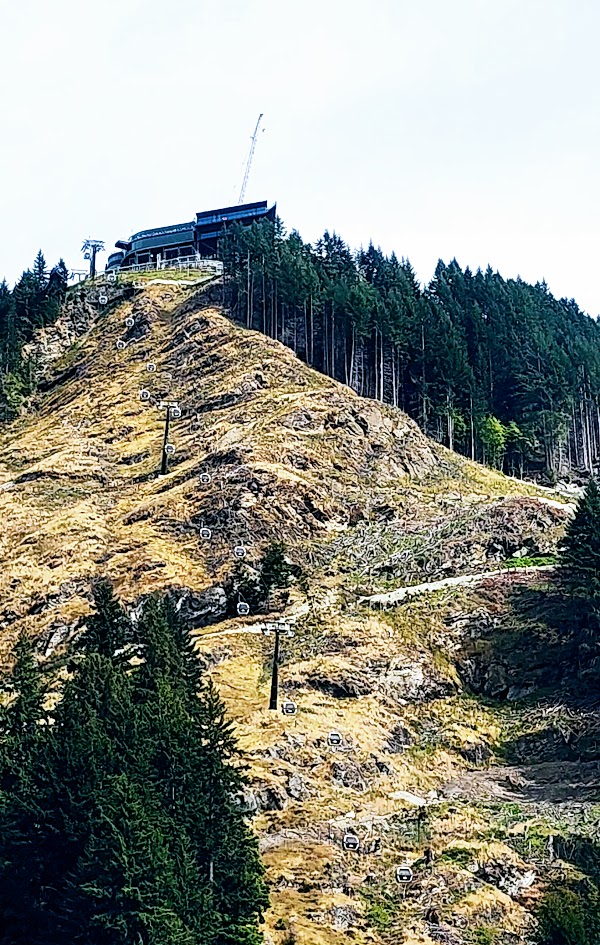
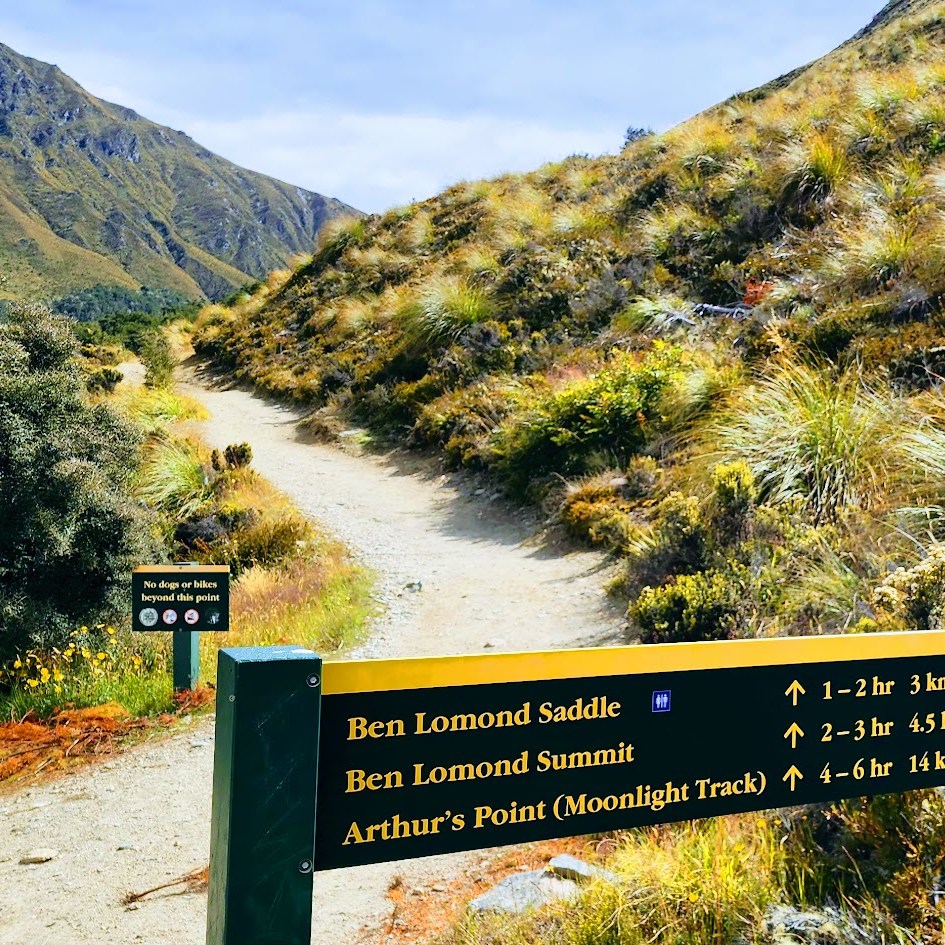
There are two ways to access the Ben Lomond Track: hike up the Tiki Trail from the base of the Skyline Gondola, or give yourself a head start by riding the gondola to the top.
Obviously, starting from the Tiki Trail adds both distance and elevation to your adventure—about 2.6 miles round trip and 1,476 feet of additional climbing. Naturally, I took the Tiki Trail. Was it worth it? Yes, and no.
On the plus side, it added to the workout challenge, which I rarely resist. From a scenery perspective, it didn’t add much, as much of the trail winds through the forest, with the best views near the top.
If you have the time and enjoy earning every foot of elevation, the Tiki Trail is worthwhile. But if the Ben Lomond hike itself feels like enough of a challenge—or you’re simply short on time—take the Skyline Gondola.
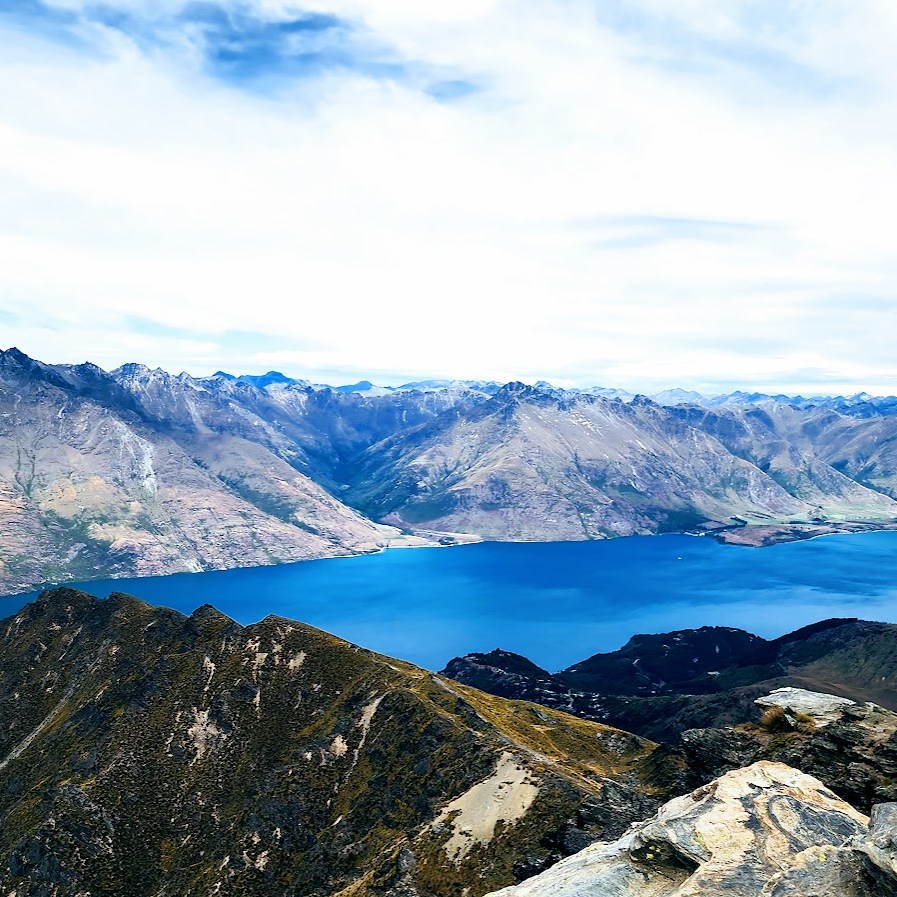
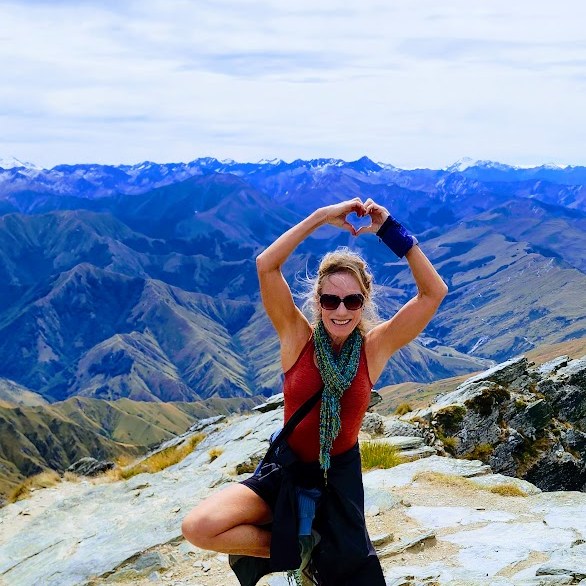
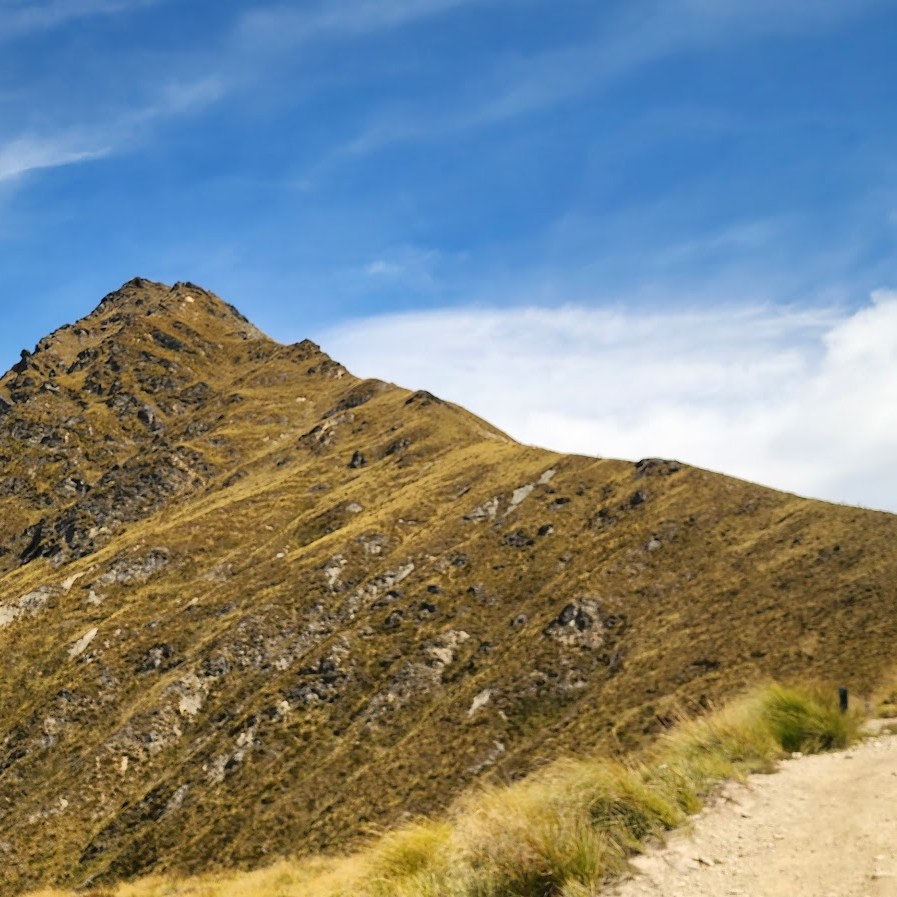
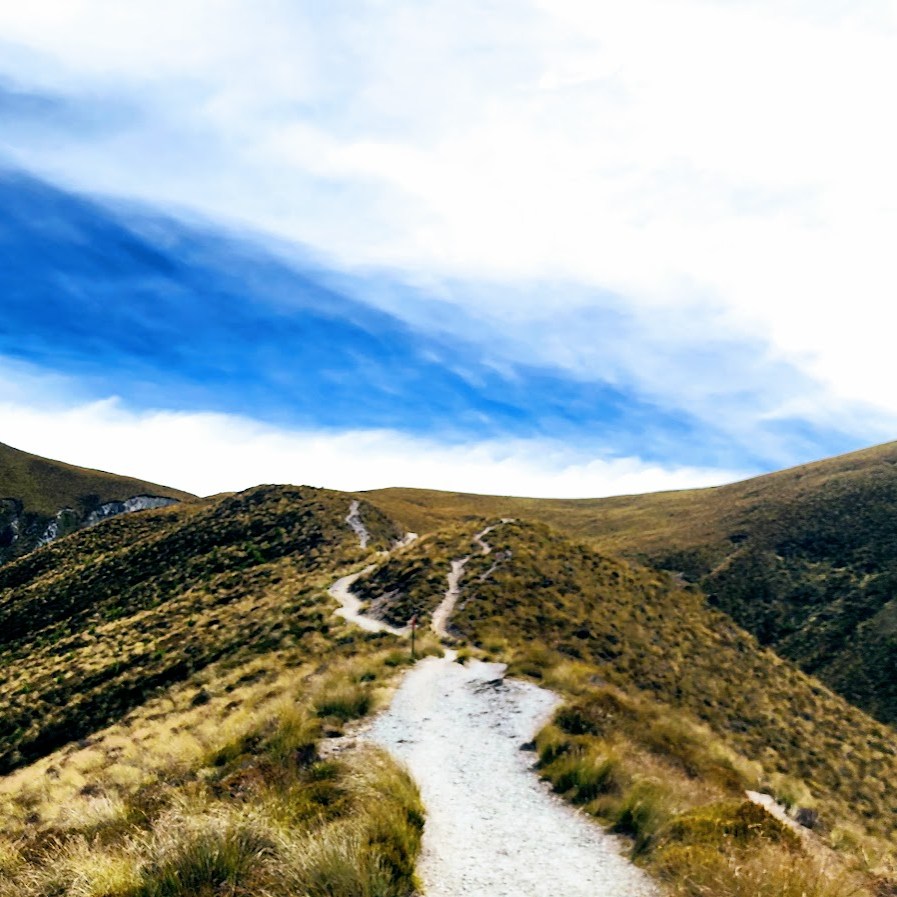
The Ben Lemond Track is well-marked, easy to follow, and easy on the feet, until the last rocky mile or so to the summit. Great for trail running. The mountain bike trails are separate (45 mountain biking trails and 10 e-bike trails), so no close encounters with bikes (thankfully), but it’s fun to watch them flying down the ridgelines from a distance. As you climb the ridgeline, the incline is consistent, but mostly gentle/moderate until that last mile. Your reward is expansive views of the dazzling Lake Wakatipu (NZ’s longest lake – 50 miles long) and Queenstown far below, and a stunning panoramic view of it all at the top. While the summit is only 5,735 feet in elevation, it is considered alpine as it’s above treeline, completely exposed, and subject to severe, volatile weather. (Be prepared and check the weather forecast in advance.) I’ve discovered that many alpine hikes in New Zealand offer plenty of elevation gain without the altitude factor—same magnificent alpine hiking and scenic rewards, but far less arduous than hikes at higher elevations. Super fun and doable for hiking, trail running, and biking, but not helpful if you need altitude training or will be competing at altitude.
While not an official “Great Walk” of NZ, the Ben Lemond Track is a GREAT hike—in my opinion, it’s a “must do” if you’re in Queenstown.
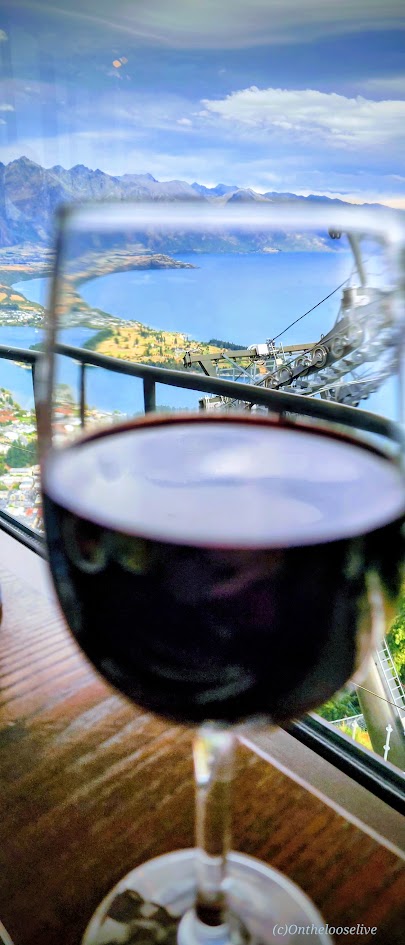
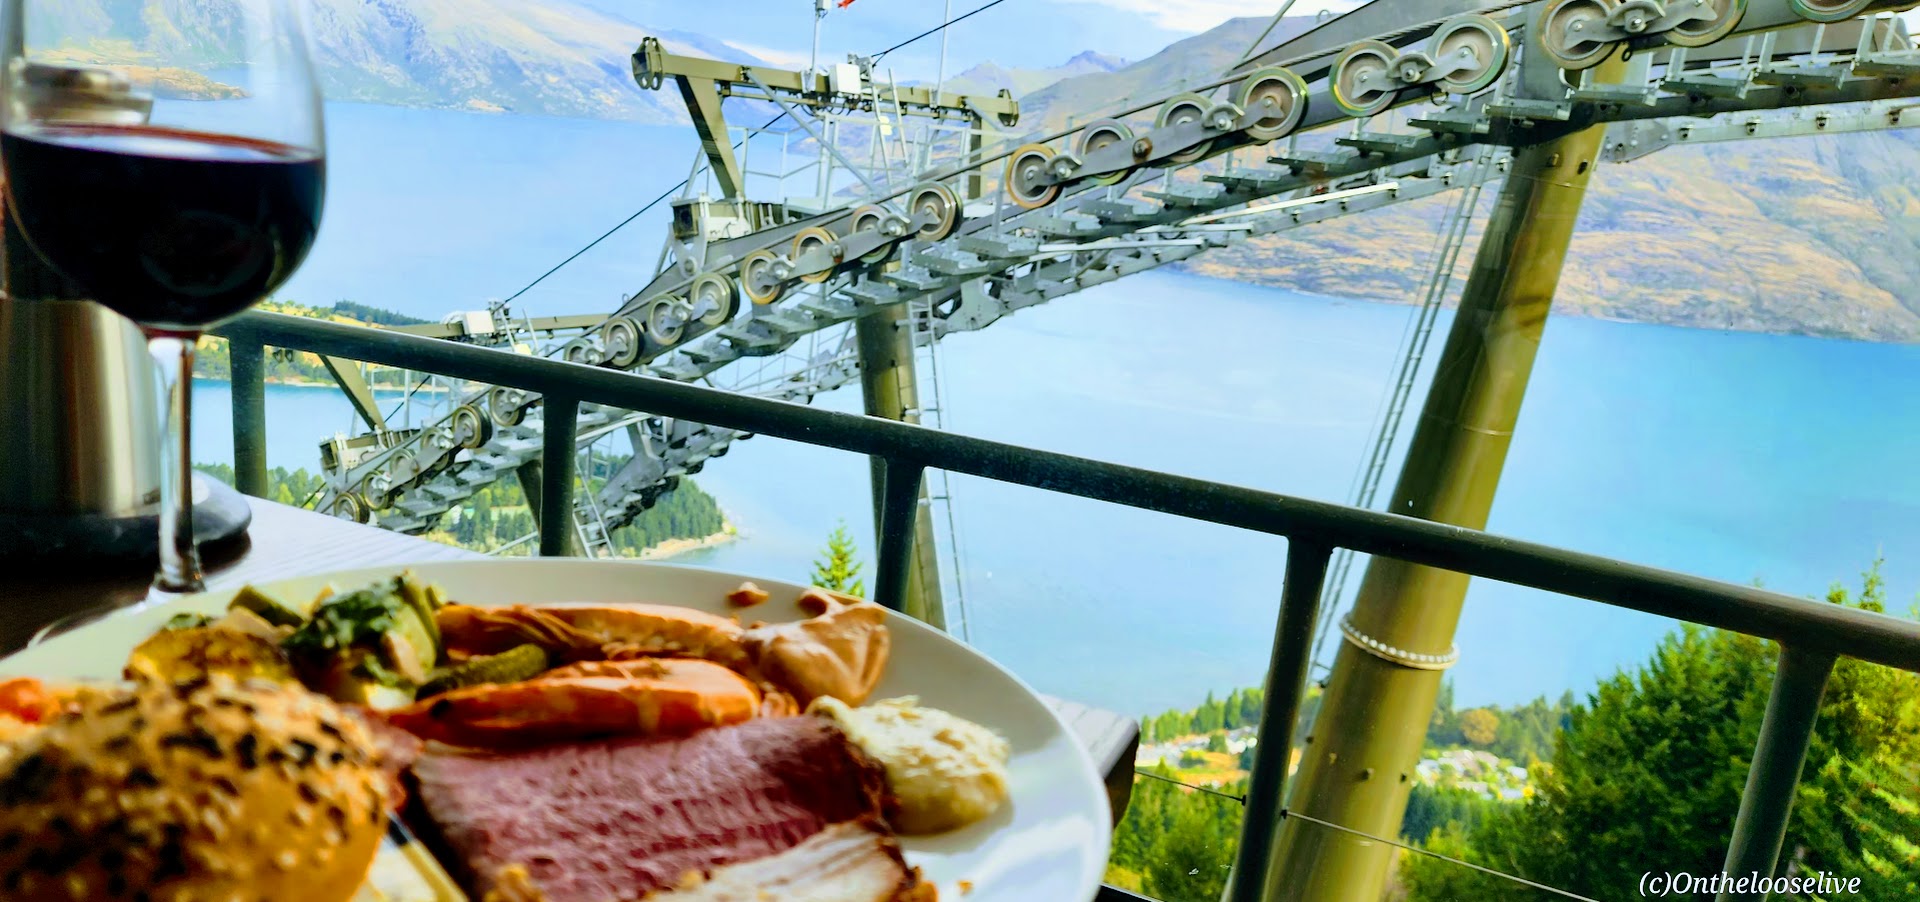
So many adventures, so little time! Definitely something for everyone here! Whatever Queenstown adventures you choose, be sure to work up a good appetite, and then treat yourself to the lavish all-you-can-eat feast (lunch or dinner) at the Stratosfare Restaurant. Enjoy the incredible views, live music, and decadent delights.
Pro Tip: Reservations are required at the Stratosfare Restaurant, but it’s 100% worth checking in to see if they have last-minute availability. You just may get lucky like I did!
Happiness is a challenging hike followed by an indulgent feast, a sunset gondola ride, and a cozy bed with a welcoming bottle of local wine and snacks—all with spectacular views! This was truly an epic day for me in NZ and in my life!