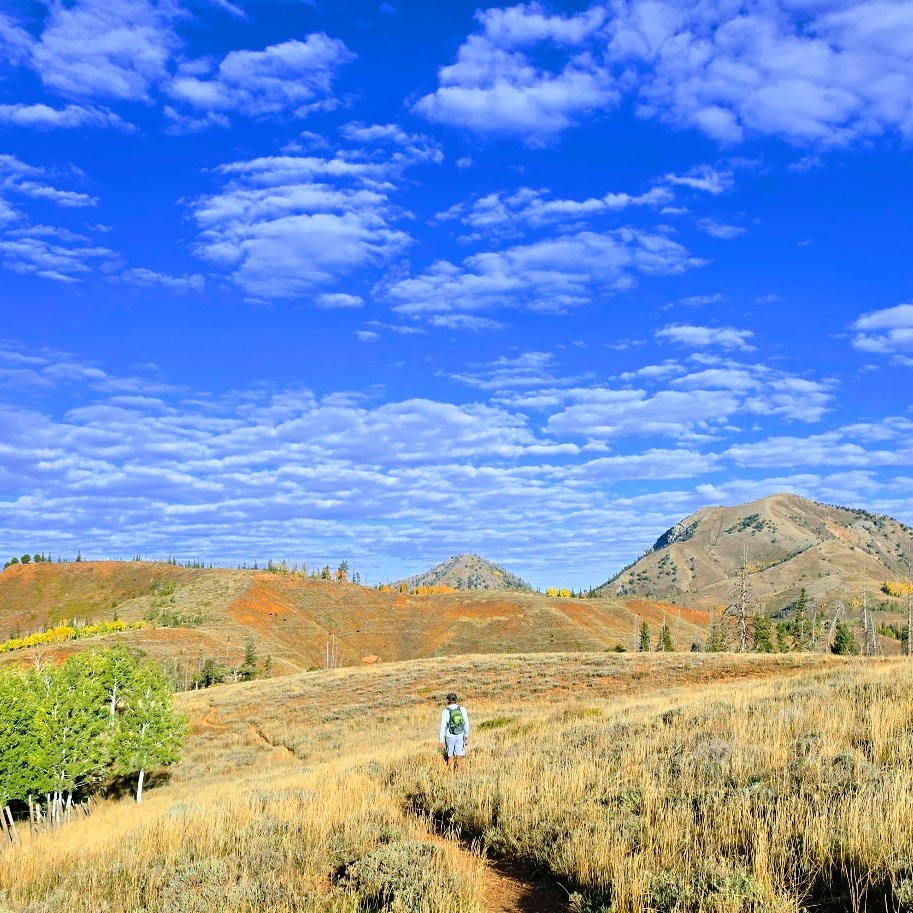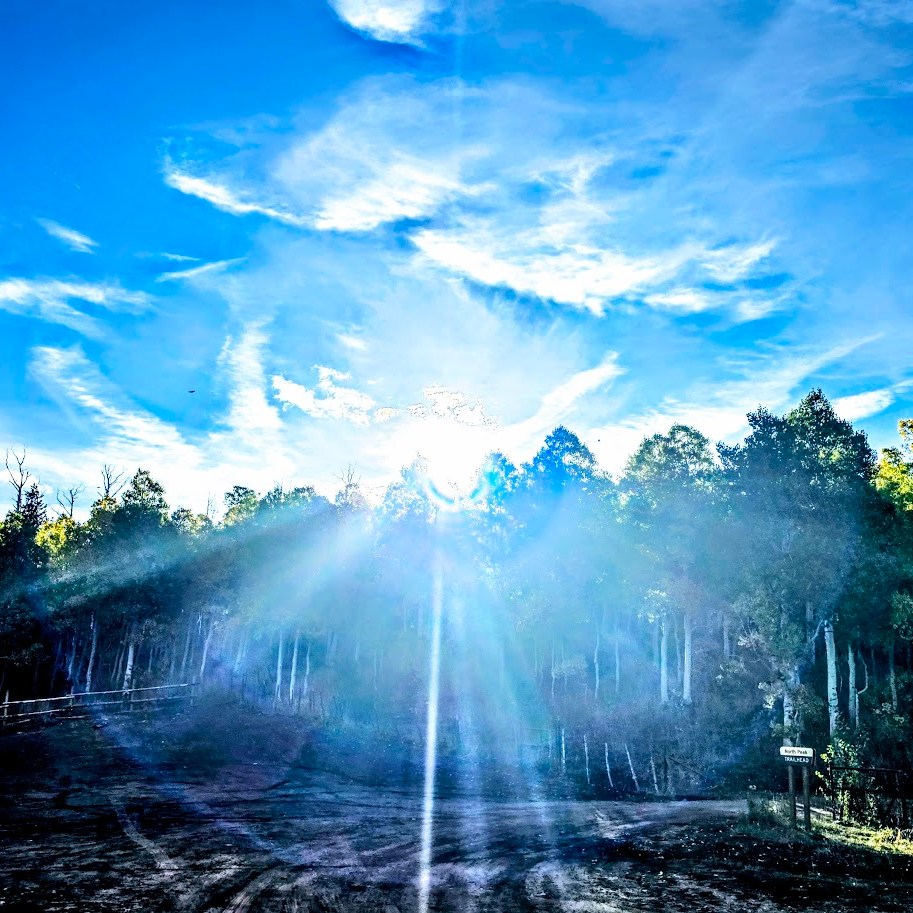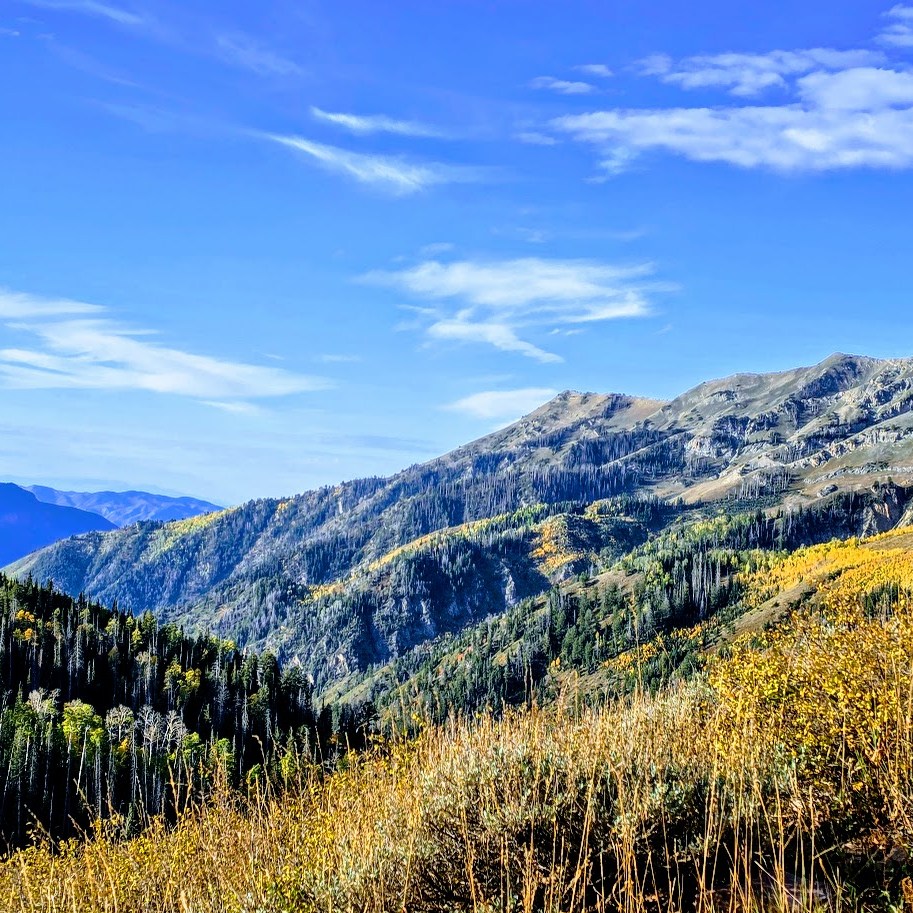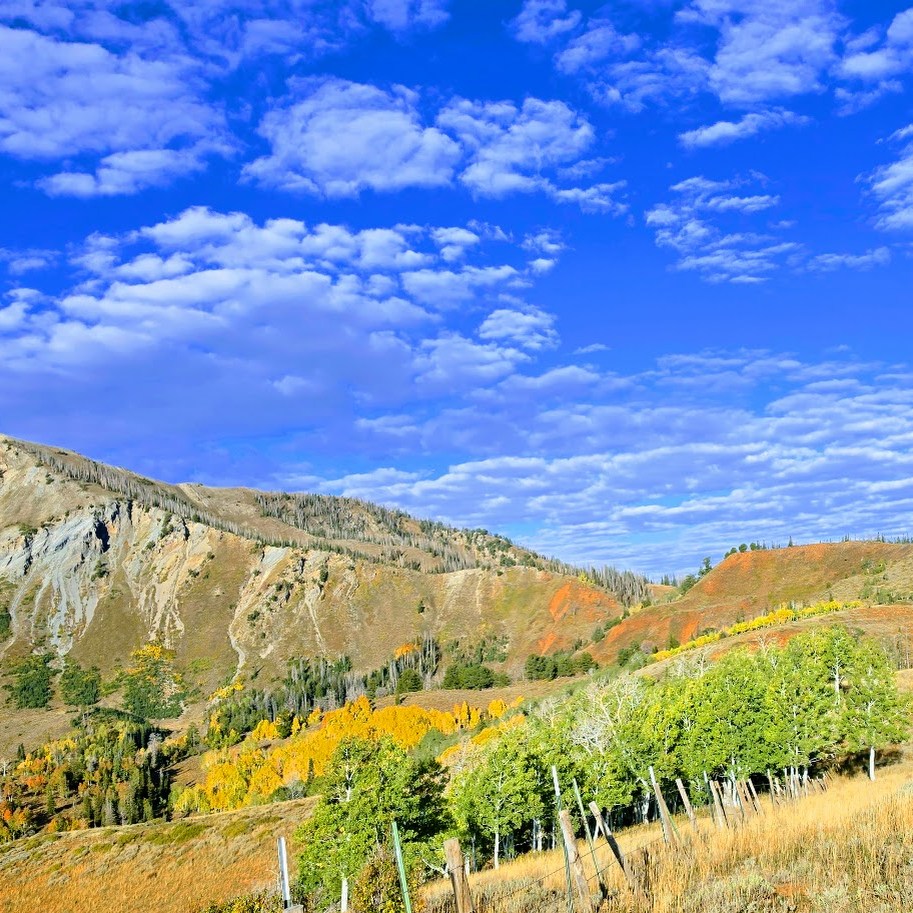
Spectacular Wildflower Hike With Add-On to Cecret Lake Saddle, Little Cottonwood Canyon, Utah

The Wildflower Trail, The Easy Way: Via the Snowbird Ski Resort Tram: 1 mile rt + ~400ft elevation gain – Begin at Hidden Peak, wind down switchbacks through Mineral Basin and through the Peruvian Tunnel.

The Hard Way From the Bottom of the Tram: + 7.5 miles + ~3k ft elevation gain (Take the tram down or double your mileage)

Continue to Cecret Lake Saddle Overlook:  add ~ 2 miles with a total of 4,524 elevation gain (Take the tram down or double your mileage.)

If you know me by now, you won’t be surprised that I took “the hard way” up (alternating between the fire road and the multiuse Big Mountain Trail (keep your eyes and ears open for downhill mountain bikers) to the Wildflower Trail and beyond to Cecret Lake via Gorilla Pass and Mount Baldy. This time, it wasn’t entirely intentional. I was ready to hike before 8AM, but the tram wasn’t scheduled to tram until 11AM. (Surprising Summer hours, given that hikers usually want to get an early start to avoid afternoon storms.) The solution was obvious—beat the tram up the mountain, and so we did.

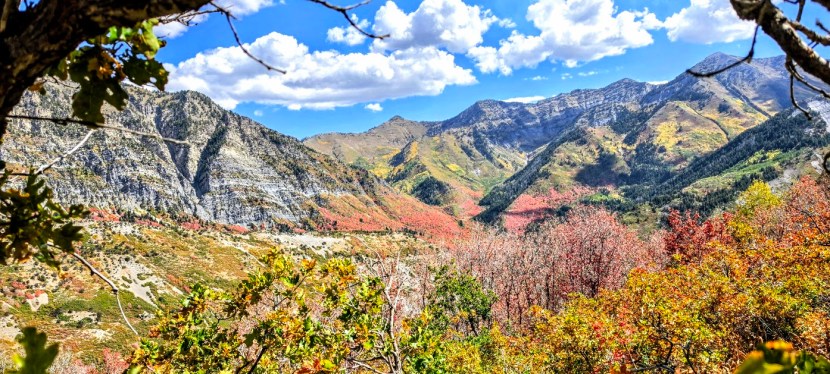
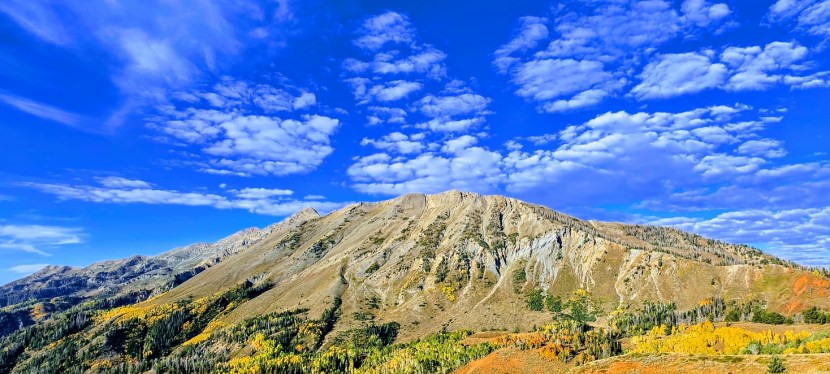
The sublime, surreal reward of the Wildflower Trail left me both breathless and speechless. Hopefully, you can see why.

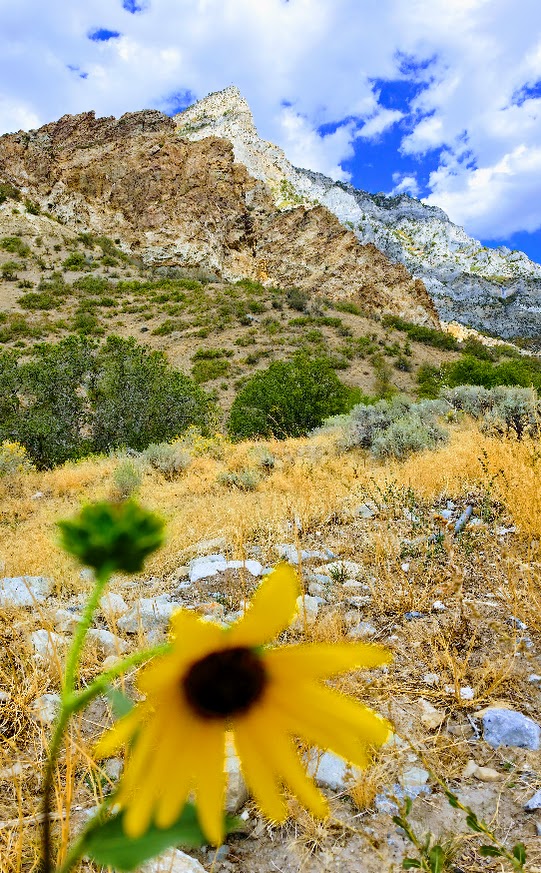
It’s not surprising that this trail is often featured in the annual Wasatch Wildflower Festival a free, annual multi-day summer event hosted by the Cottonwood Canyons Foundation which spans the four Cottonwood Canyons ski resorts (Brighton, Solitude, Snowbird, and Alta) that are just 45 minutes from Salt Lake City. I’ve experienced the California super blooms, which are incredible, but this had a totally different, ethereal feel. Perhaps it’s because there were no traffic jams en route, nor cars piled up by the side of the road, and it wasn’t overrun by too many humans, particularly influencers crushing the wildflowers underfoot and underbody for their shots and the kids and adults picking them. (In fact, I hiked the Wildflower Trail twice around sunset and we had it all to ourselves!) So happy for the spontaneous rendezvous with my dear high school friend Kathy, whom I haven’t seen in forever! What a treat to share the trail with her. She knew all the wildflower names! In the bottom right picture, she is pointing to the coneflowers. The cone is made up of hundreds of tiny disc flowers that turn into seed heads, which provide winter food for goldfinches and songbirds.

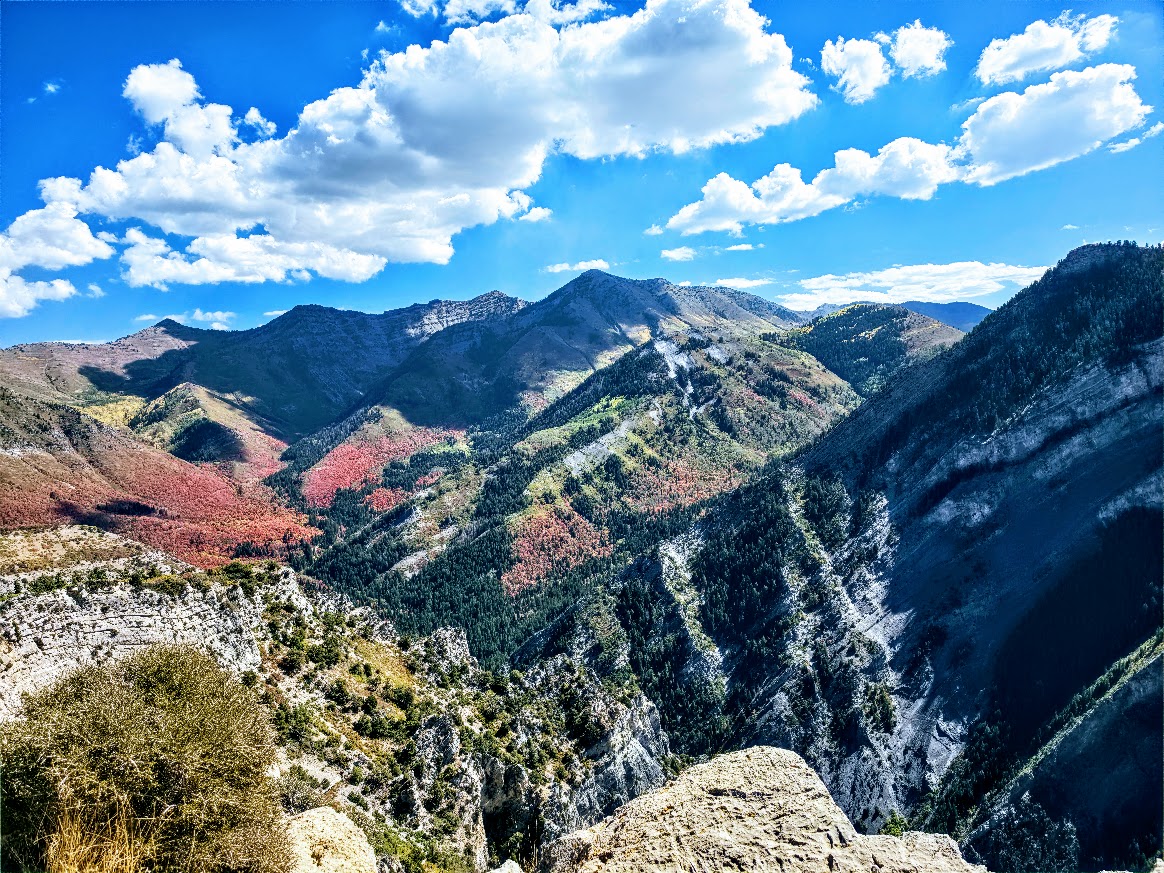
Note: The Wildflower Trail hike and the top of the tram (Hidden Peak) are at 11k feet, as is the ridgeline you traverse if you continue on to Mount Badly and beyond to Cecret Lake Saddle or down to the lake itself.

Ski map of Mount Baldy showing trails, elevation markers, and ski gates with snowy mountain landscape in the background.

The descent to the connector trail to Cecret Lake is rugged and scarmbly, with loose rocks and slippery scree (See pic below, top row, 3rd to right). It makes you wonder if you’re really on a trail. Not sure what happened there, but it’s a mess and in stark contrast to all the other well-groomed, runnable trails. Proceed with caution if you decide to add on.

Even though you’re at high altitude and it’s cooler than at the bottom, you’re still completely exposed to the intense, alpine sun and susceptible to heat- and altitude-related illness. So remember your sunglasses, hat, sun-cover shirt, and bring plenty of water. (If the restaurant is open, you can refill at the top.) Cautionary tale: My other hiking buddy didn’t bring enough water, didn’t refill at the top, and hiked shirtless, with his dark, tanned back absorbing UV radiation (which, I learned, increases by about 10% for every ~3,280 feet of elevation gain). In my friend’s defense, he thought we were going to take the tram up and hike a shorter hike, and we both forgot to refill our water at the top. Unfortunately, on the tram down, he felt sick from extreme dehydration and heat- and altitude-related illness that nearly sent him to the hospital. (The medic at Snowbird was awesome, as were the firemen.) Fortunately, he recovered fine, but it serves as a stark reminder to both of us that altitude, sun exposure, and dehydration are never to be taken lightly.

Lodging: I highly recommend treating yourself to a stay at the Snowbird Resort. Superb experience, incredibly helpful and accommodating staff, good food, fun times. Keep your eyes open for an upcoming “Top Pick Post” on Snowbird Resort.

A person in a black outfit joyfully poses among vibrant blue and pink wildflowers in a mountainous landscape under a clear blue sky.

Happy Trails!
PSA: Reminder, please don’t pick or walk on the wildflowers anywhere; it harms the delicate ecosystem, impacts pollinators, and means fewer flowers each year.

Challenge yourself to find creative photo op solutions. (I scouted the shot above with the wildflowers in the foreground by placing myself on the switchback of the trail ahead, so it appears that I am standing in an uninterrupted field of wildflowers.)

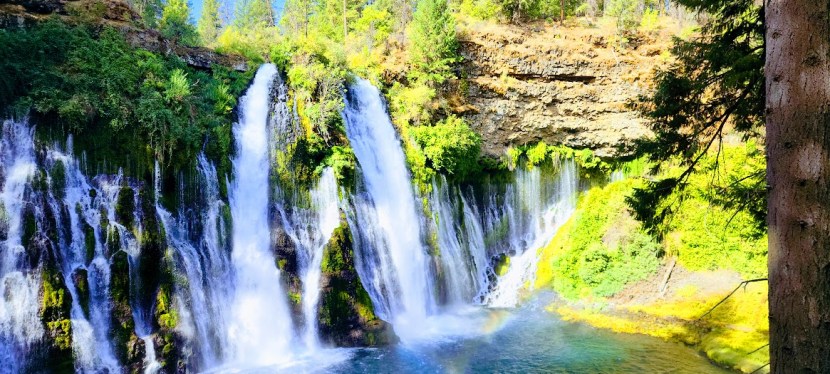
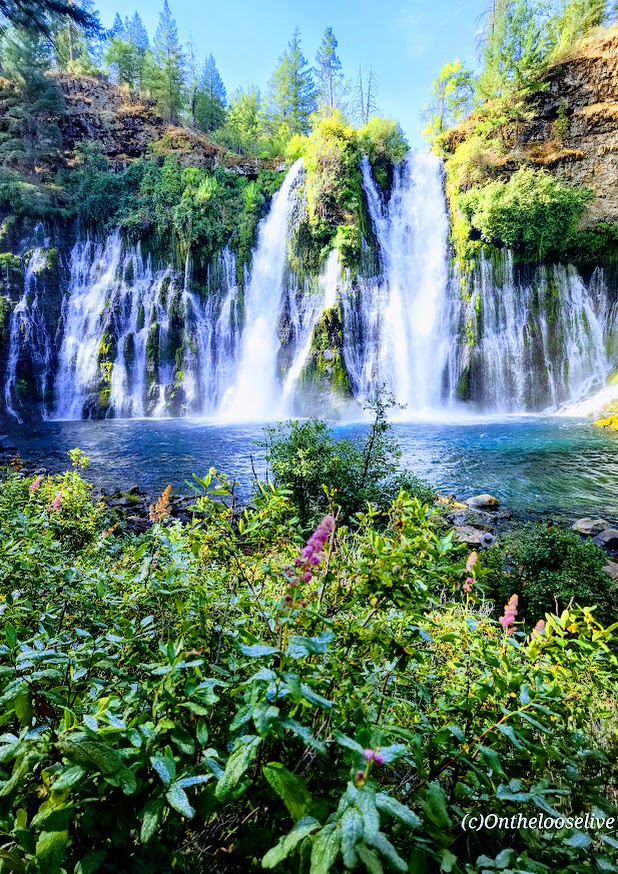
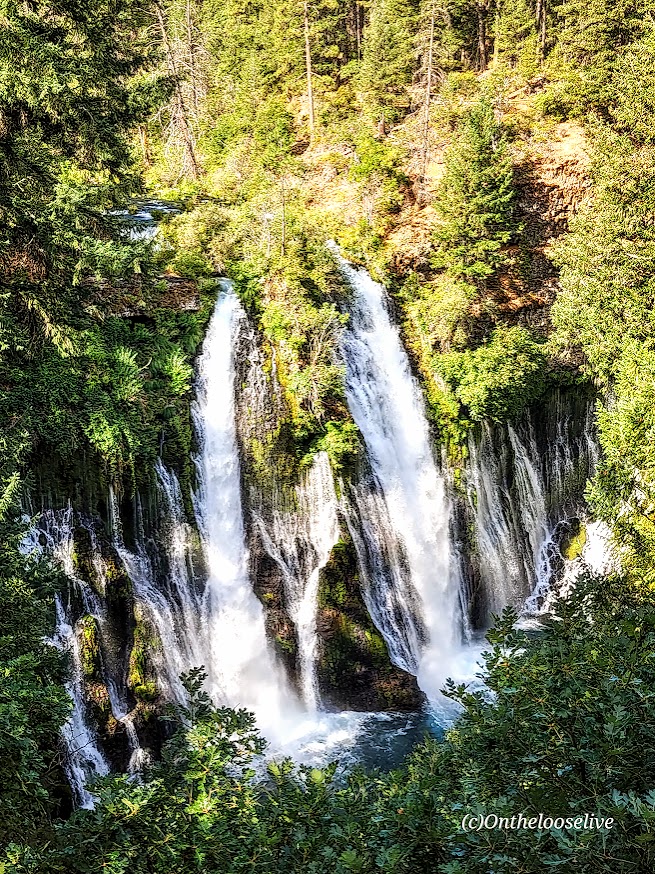
Chasing Waterfalls: Enchanting Burney Falls, Shasta County, CA

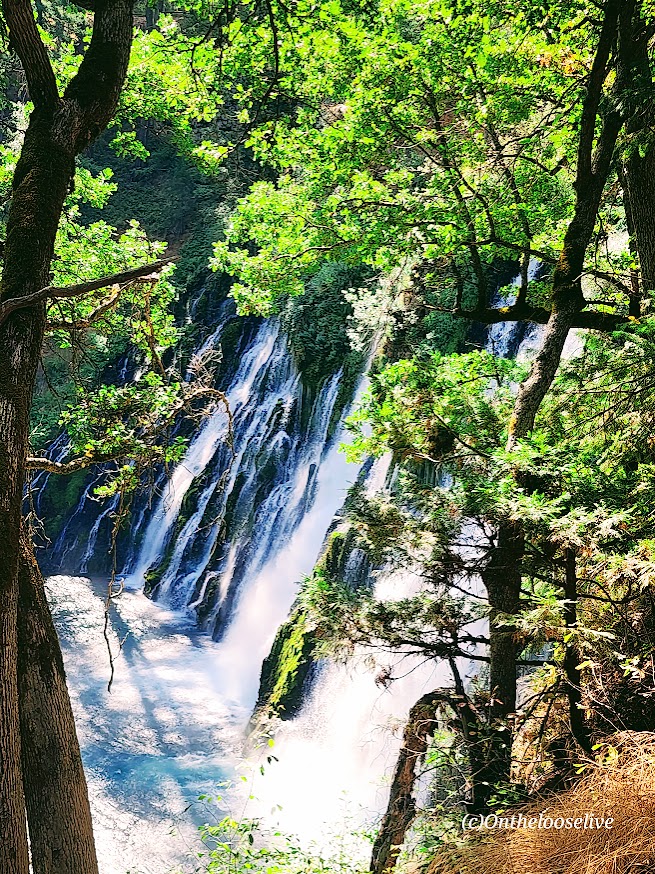
Wowza, I’ve chased a lot of waterfalls in my time, but Burney Falls stands out for its terraced, storybook, enchanting beauty.

And talk about an easy chase —huge reward for minimal effort— easy 1-mile round-trip stroll with an elevation gain of 161 ft

At 129 feet high, Burney Falls is the main attraction of California’s McArthur-Burney Falls Memorial State Park. I’d never heard of it, but it has to be one of the most gorgeous waterfalls that I’ve seen. It has an impressive daily flow of 100 million gallons, and the water temperature ranges from 42 to 48 degrees. While it was tempting, I didn’t take the cold plunge this time.

Apparently, there are 5 more miles of trails in the park, but it’s really all about the waterfall. If you’re adventuring in Lassen Volcanic National Park, Burney Falls is just ~40 miles North off of CA-89.

Notes: Day-use parking fee: $10. No dogs are allowed on trails or day-use areas. Go early; the small parking lot fills up fast.

Getting there: It’s off CA-89 N. (~40 miles from Lassen Volcanic National Park)

Happy Trails!
Key Summit via the Routeburn Track, Fiordland National Park, South Island, NZ

Distance: ~5 Miles

Elevation Gain: ~1,573 FT

Difficulty: Easy to moderate, depending on your fitness level. 

I took a microsample (~10%) of the Routeburn Track Great Walk on my afternoon hike to Key Summit. Having just scrambled up the slick, rugged obstacle course to Lake Marian, it was a refreshing relief to stride up the gravel path to Key Summit.

The climb is gradual and is rewarded with sweeping views of the Hollyford Valley, alpine tarns (lakes/pools), and Fiordland’s panoramic rugged peaks.

Possibly the best Port-o-Potty view ever!

Looking back, after doing both Lake Marian and Key Summit, I might have preferred covering more distance on the Routeburn Track vs the painstaking, slo-mo route up to Lake Marian. (Not the most adventurous take, I know.) I tend to enjoy a more vigorous pace—the former trail runner in me still craves that rhythm. Tortuous terrain that slows my flow tends to be more frustrating than fun for me. Lately, I’ve also been weighing the “risk versus reward” factor. That said, Lake Marian is undeniably spectacular, and the hike has a sense of challenge and excitement that Key Summit doesn’t.

That’s the beauty of the great outdoors: you get to choose your own adventure. And in New Zealand, there’s no shortage of ways to find it. Stay tuned for more Great Walk sampling on the South Island!

Happy Trails!
The Game of Risk: The Hike to Lake Marian, Fiordland National Park, South Island, NZ

Mileage: 4.4 Miles rt

Elevation Gain: 1,400 ft

Difficulty: More gnarly than “difficult” per se

The Lake Marian hike is short, but risky business. A trail sign warns of “rough terrain” and advises that only experienced hikers continue.

For the first half-mile, the path crosses a swing bridge over the Hollyford River and follows the magnificent, roaring Marian Creek, lulling you into a false sense of ease. The creek is dazzling, but dangerous too. (Sadly, in 2024, a 10-year-old girl slipped in and was washed away.)

After the warning sign, you begin the slippery obstacle course, scrambling over wet roots, loose, slimy mossy rocks, and mud on a barely perceptible, steep trail. It is a painstaking, slow-motion journey, each step a careful calculation. I only have 1 photo of the trail because I needed to keep my hands free and my focus for fall / accident prevention. It’s the kind of hike best left to the nimble and sure-footed—reminiscent of some trails in the rainforests of Hawaii, but possibly more treacherous.

This hike stands in stark contrast to the meticulously groomed trails like the Kepler Track and the Tama Lakes Track that I hiked a few days before (some might argue those are over-groomed), but my knees and I have zero complaints.

Everyone knows I love my alpine lakes and often go to great lengths to get to them.  Lake Marian, with its granite glacier-carved basin, snow-capped peaks, and waterfalls, is spectacularly stunning, but having done it, I’m not sure I would choose it again. (Especially, with ALL the beauty of New Zealand to choose from and the more pristine “tracks” that don’t threaten a broken ankle, or leg at every turn…) For instance, after this hike, I went on the nearby Routeburn Track (one of New Zealand’s 11 “Great Walks”) to Key Summit (post to come). In retrospect, spending the day taking in more miles of that 20-mile track would have been time better spent.

On the way down, a helicopter rescue was underway for a woman who had slipped and broken her leg. Unfortunately, the terrain was so rugged that they couldn’t maneuver the helicopter where it was needed. Instead, the rescuers would need to hike in to get her…(She was still waiting, hours later.) It made me think: perhaps a more effective warning sign for the hike would be one that shows the tally of rescues here. I have to imagine they are weekly, if not, daily in the high season.

While some might label me a risk taker, the risks I take are certainly becoming more calculated with each passing year…

Pro Tips: If you’re determined to do the Lake Marian hike, save it for your last day so an accident doesn’t ruin your entire vacation. Bring water shoes if you’re planning to go for an immersion, as there are sharp rocks at the shore. (I skipped my usual dip as the air was brisk, and I knew the hike back through the dense forest would be slow going, likely not enough vigorous movement to ward off hypothermia.)

Getting There: The  Marian Lake trailhead is located in Fiordland National Park, just 1km off Milford-Te Anau Highway (SH 94) on Lower Hlyyfor Road.

Happy Trails! Stay Safe!
Tame Hike; Wild Weather: Kepler Track to Luxmore Hut, Fiordland NP, South Island, NZ

Distance from the Te Anau Control Gates to Luxmore Hut: 16 Miles Round-trip

Total Distance of the Multiday Loop: ~37 Miles

Elevation Gain: 3K Ft (Total for Multiday Loop: ~7K Ft)

Difficulty: Moderate (Depending on your fitness level.)

The 37-mile Kepler Track loop in Fiordland National Park is one of New Zealand’s 11 “Great Walks”—a network of meticulously maintained multi-day routes designed to showcase the country’s most spectacular landscapes. Across these trails, hikers move through a range of terrain, from the volcanic drama of the Tongariro Northern Circuit to Kepler’s alpine ridgelines and Fiordland views, coastal forests, glacier-carved valleys, and more.

I hiked 16 miles of the Kepler Track to Luxmore Hut, which sits in a fully exposed alpine basin at 3,560 feet overlooking the deep blue expanse of Lake Te Anau and Fiords below.

You might question, as I did, “Alpine?” How can 3,560 feet possibly qualify? I had always assumed alpine conditions were strictly tied to high altitude. I was surprised to find that they’re not. “Alpine” refers instead to environments above the natural tree line that are defined by intense, volatile weather, strong winds, and exposure, regardless of how many feet above sea level they sit. That’s how, despite its modest altitude, the Luxmore Hut qualifies as alpine. (You’re welcome.) Both the Kepler ridgeline and Luxmore Hut are subject (as I was soon to discover) to the wild vagaries of Mother Nature…As is the Tama Lakes hike, I did on the North Island, with 4,724 feet being the high point there.

A “walk in the park” until…

The hike begins as a true “walk in the park,” following pristine, well-groomed trails through beech forest and fern-lined trails that never stray too far from the lovely, sparkling shores of Lake Te Anau, the second-largest lake in New Zealand and the largest in the South Island.

In a mile and a half, the path brings you to the beach of Dock Bay (an easy family destination for picnics and swimming).  At the 3-mile point, you’ll reach Brod Bay, which has 15 tent sites (reservations required), a cooking shelter, picnic tables, and a couple of port-o-potties. Despite the picturesque beauty, you may not want to set up camp here literally or figuratively as the sandflies are described as intense, relentless, and ferocious. I didn’t linger to find out.

Pro Tip: If you’re short on time and lucky enough to catch a water taxi from Te Anau to Brod Bay, you can cut off the first 3 miles of the hike and start at Brod Bay.

From Brod Bay, it’s 5 miles and 2,791 ft elevation gain to the Luxmore Hut. This is where the climb begins, but the grade is gentle for the most part, and there’s a short set of stairs to climb.

From the forest, you emerge onto the tussock-covered ridgeline with spectacular views of Lake Te Anau and Fiordland.

Pro Tip: Be prepared for sudden weather shifts with strong winds, rain, hail, or snow at the alpine level.

The moment I emerged from the protection of the forest onto the ridge, I was nearly blasted off it by cold, gale-force winds. The cloud bank was coming in fast. I had about a mile to go to reach the hut and was about to turn around when I ran into a hiker on his return trip who told me, “It’s just over the next hill…” (Note, in the video below, I’m a bit tongue-tied due to exertion and the wind; it’s Luxmore Hut, not Luxemburg Hut.)

I made it to Luxmore Hut, but I didn’t linger there either, as I wasn’t sure how bad the weather would get. Rain started mixing with the wild wind as I scurried back across the ridge.

As soon as I dropped into the forest, it was like being transported to a safe haven. Yes, it was still raining, but not much moisture was making it through the forest canopy, and almost none of the wind was getting through.

Kepler Hut & Brod Bay Campsites Reservation Information at the Department of Conservation website. Reservations open in May for teh following season.

By the time I reached Brods Bay, though, the rain was heavier and more persistent. The previously serene lake looked more like an ocean with surfable white-water waves clobbering the shore. Happy, I wasn’t camping there and grateful for my rain jacket.

The Great Walks season is late October to April. Winter (May–October) is for experienced mountaineers only-requiring experience with snow, ice, avalanche hazards, and navigation. Consensus is that the moderate Kepler Track is more difficult than the Milford and Routeburn Tracks. While I did slightly less than half the miles and elevation gain of the whole Kepler Track, if the other half is similar, I’d rate it easy to moderate. For context, I’m used to the rugged terrain of Utah. So far, the groomed foot-friendly trails of the Kepler Track and the Tama Lakes Track have blown me away (almost literally, as you’ll see from the videos above) with how easy they are on the feet, knees, and body. I wore my Nike trail runners. It was dreamy, even in the wind and rain.

Getting There: The trailhead is at the Te Anau Control Gates a 3 mile drive or walk from Te  Anau town center.

With its many restaurants and shops, the village of Te Anau itself is charming for a walkabout. Plenty of spots to come in out of the rain and refuel after a full, windy, wet day on the trail. Italian was the call that evening.

Happy Trails! Stay tuned for more New Zealand adventures!