Ben Lemond Track—Choose your adventure
| Tiki Trail/ Base of Gondola Start to Summit Distance rt from Tiki Trail: ~9.7 miles Elevation Gain: ~4,786 | Top of Skyline Gondola Head Start to Summit Distance rt: ~7.1 miles Elevation Gain: ~3,310 ft |
Difficulty: Moderate/difficult, depending on your fitness level. (AllTrails rates it as strenuous/advanced/highly challenging.)
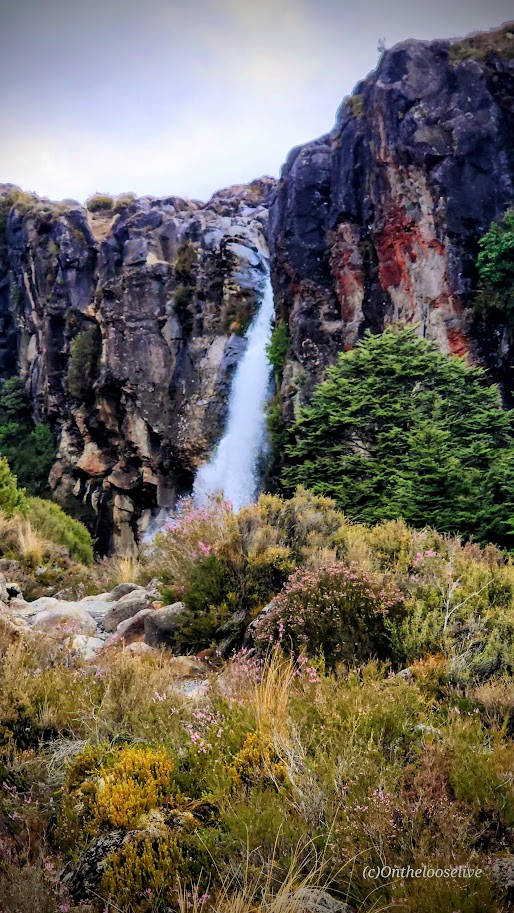
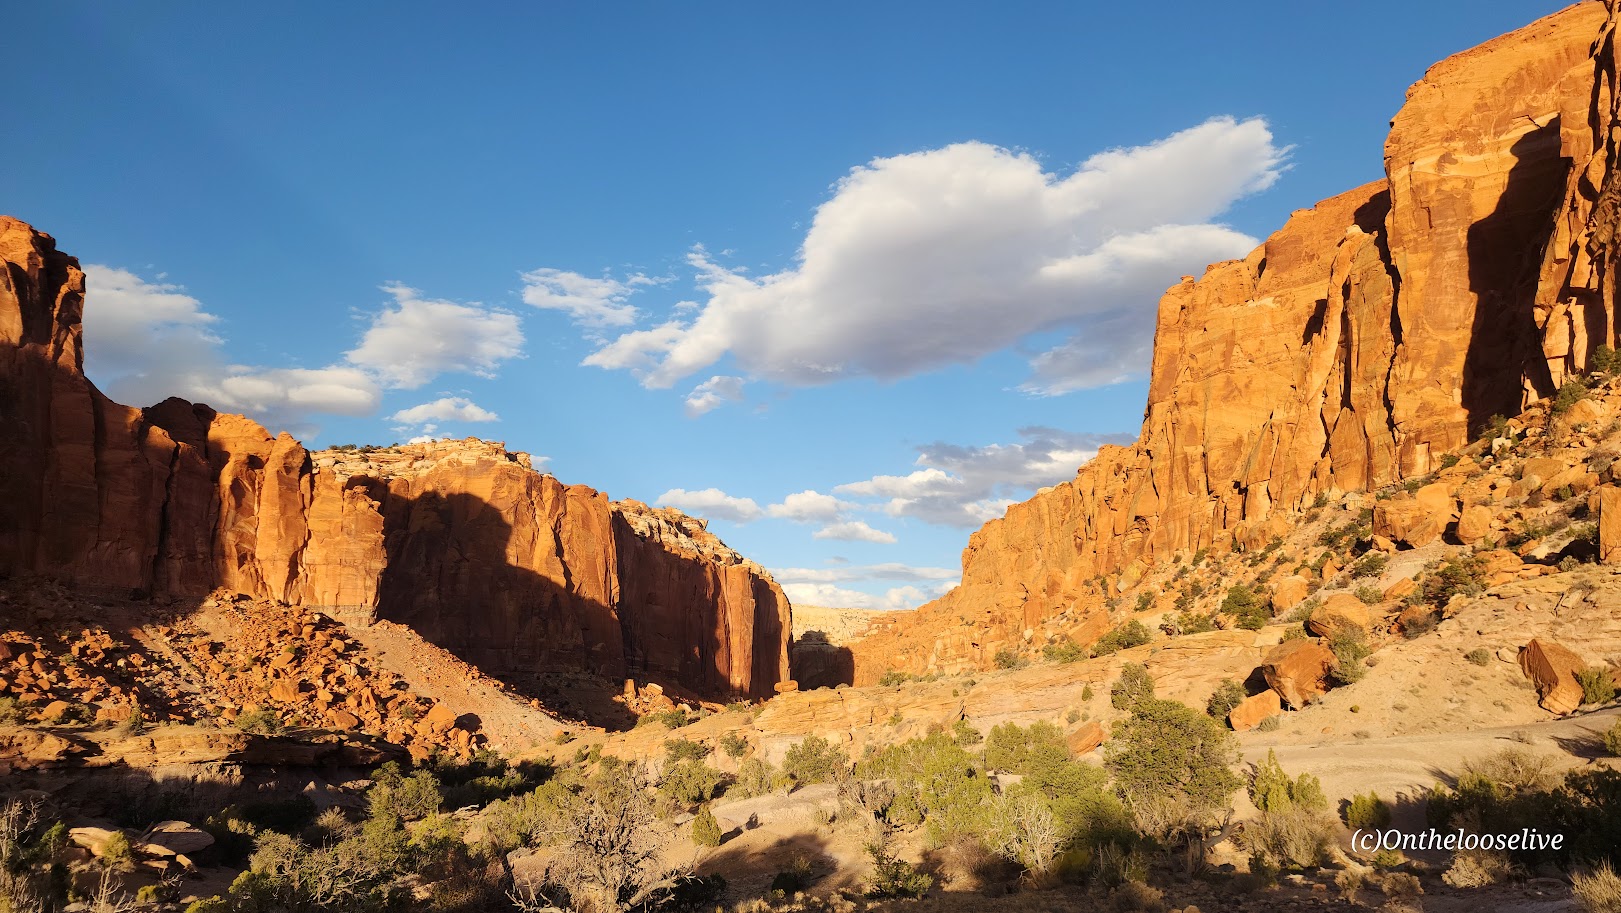
Of my two weeks of adventures in New Zealand, this was one of my favorite days—and easily one of my favorite days anywhere. Simply EPIC from start to finish.
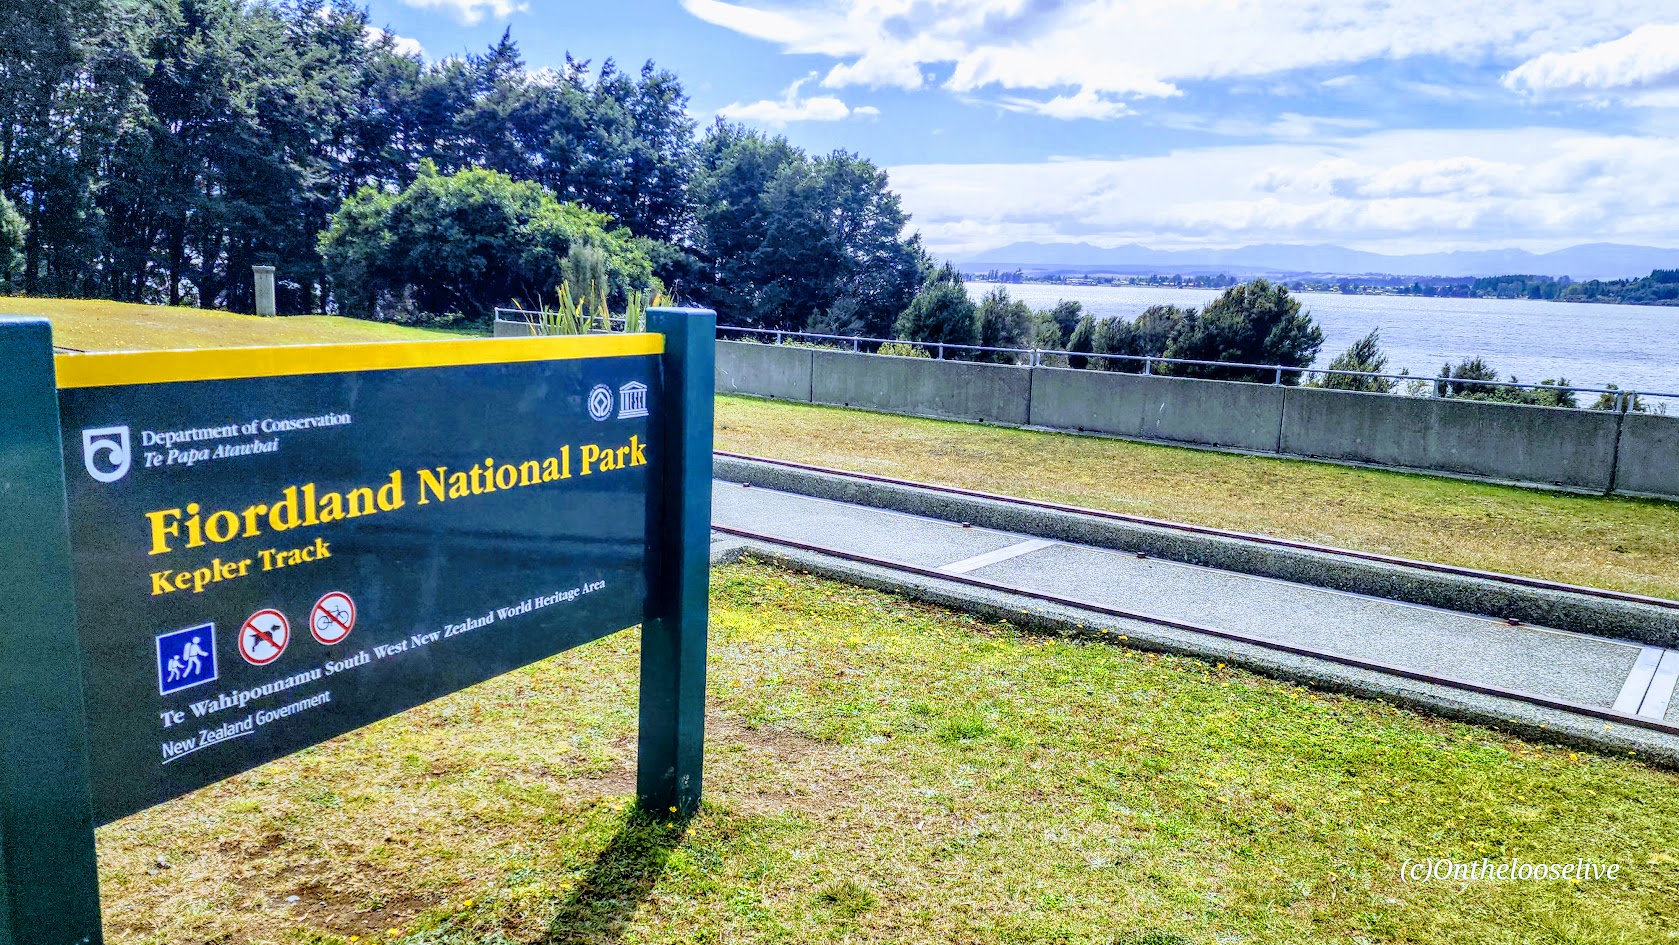
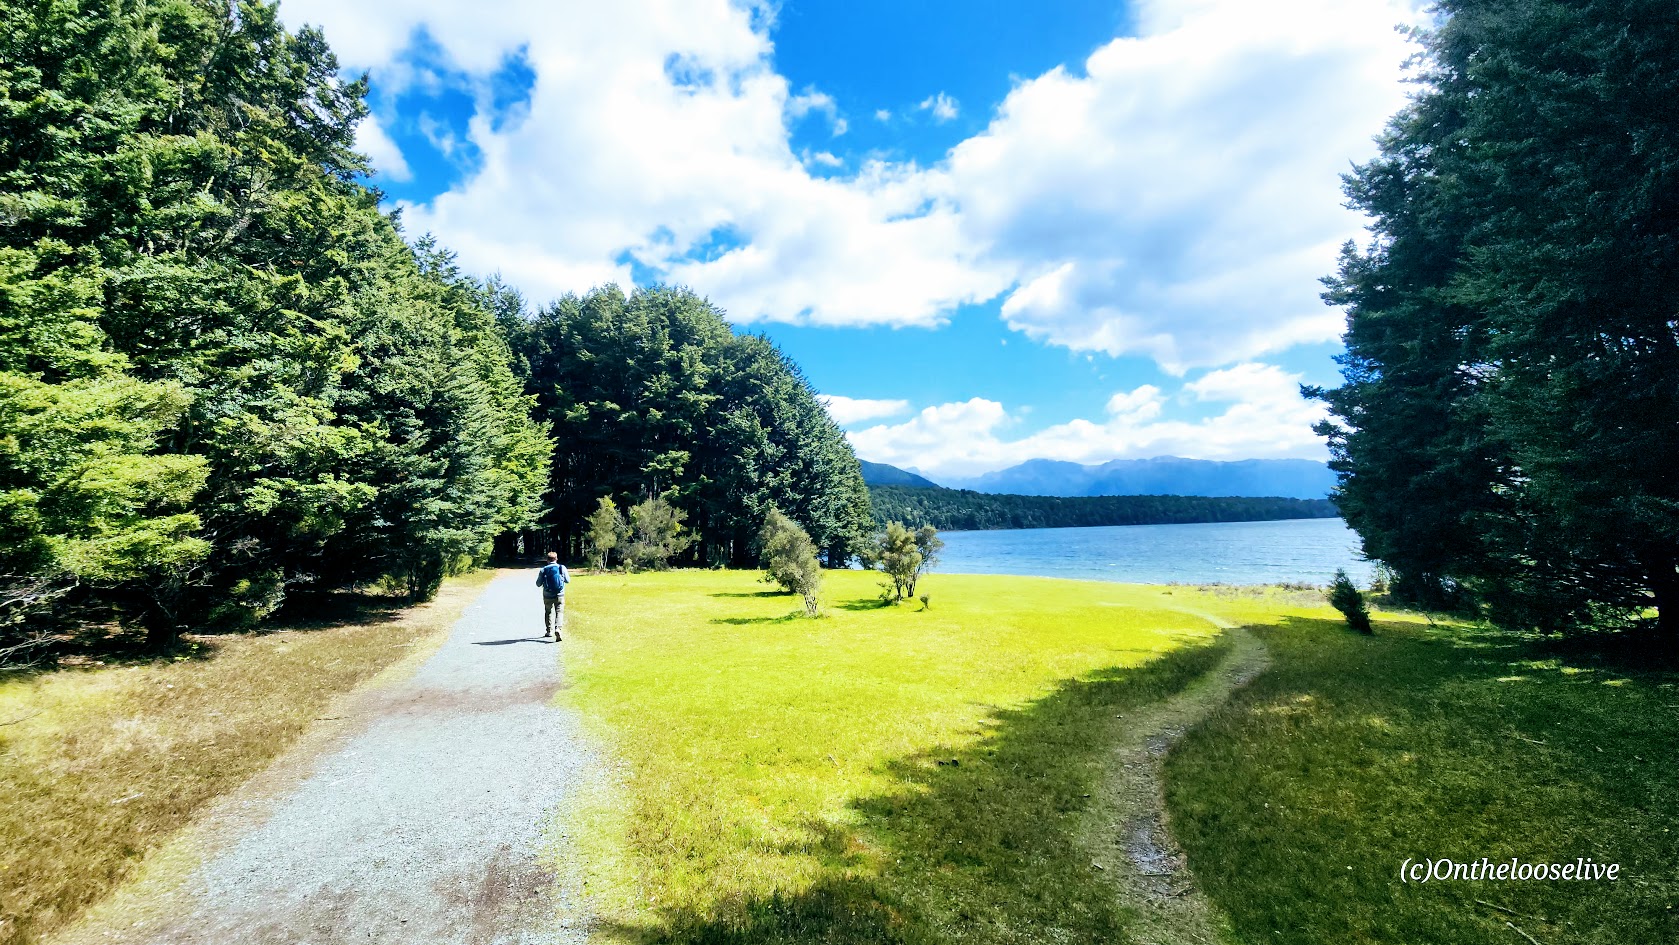
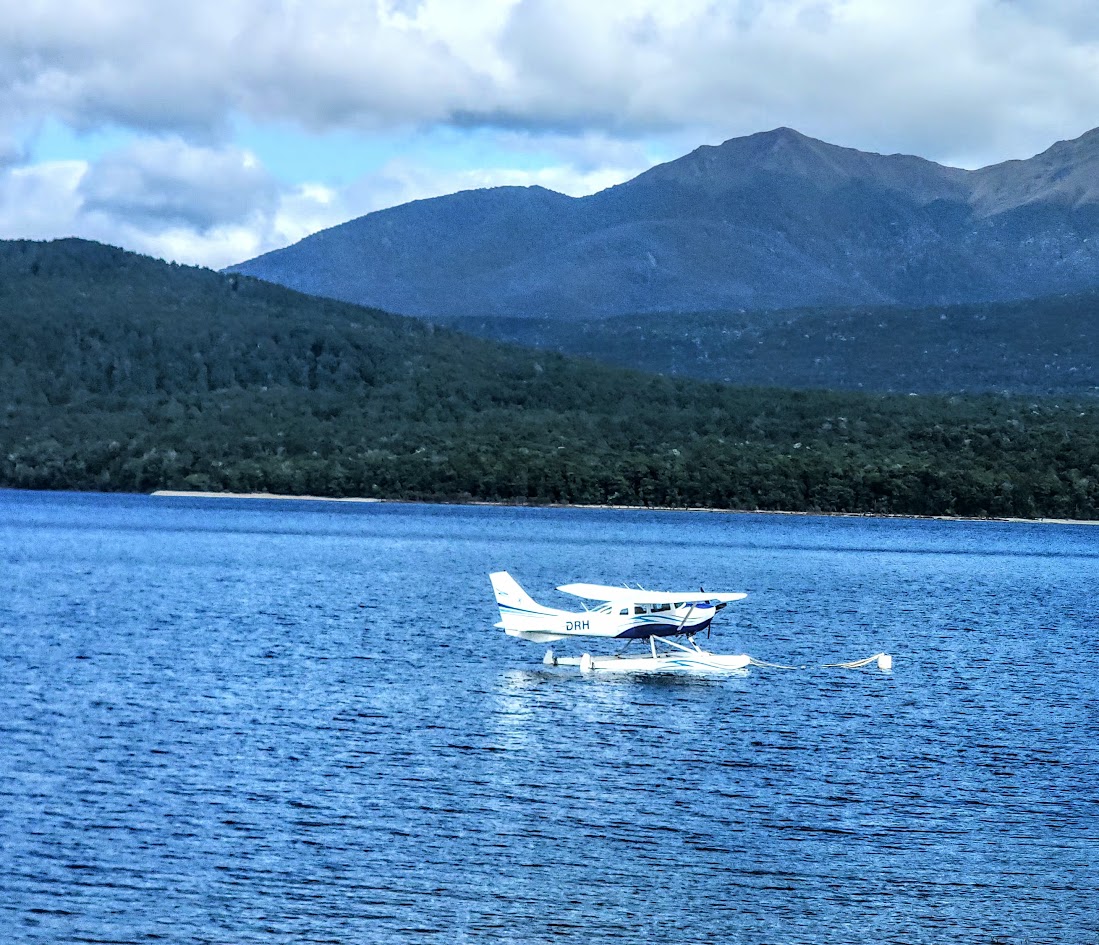
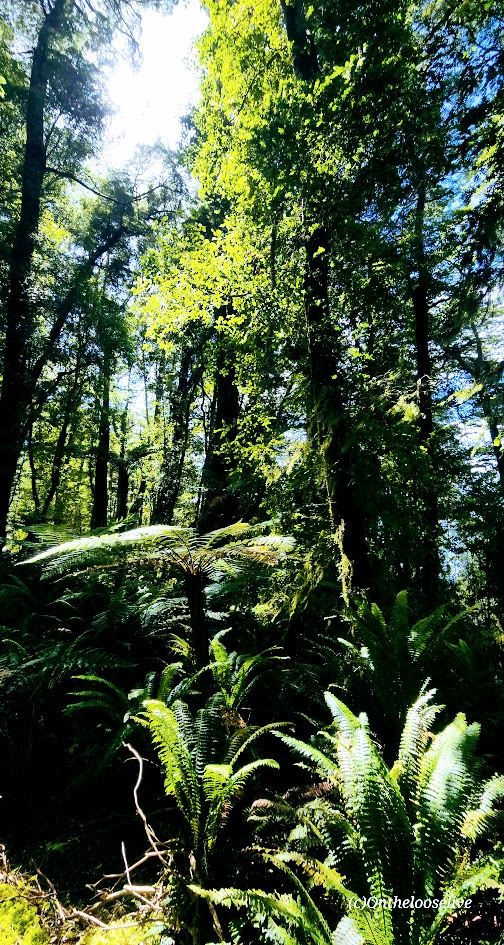
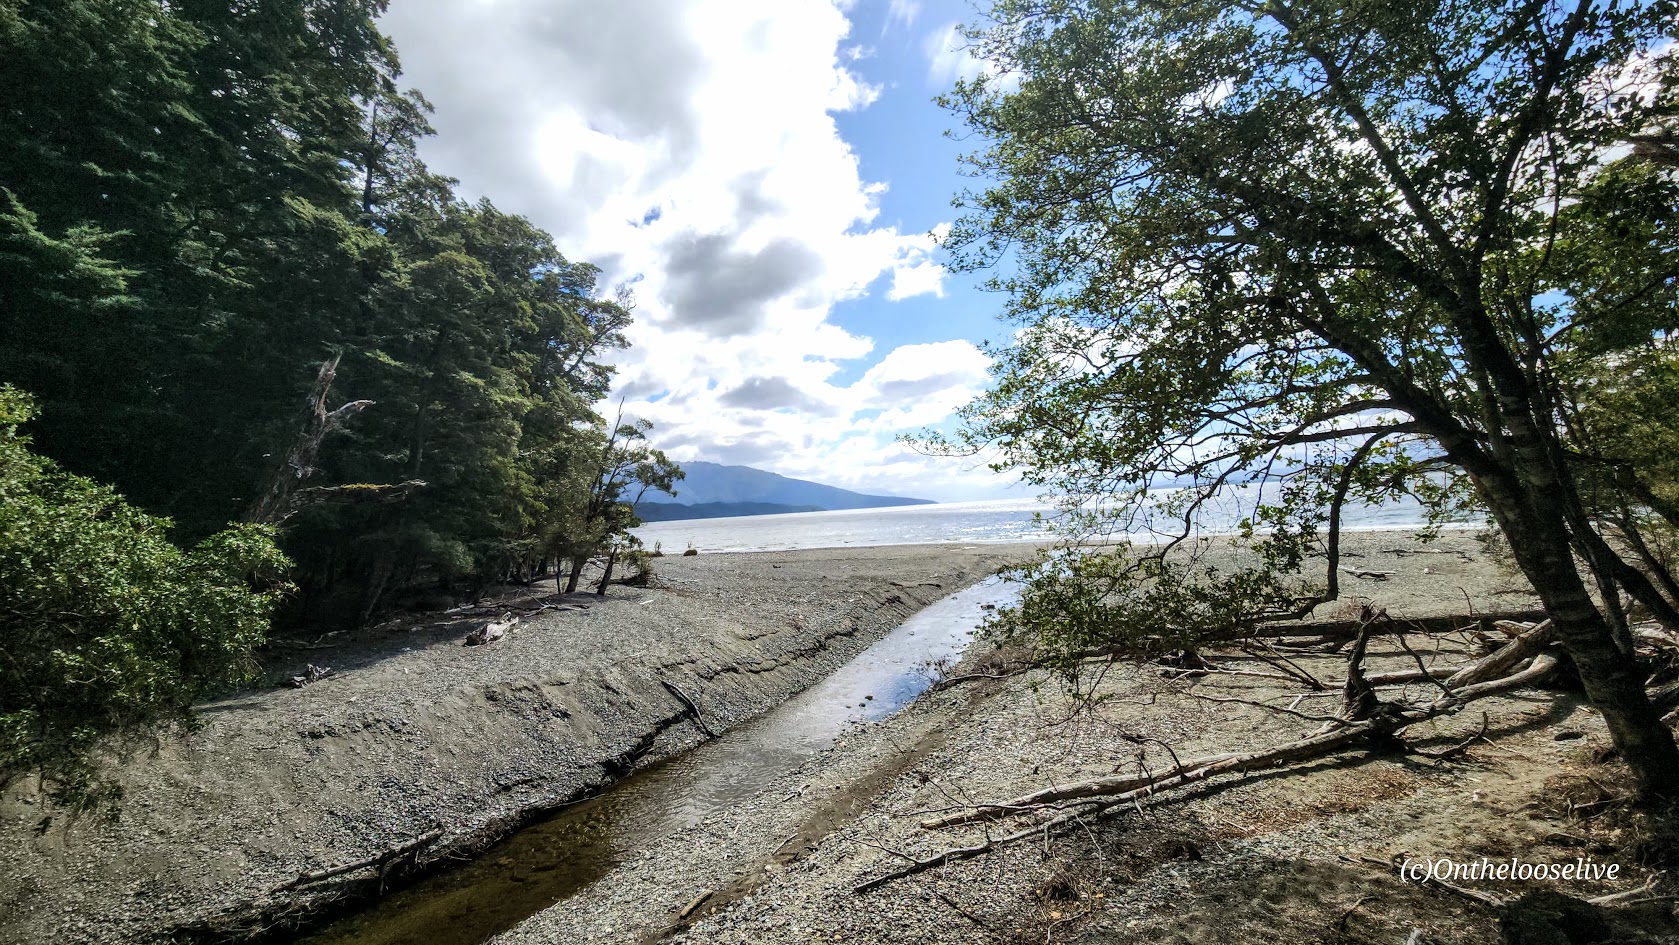
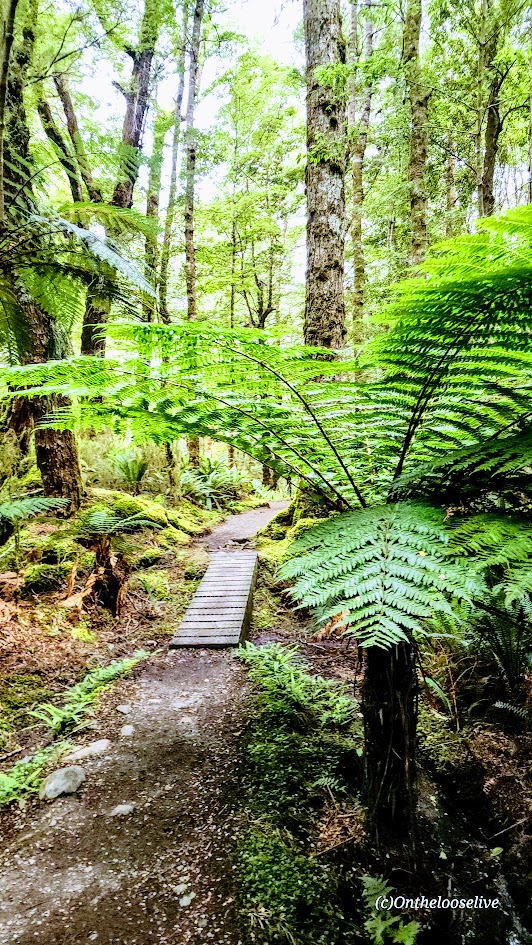
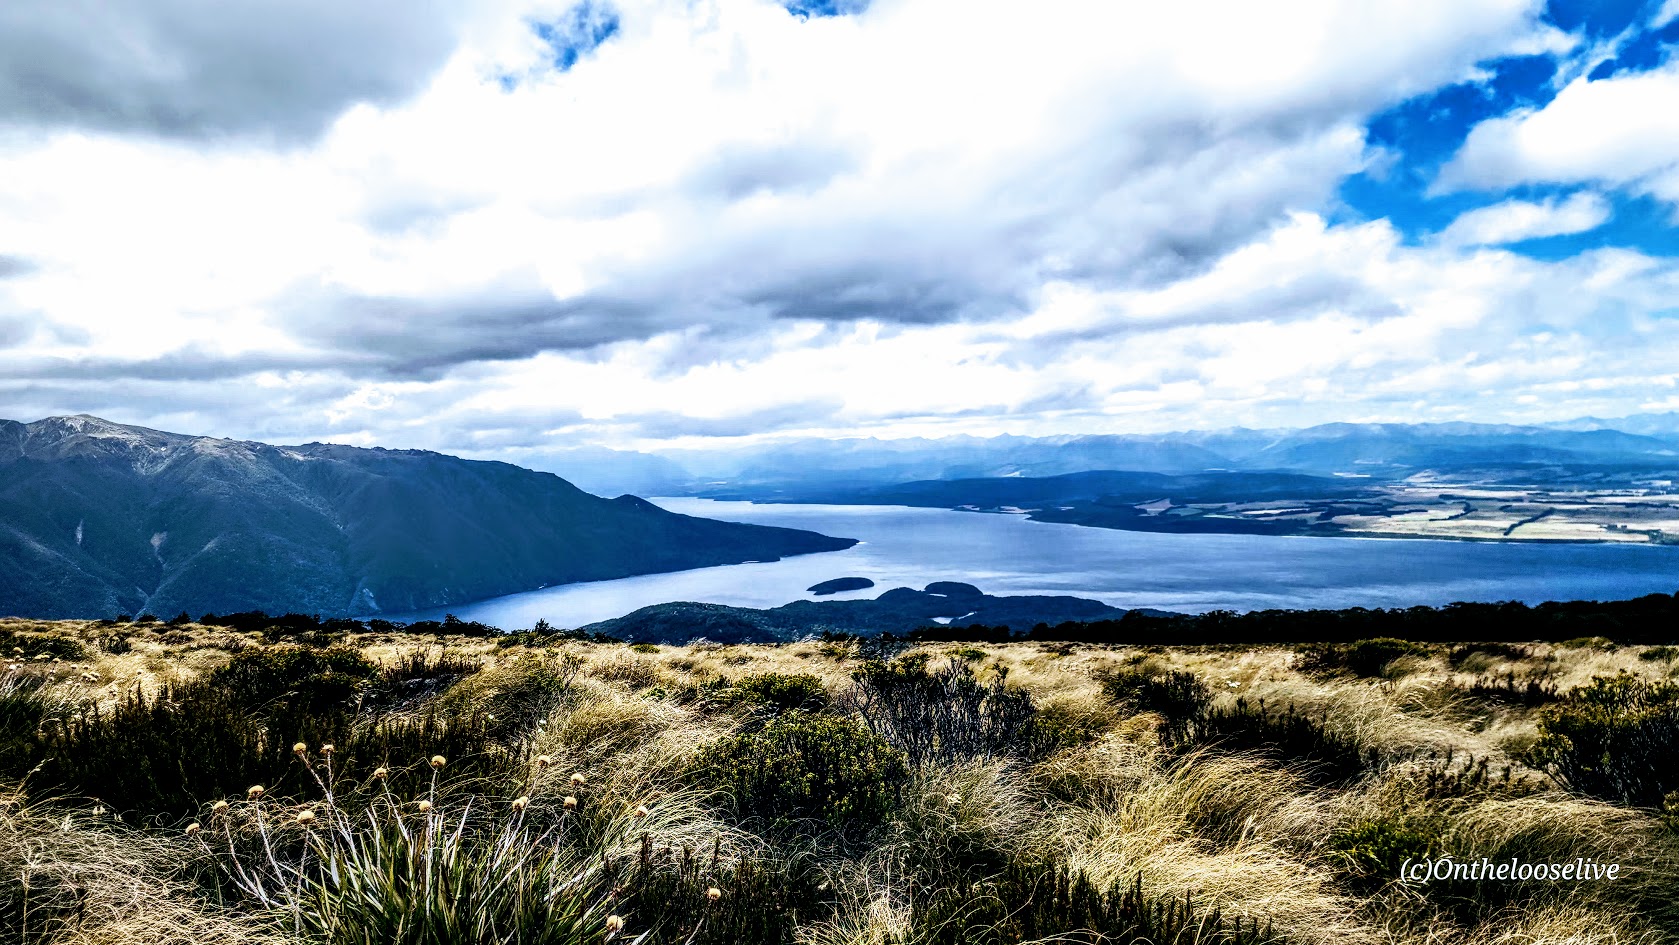
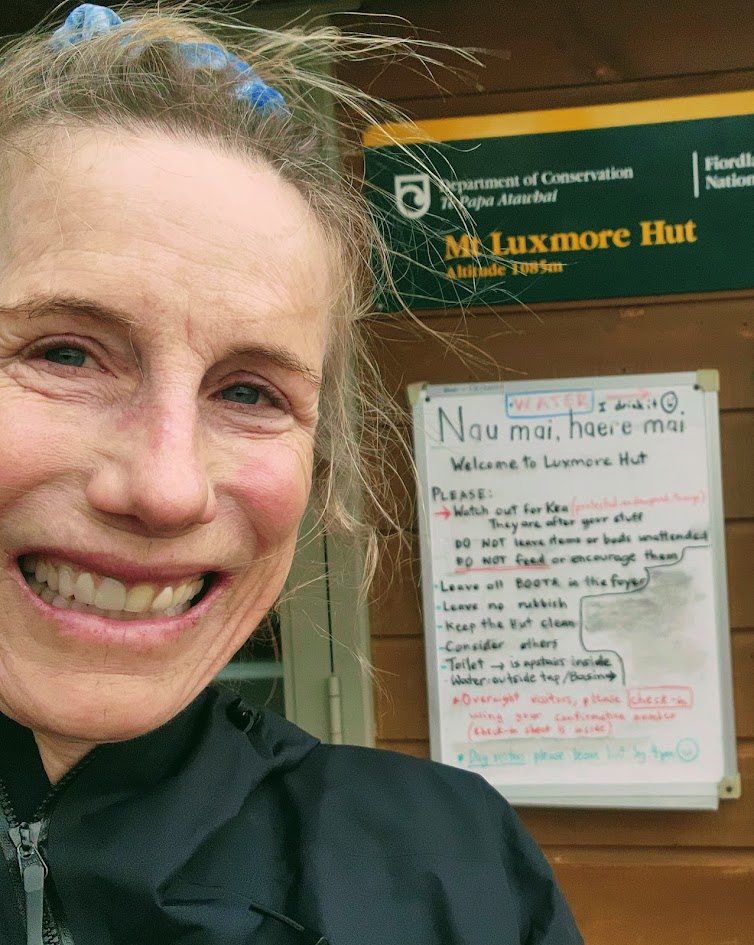
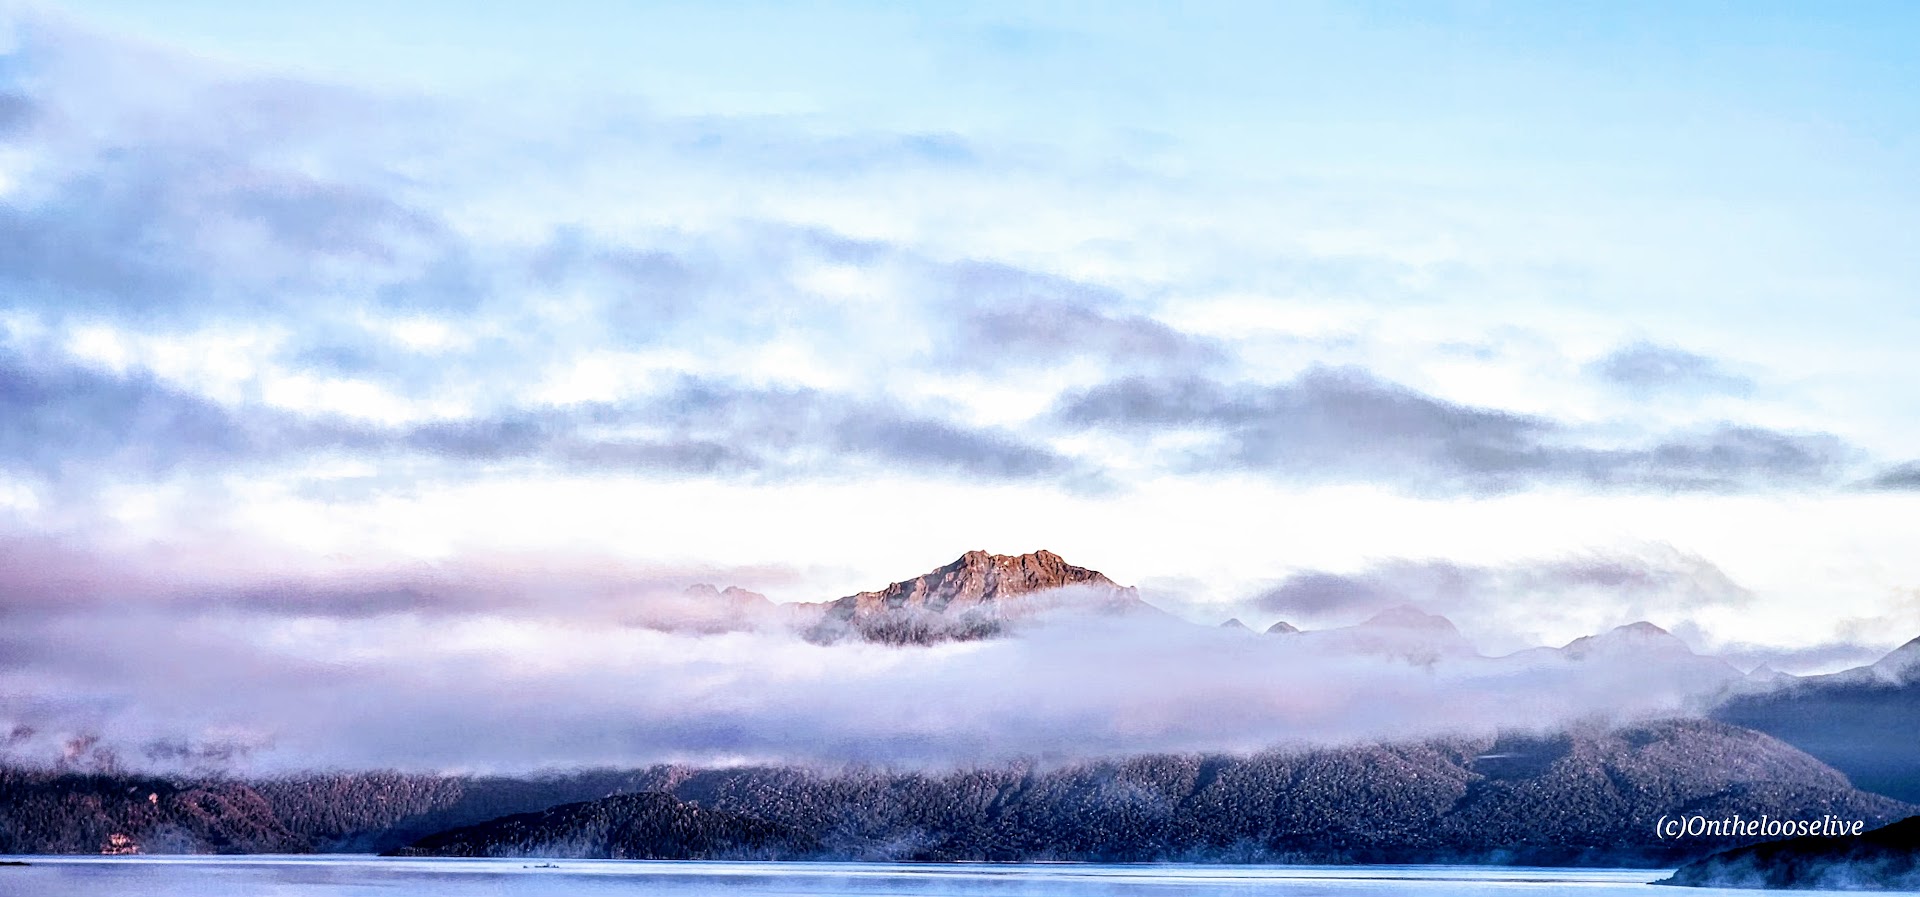
After hiking the Marian Lake Track and Key Summit the day before, I spent the night in a small, somewhat dilapidated motel in the scenic, lakeside village of Manapouri. While the accommodation left much to be desired, falling asleep and waking up to the spectacular view below more than made up for it—a fortuitous start to a day that would prove exceptional both on and off the trail.
Queenstown, the South Island’s Adventure Mecca
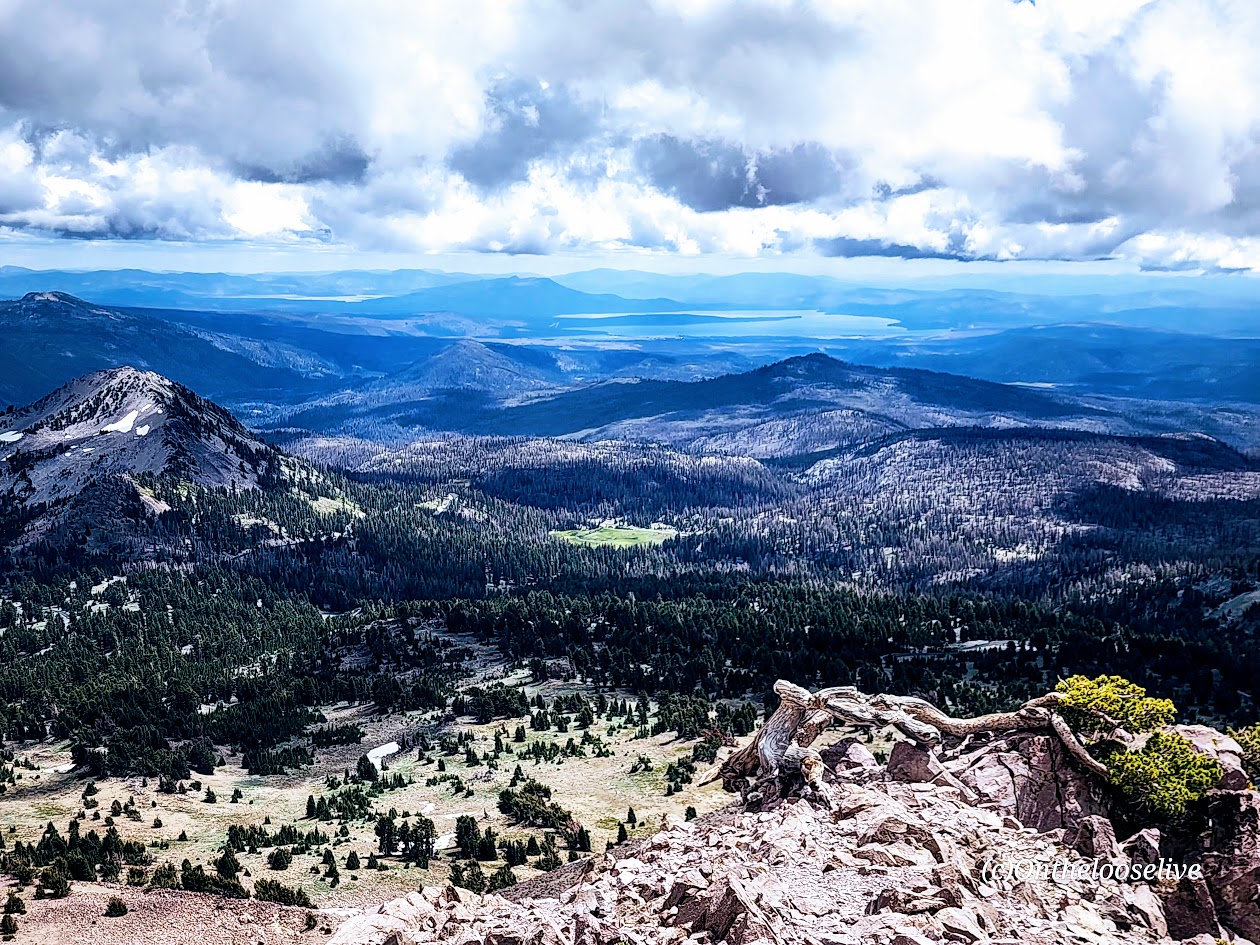
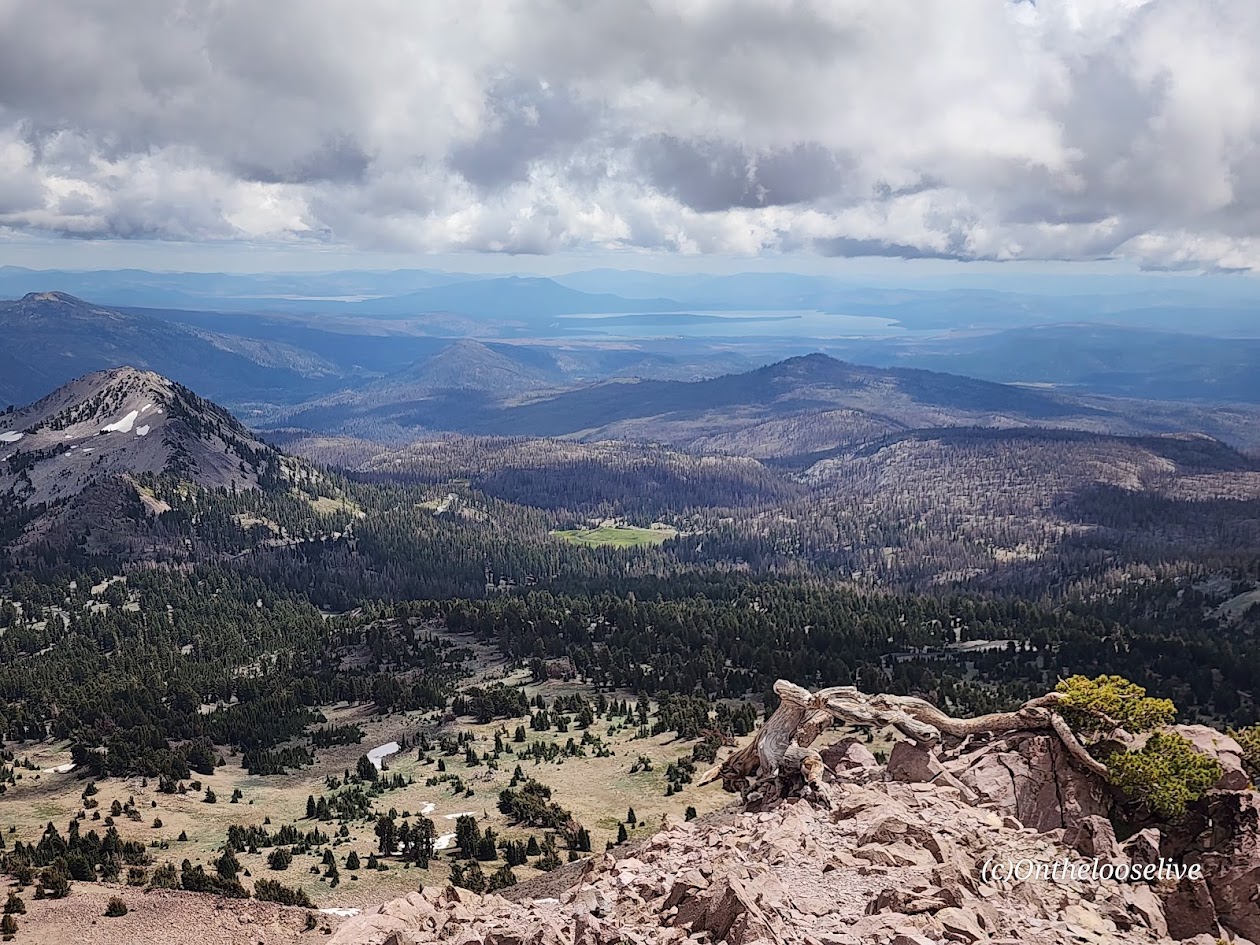
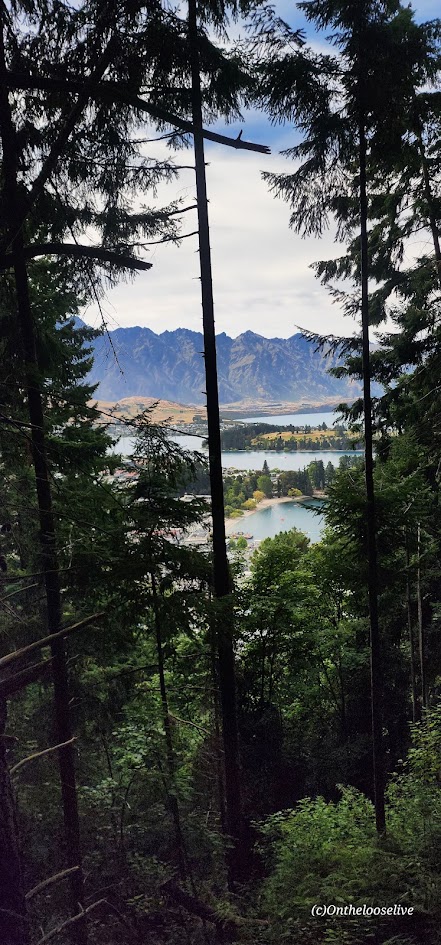
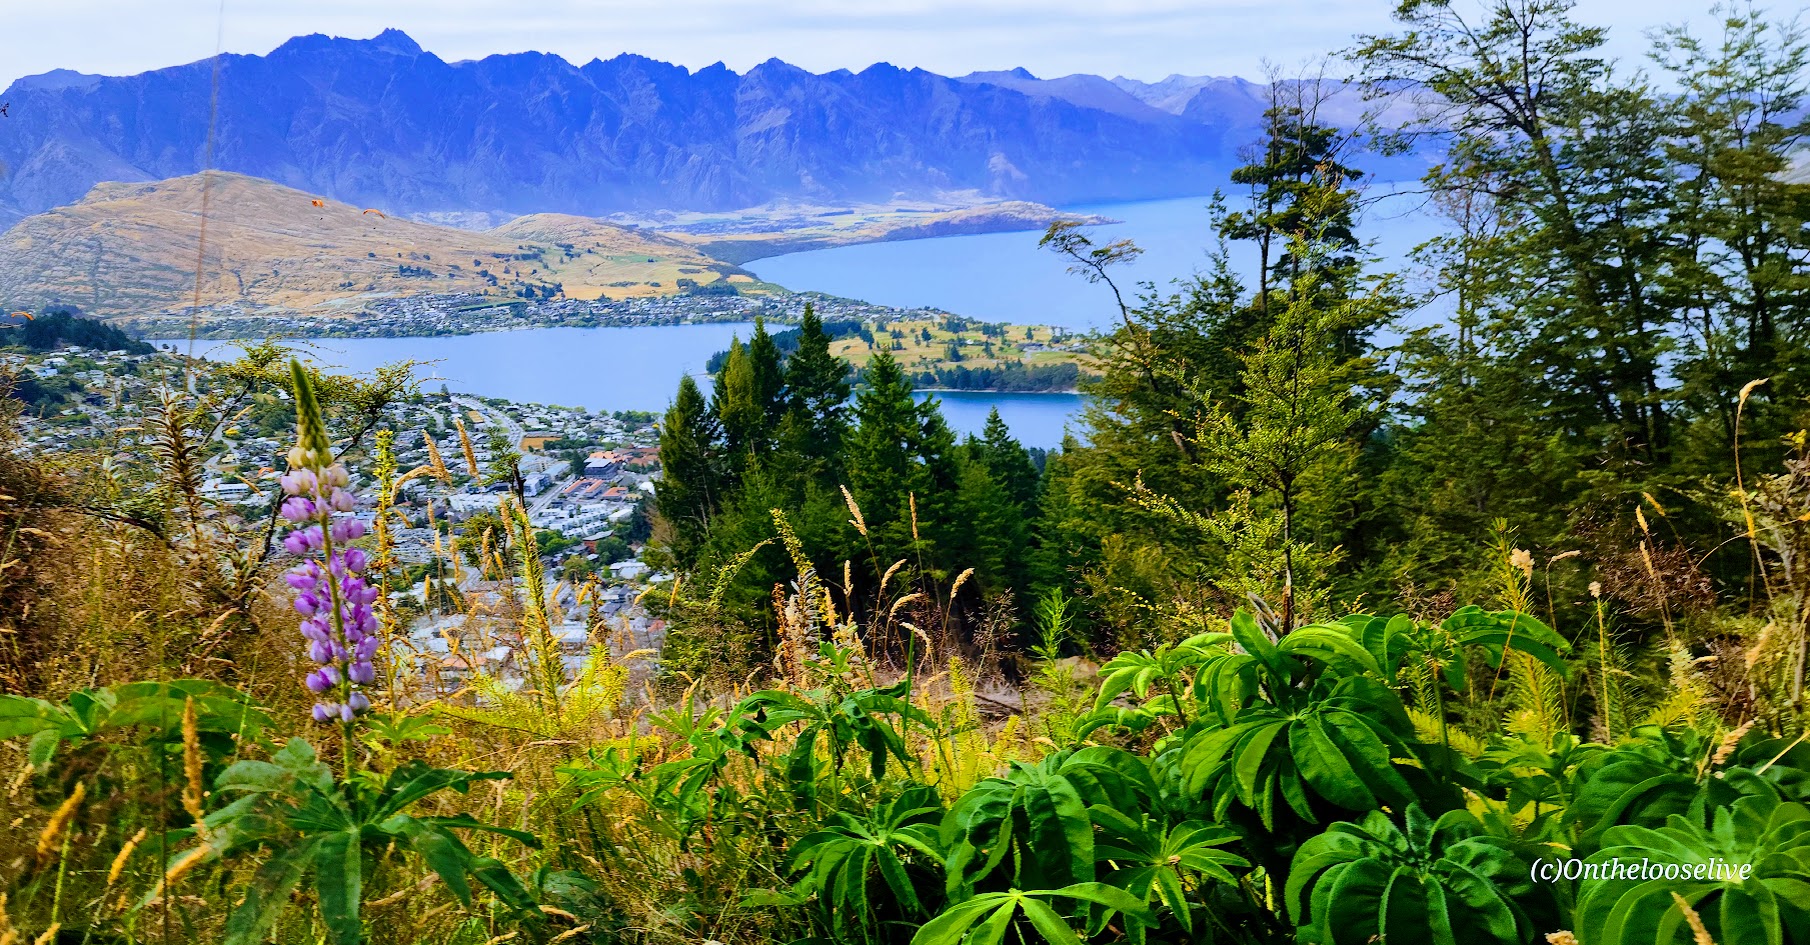
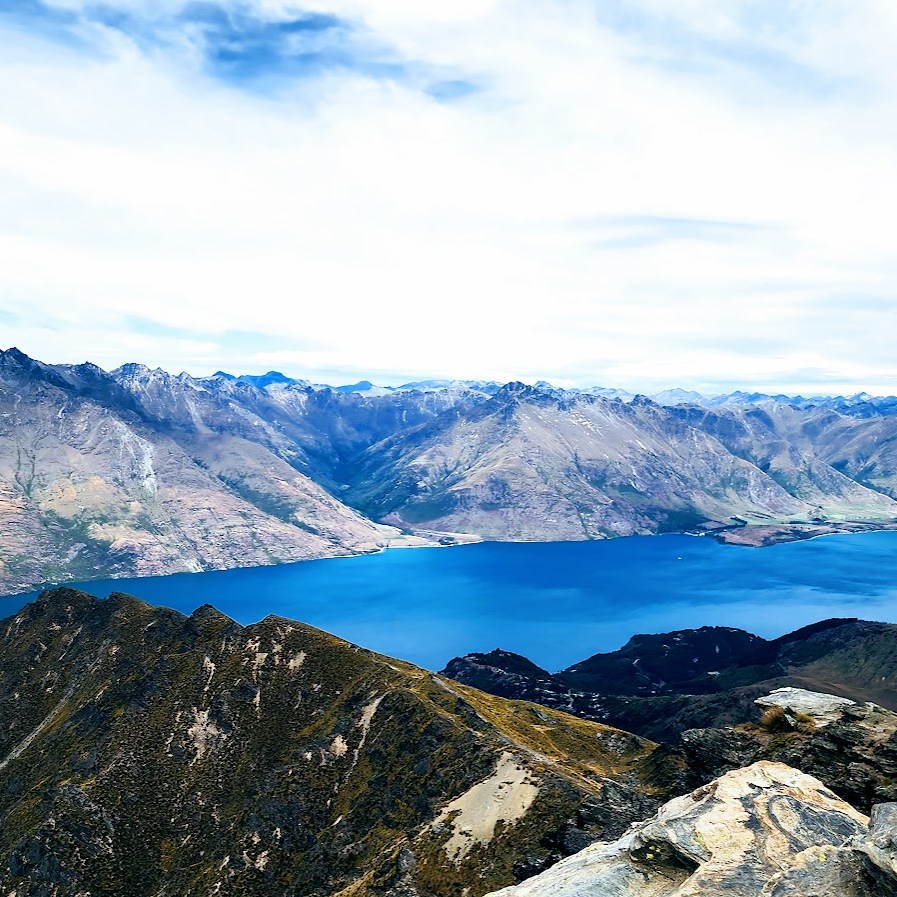
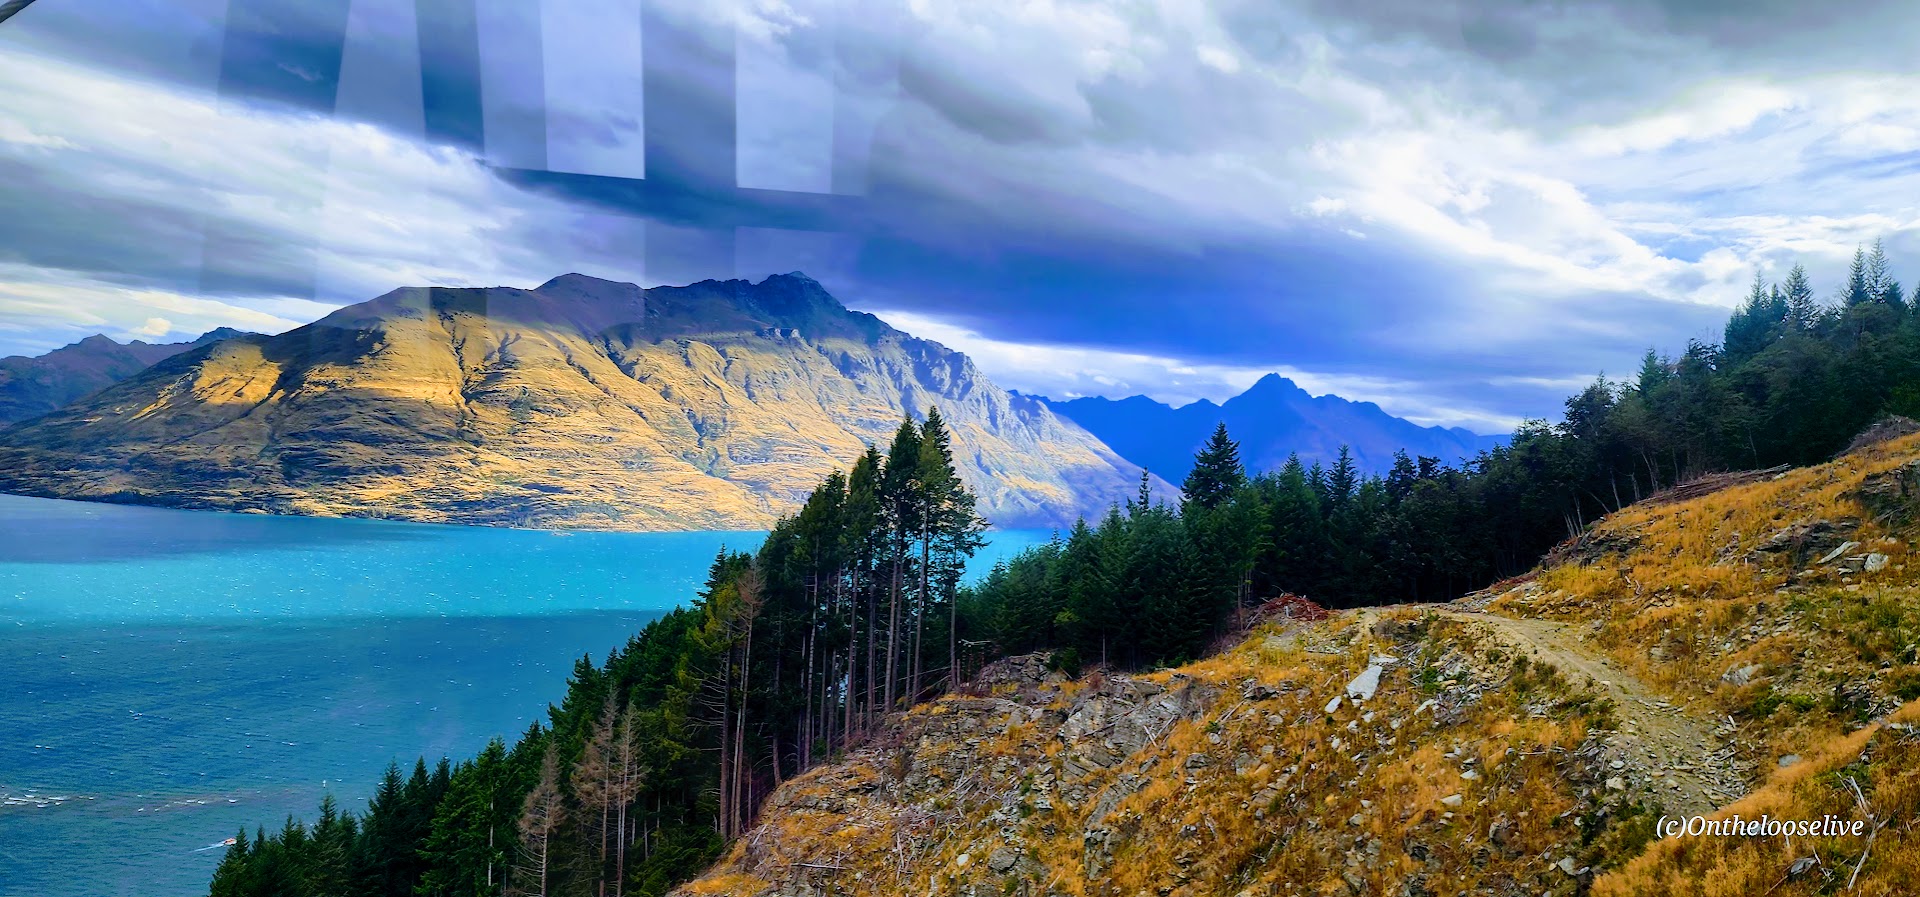
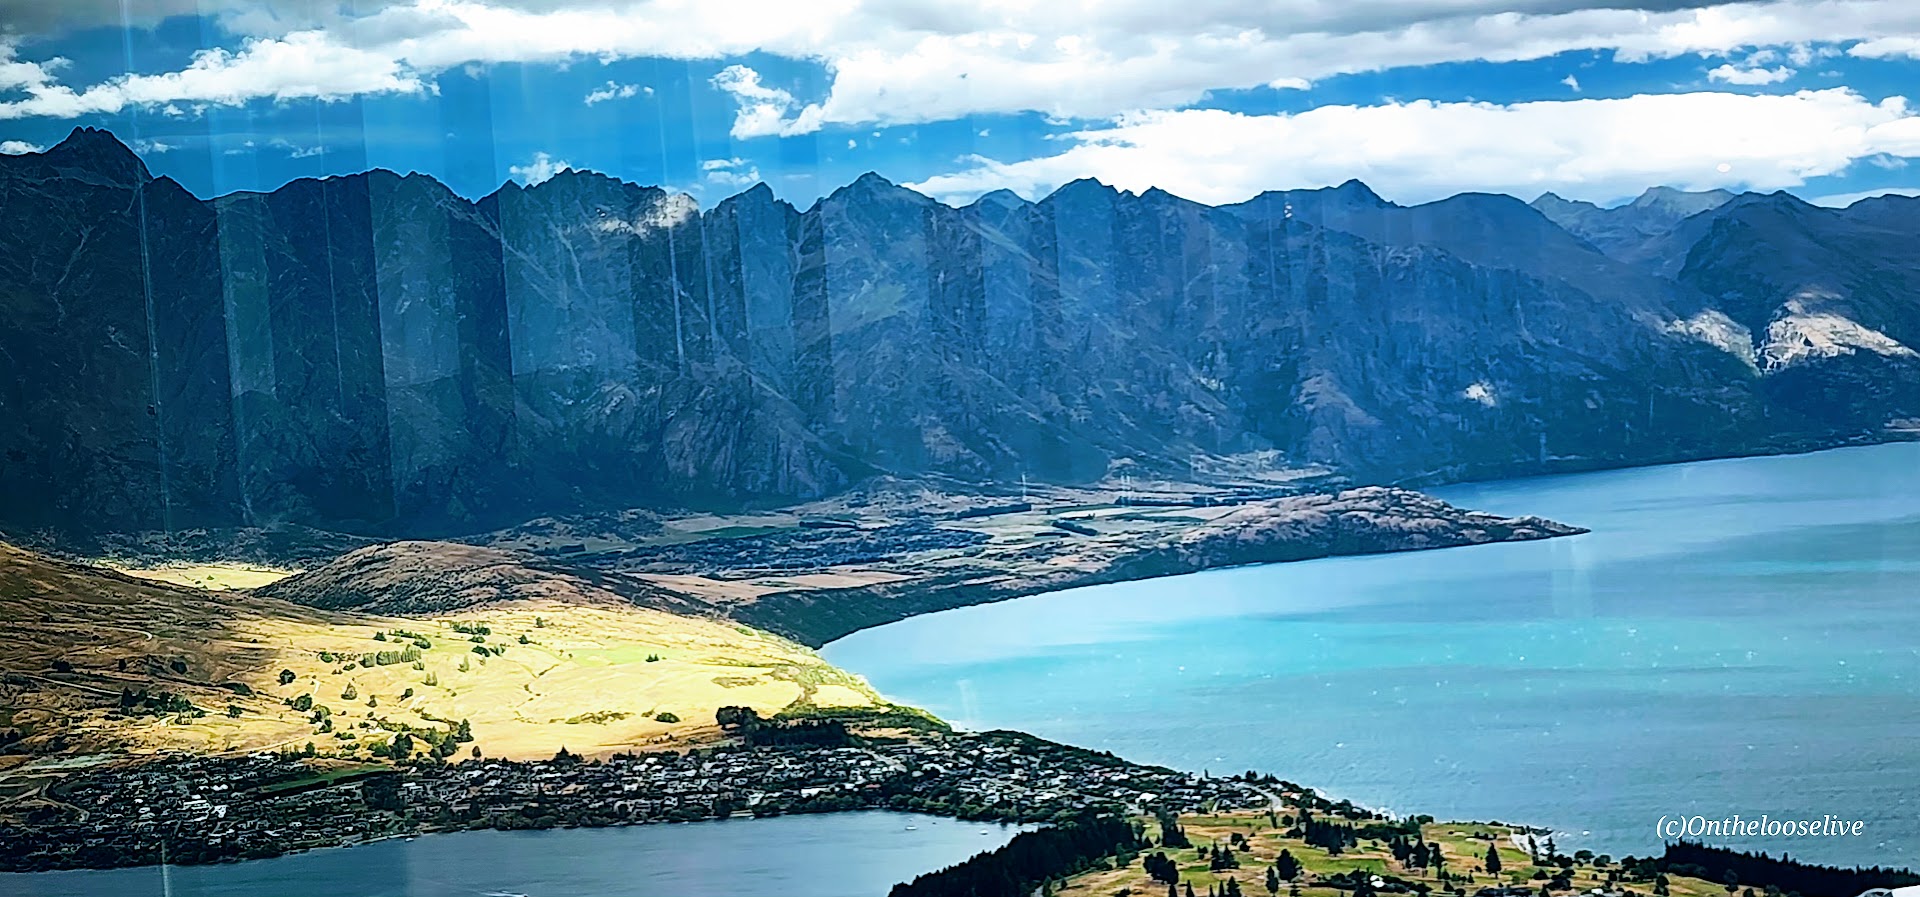
Here, every step you take leads to breathtaking scenery and an exhilarating experience. Set against the dramatic backdrop of the jagged peaks of The Remarkables mountain range with the shimmering waters of Lake Wakatipu (NZ’s longest lake – 50 miles long) reflecting the surrounding beauty, Queenstown is arguably one of the most stunning destinations in New Zealand and a gateway to some of the country’s most memorable outdoor experiences—including the spectacular Ben Lomond Track.
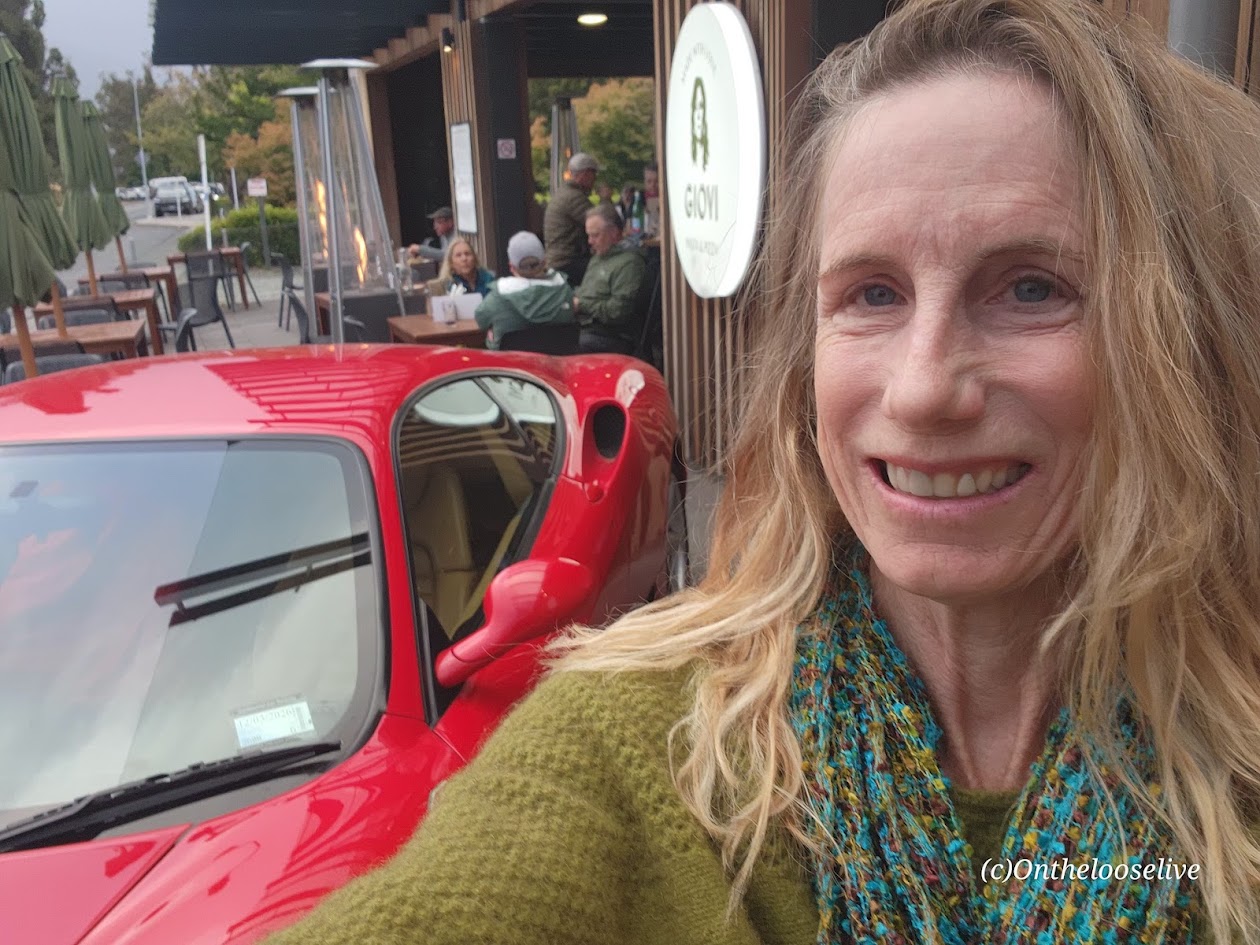
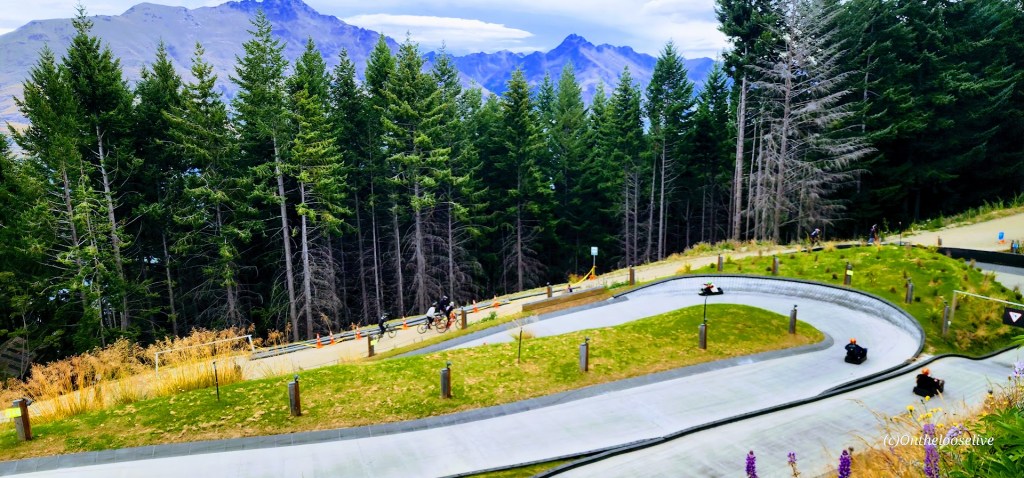
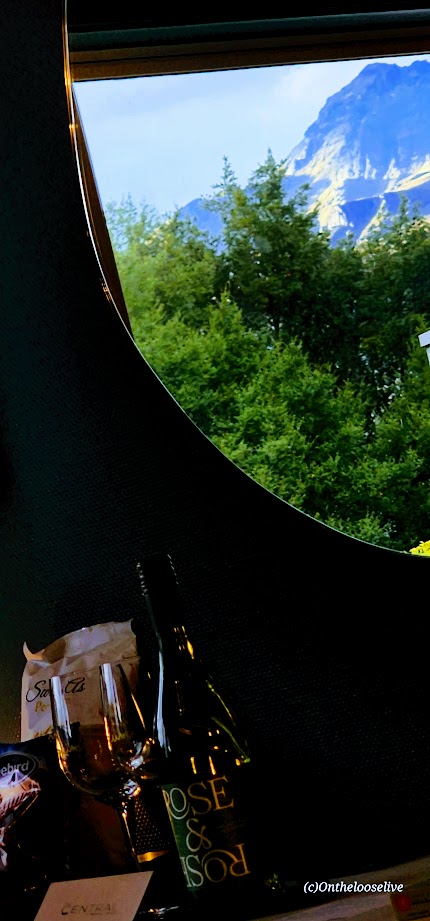
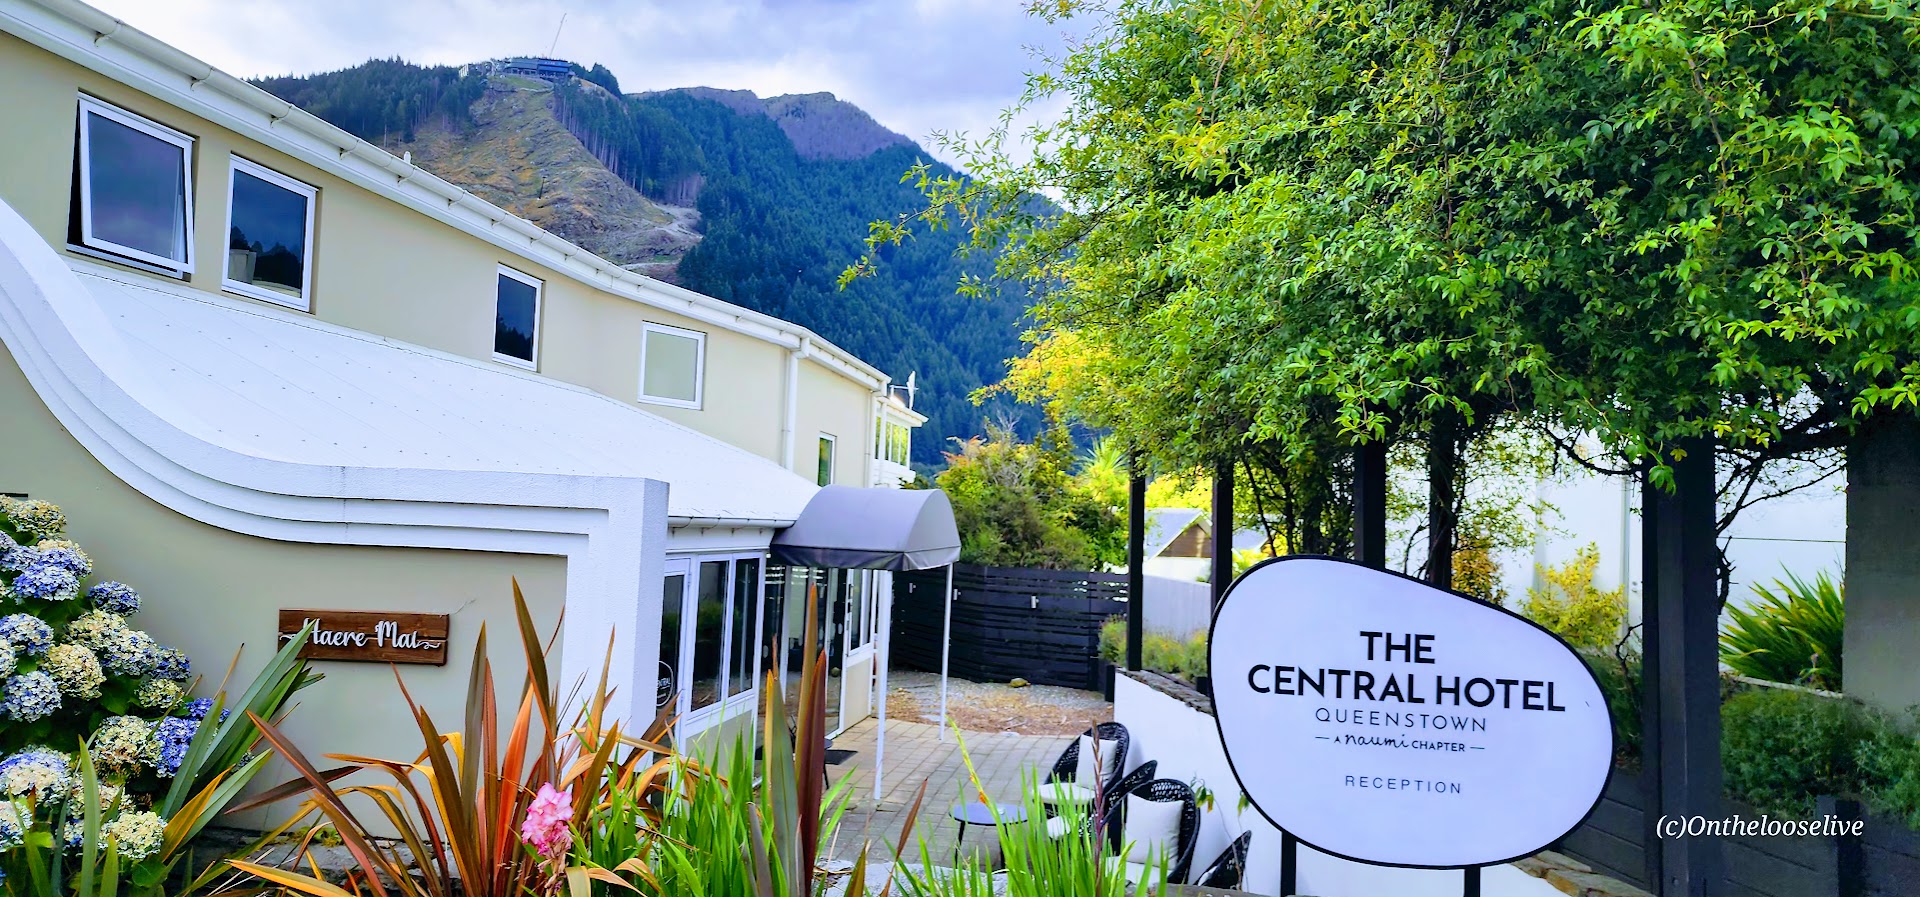
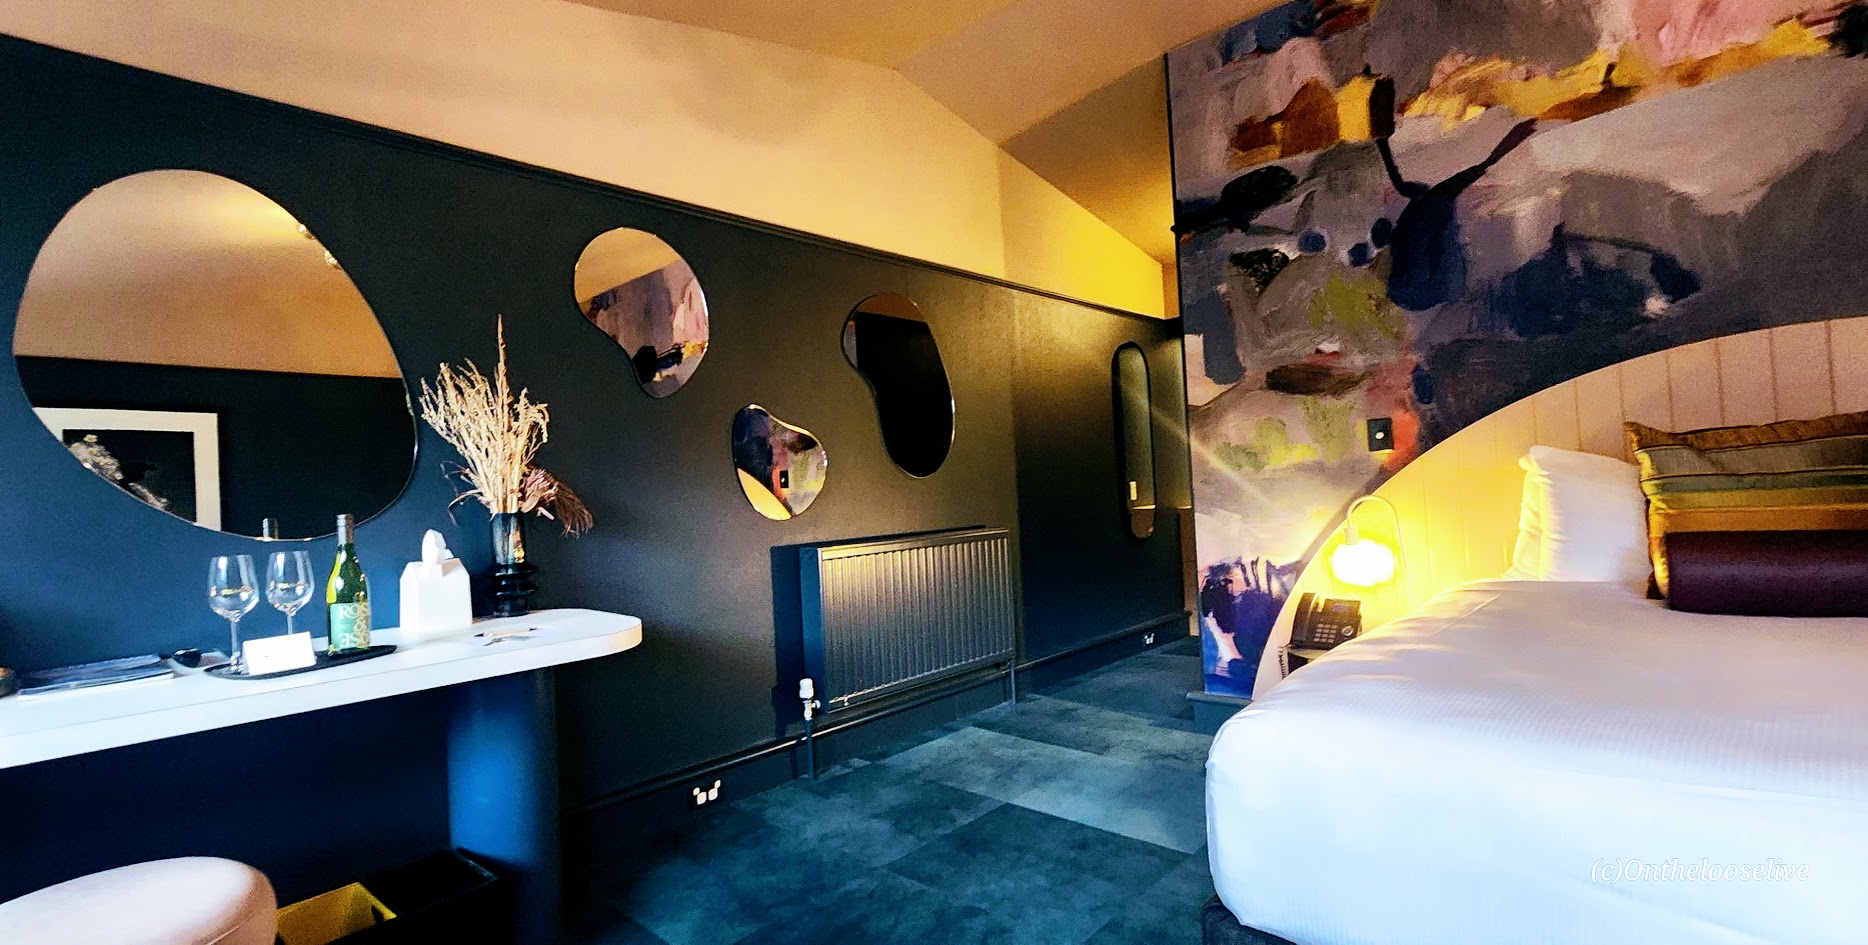
Whether you’re hiking alpine ridges, carving down mountain bike trails, riding gondolas, the luge, the Vortex Slide, or the Zipline, or mixing it up, your outdoor bliss awaits in Queenstown. The town itself doesn’t disappoint either—vibrant streets lined with galleries, restaurants, shops, and gorgeous boutique hotels like the one I stayed at, The Central Hotel, where the perks included a complimentary bottle of local wine, snacks, and continental breakfast.
While Kiwis, (as New Zealanders call themselves), may dismiss Queenstown as overly touristy, its popularity is clearly well-earned. (Also, in my opinion, the “touristy” vibe in NZ feels far more subtle than the US, and generally, crowds are smaller. than what you encounter stateside.)
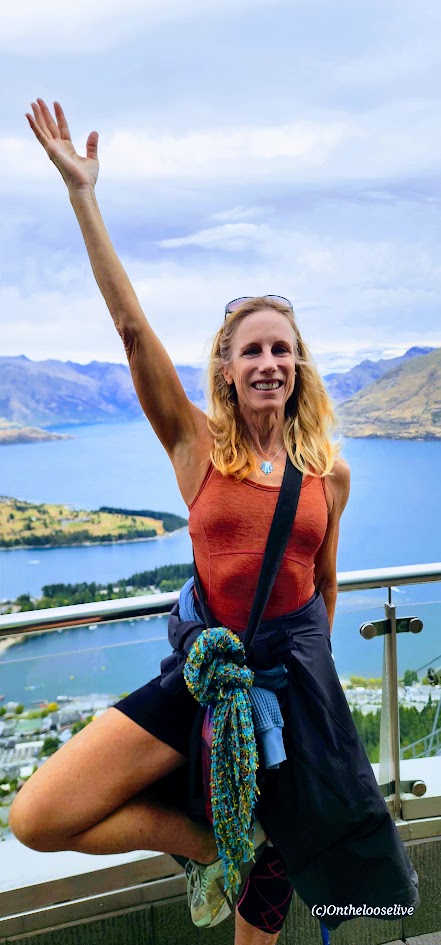
A Queenstown Must Do: The Breathtaking & Ravishingly Beautiful Ben Lemond Track
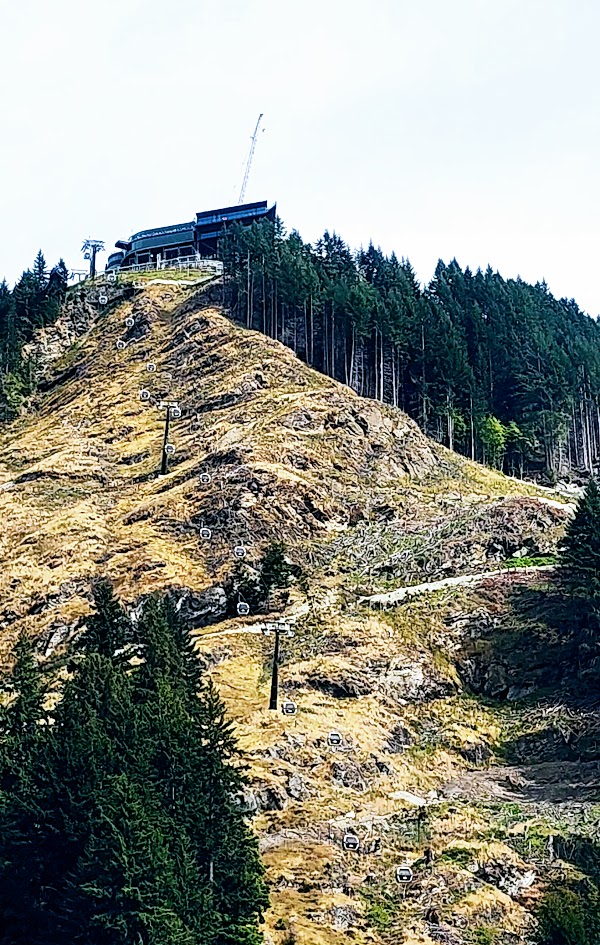
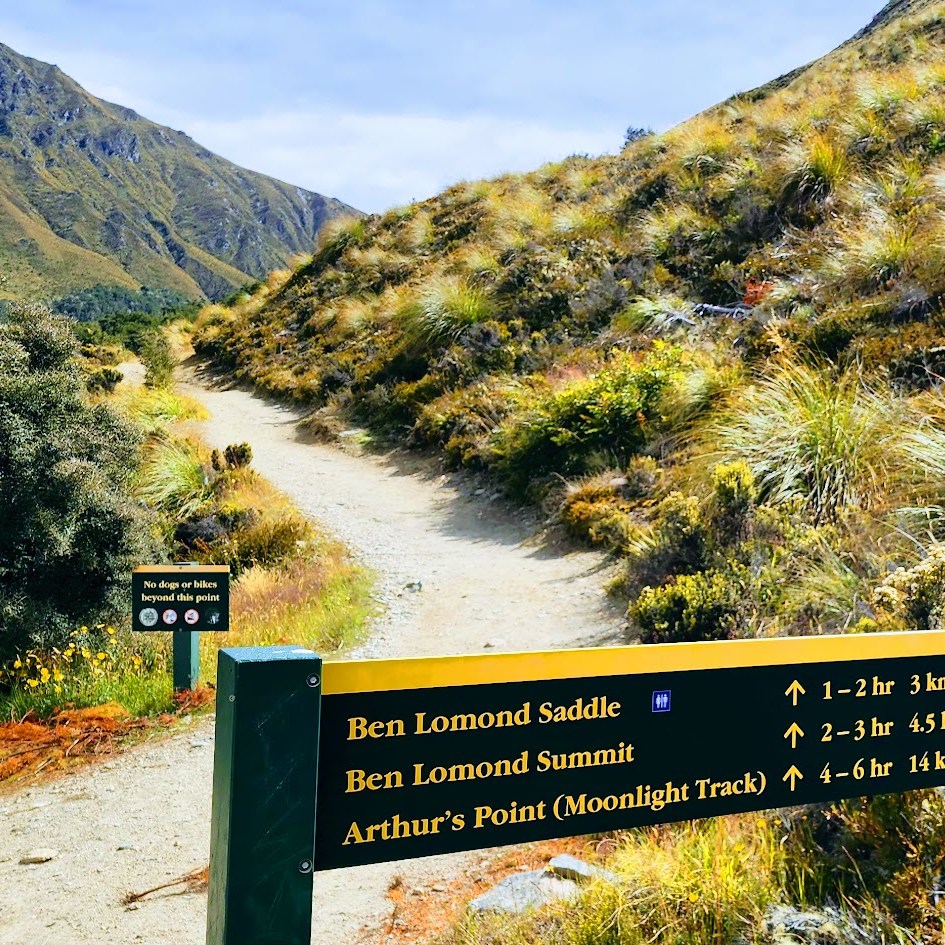
There are two ways to access the Ben Lomond Track: hike up the Tiki Trail from the base of the Skyline Gondola, or give yourself a head start by riding the gondola to the top.
Obviously, starting from the Tiki Trail adds both distance and elevation to your adventure—about 2.6 miles round trip and 1,476 feet of additional climbing. Naturally, I took the Tiki Trail. Was it worth it? Yes, and no.
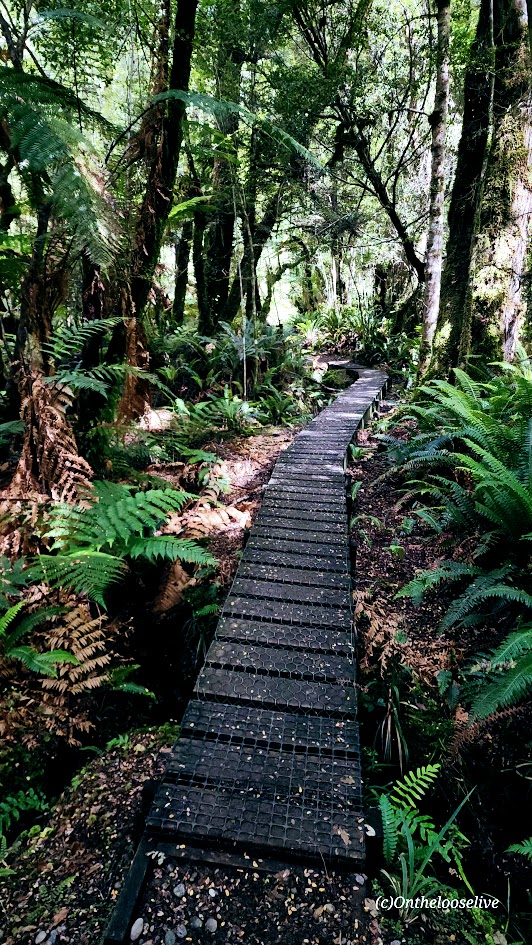
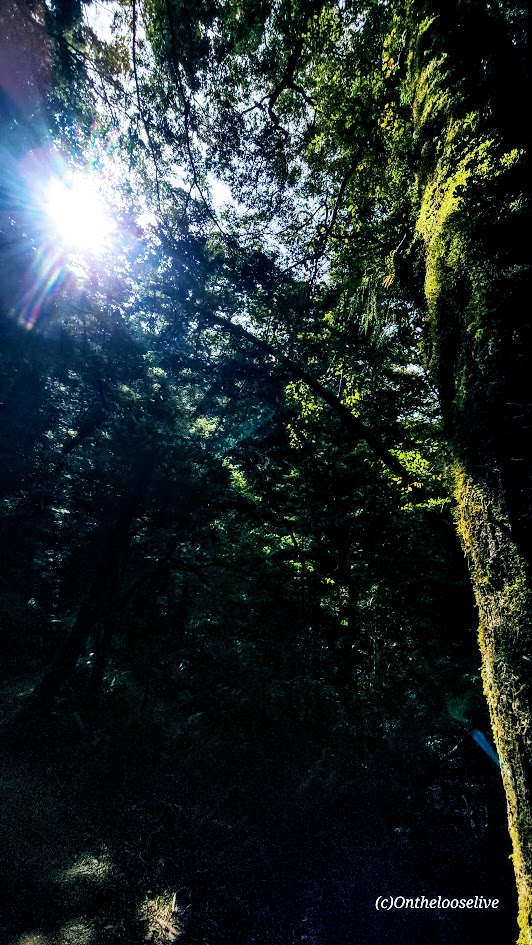
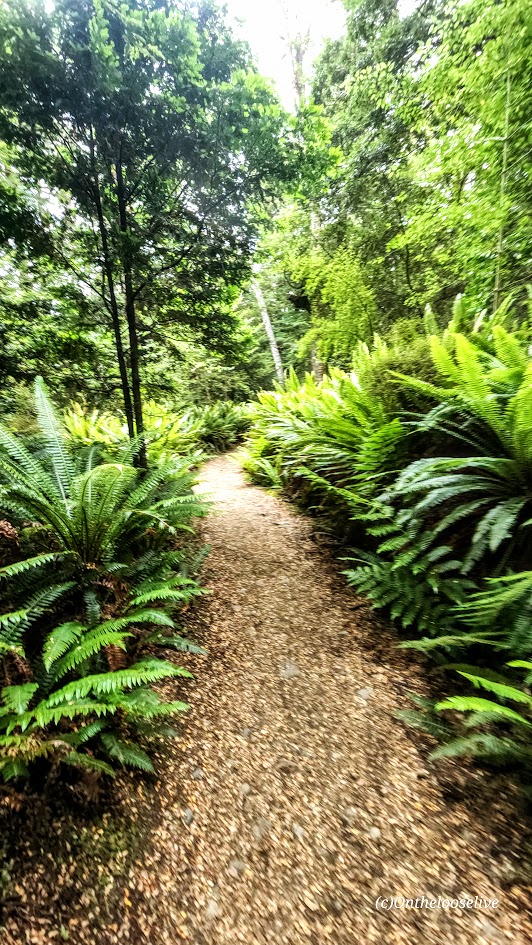
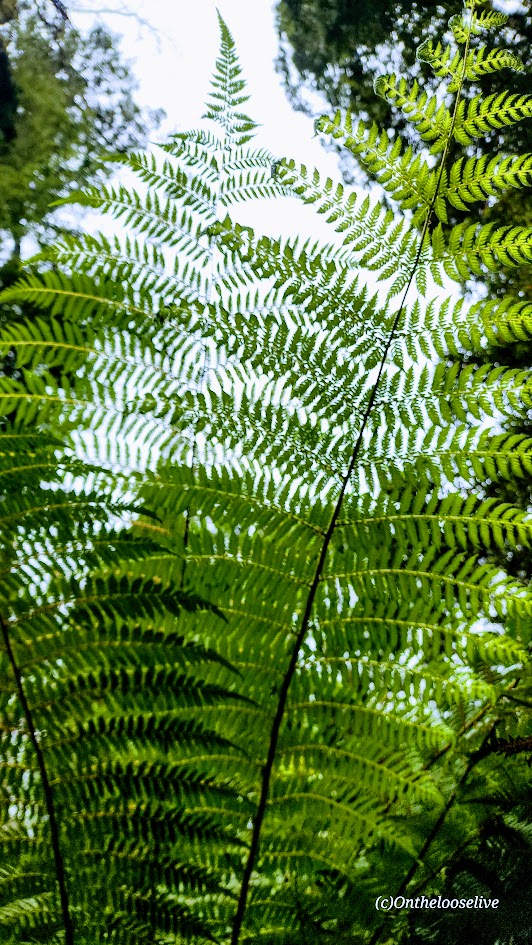
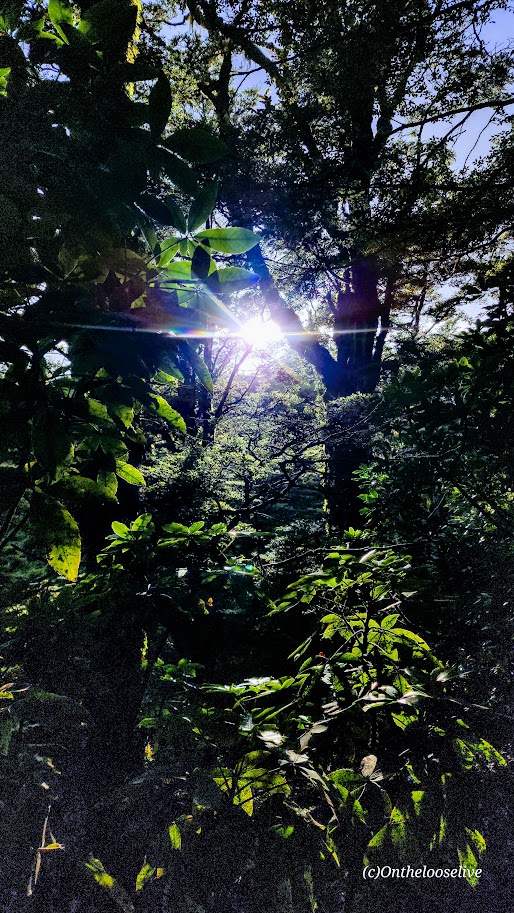
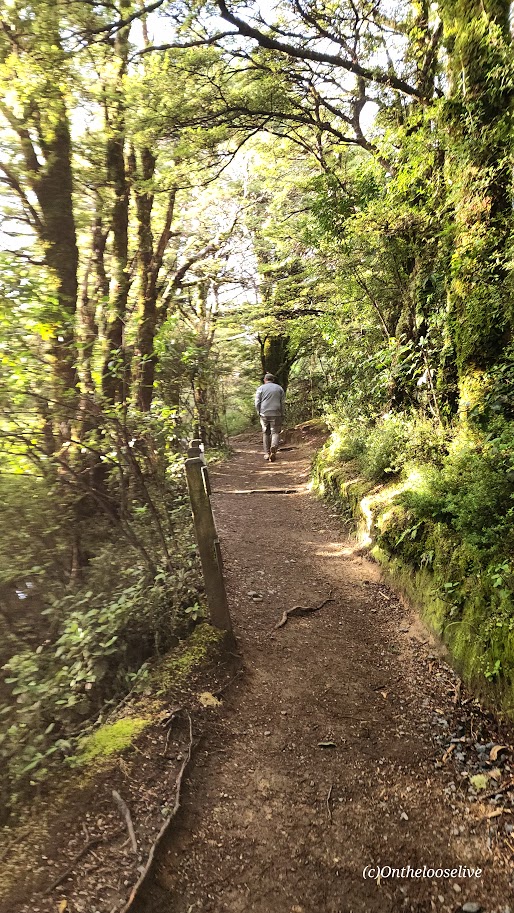
On the plus side, it added to the workout challenge, which I rarely resist. From a scenery perspective, it didn’t add much, as much of the trail winds through the forest, with the best views near the top.
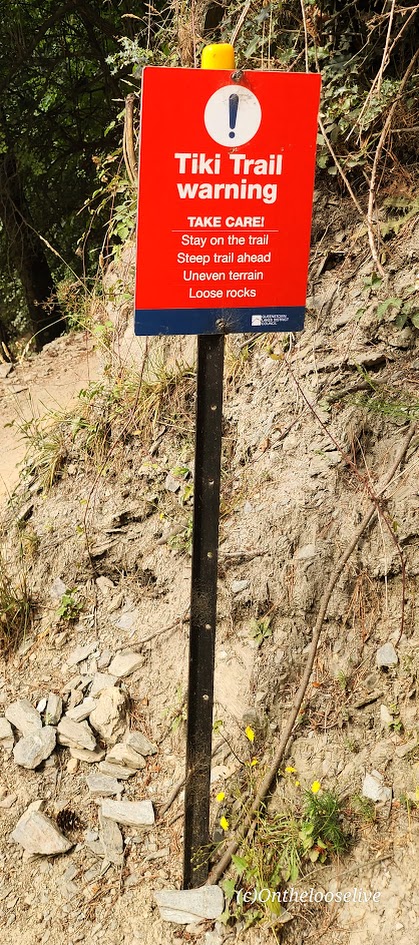
If you have the time and enjoy earning every foot of elevation, the Tiki Trail is worthwhile. But if the Ben Lomond hike itself feels like enough of a challenge—or you’re simply short on time—take the Skyline Gondola.
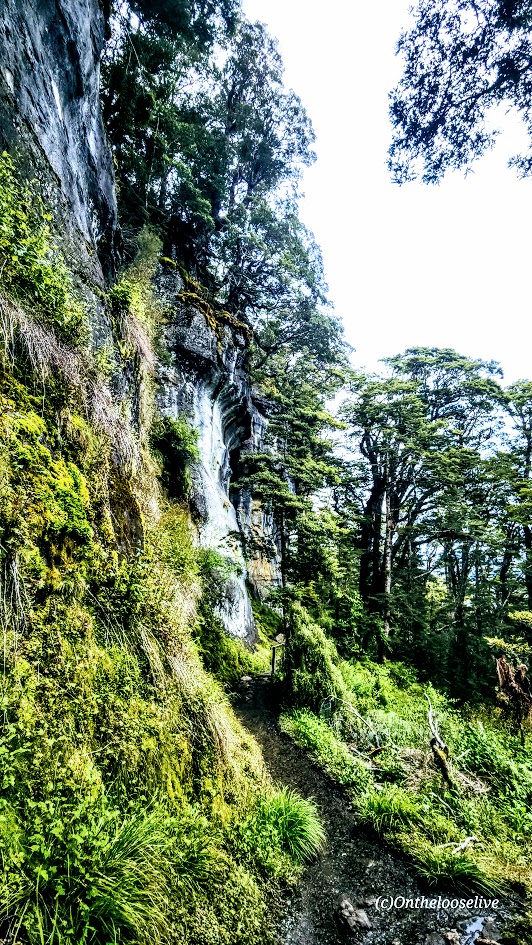
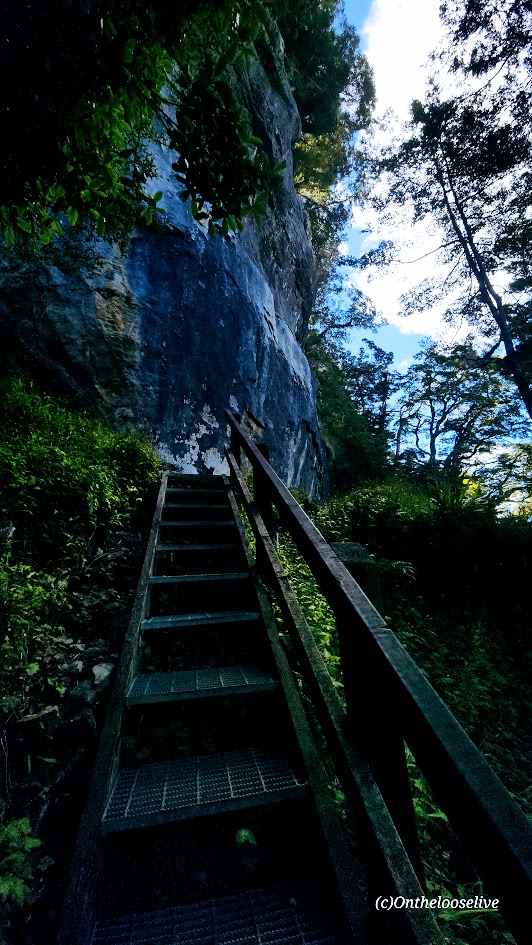
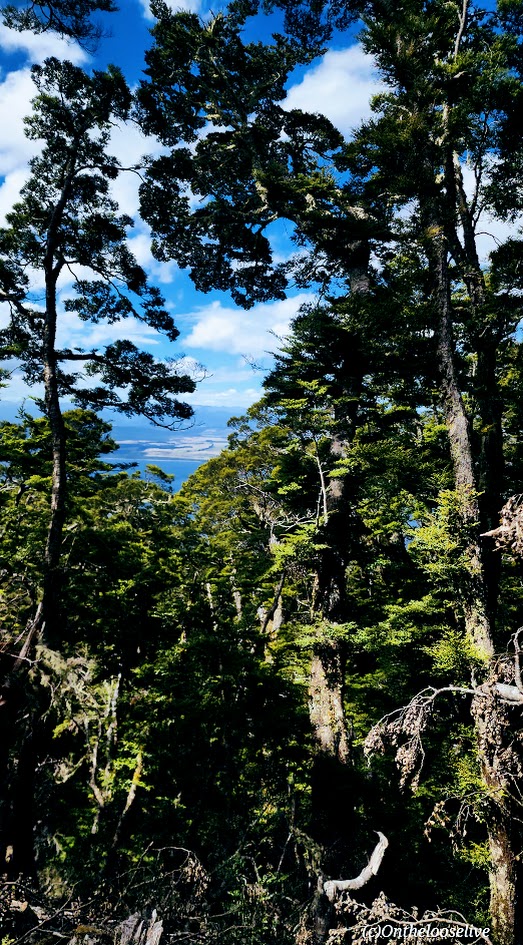
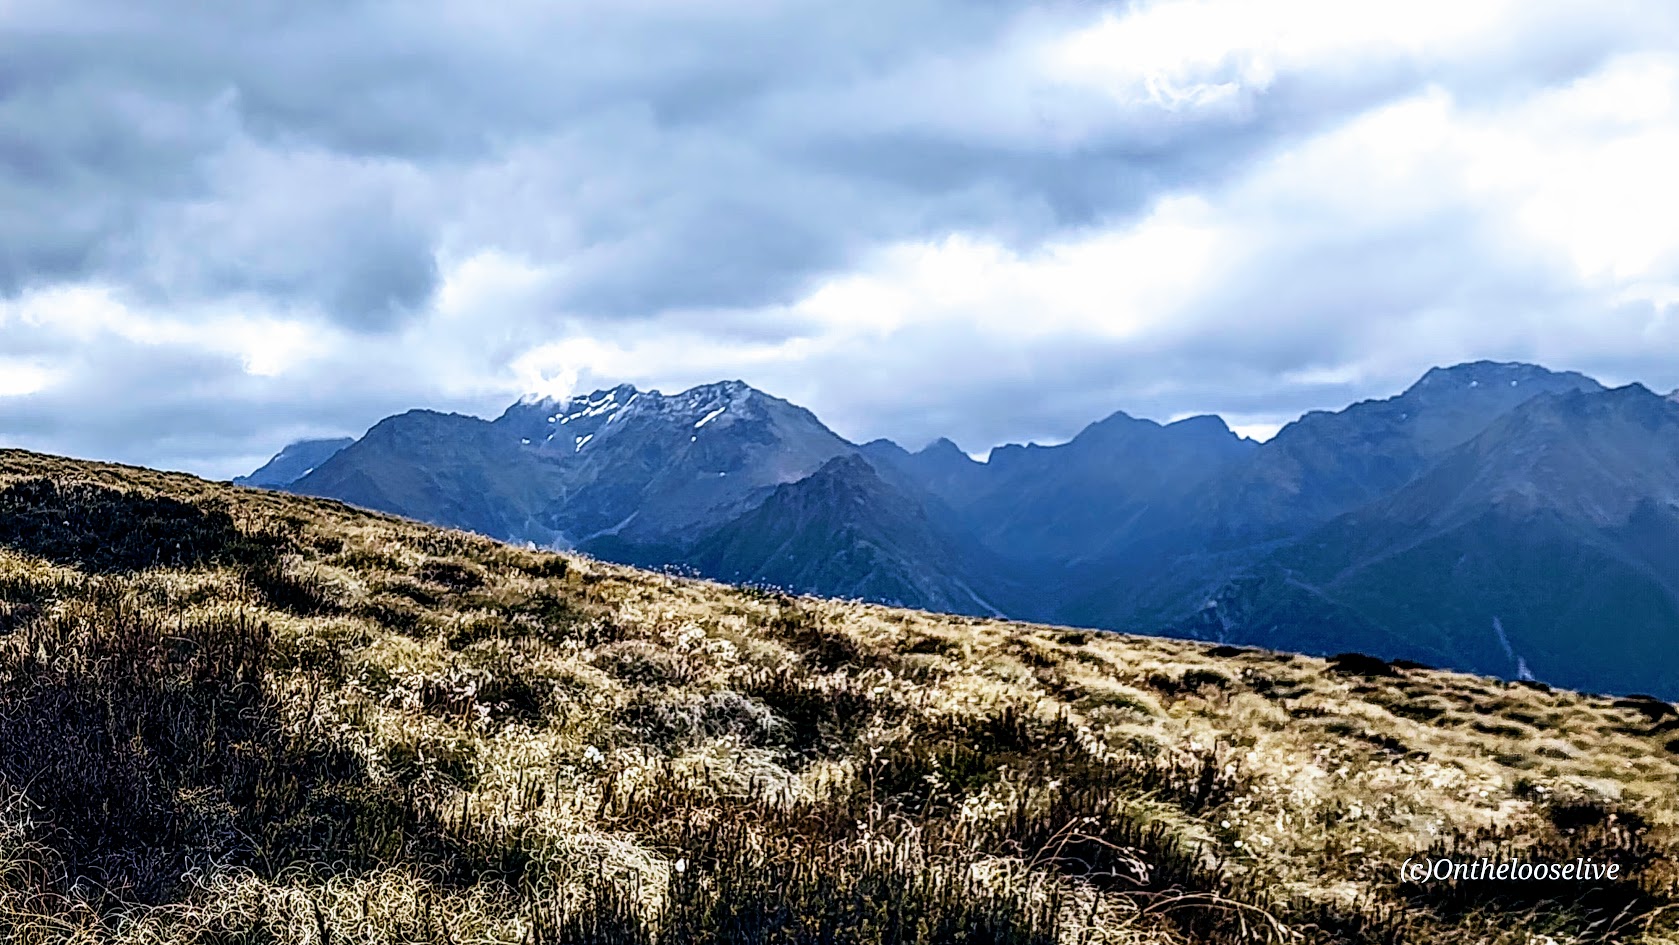
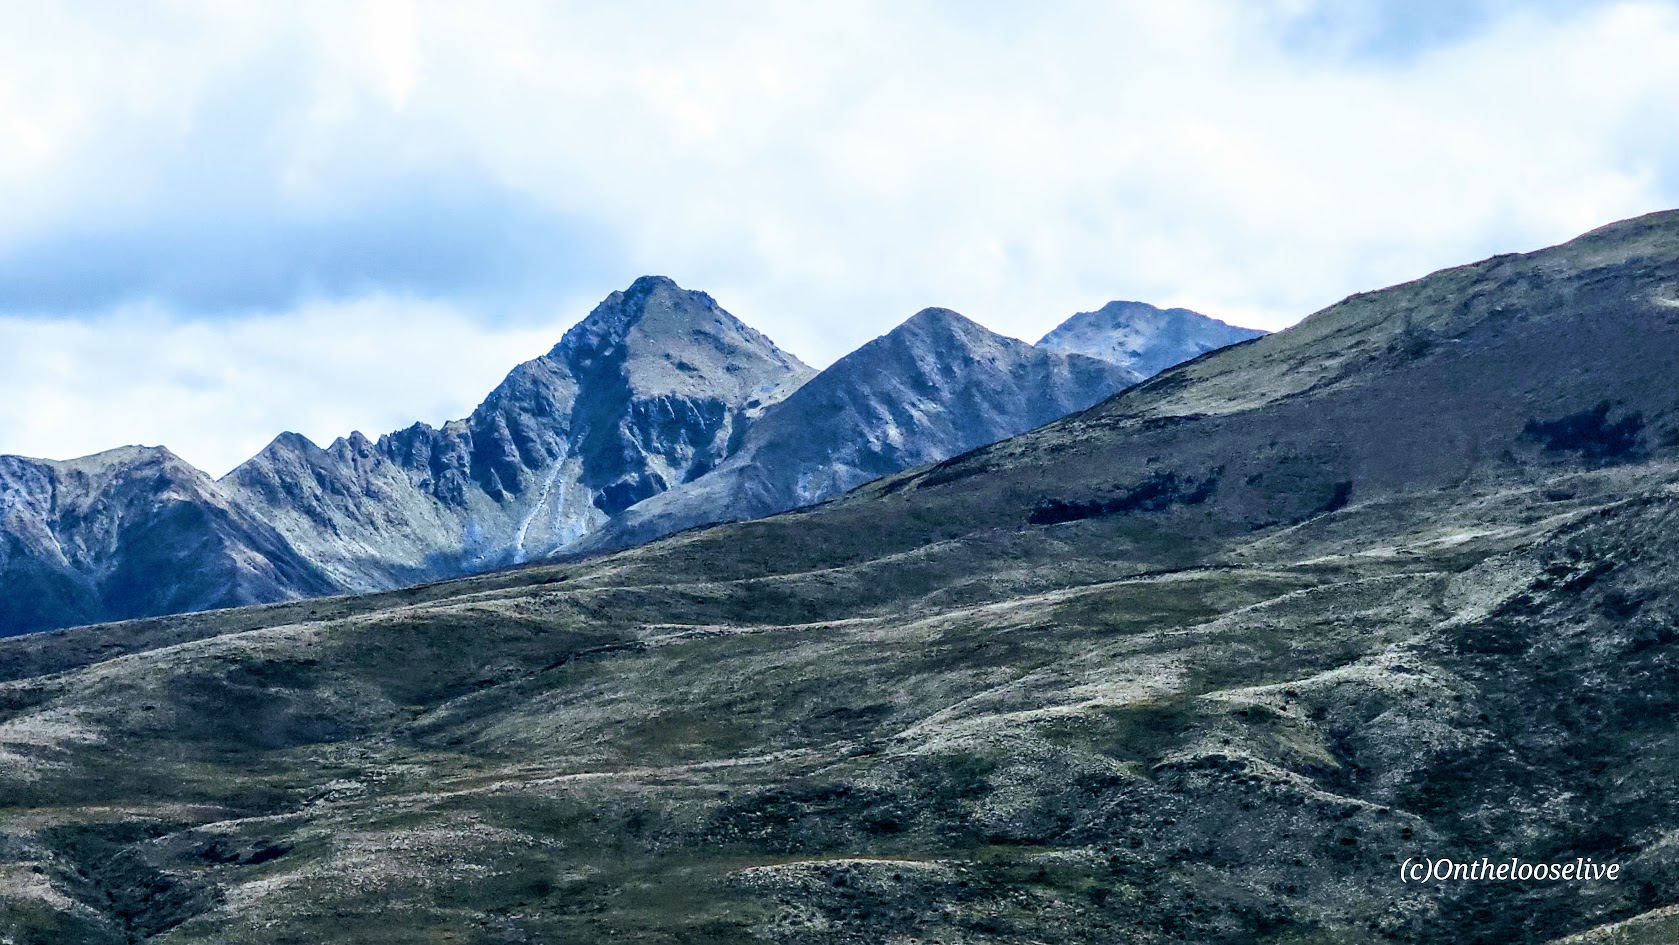
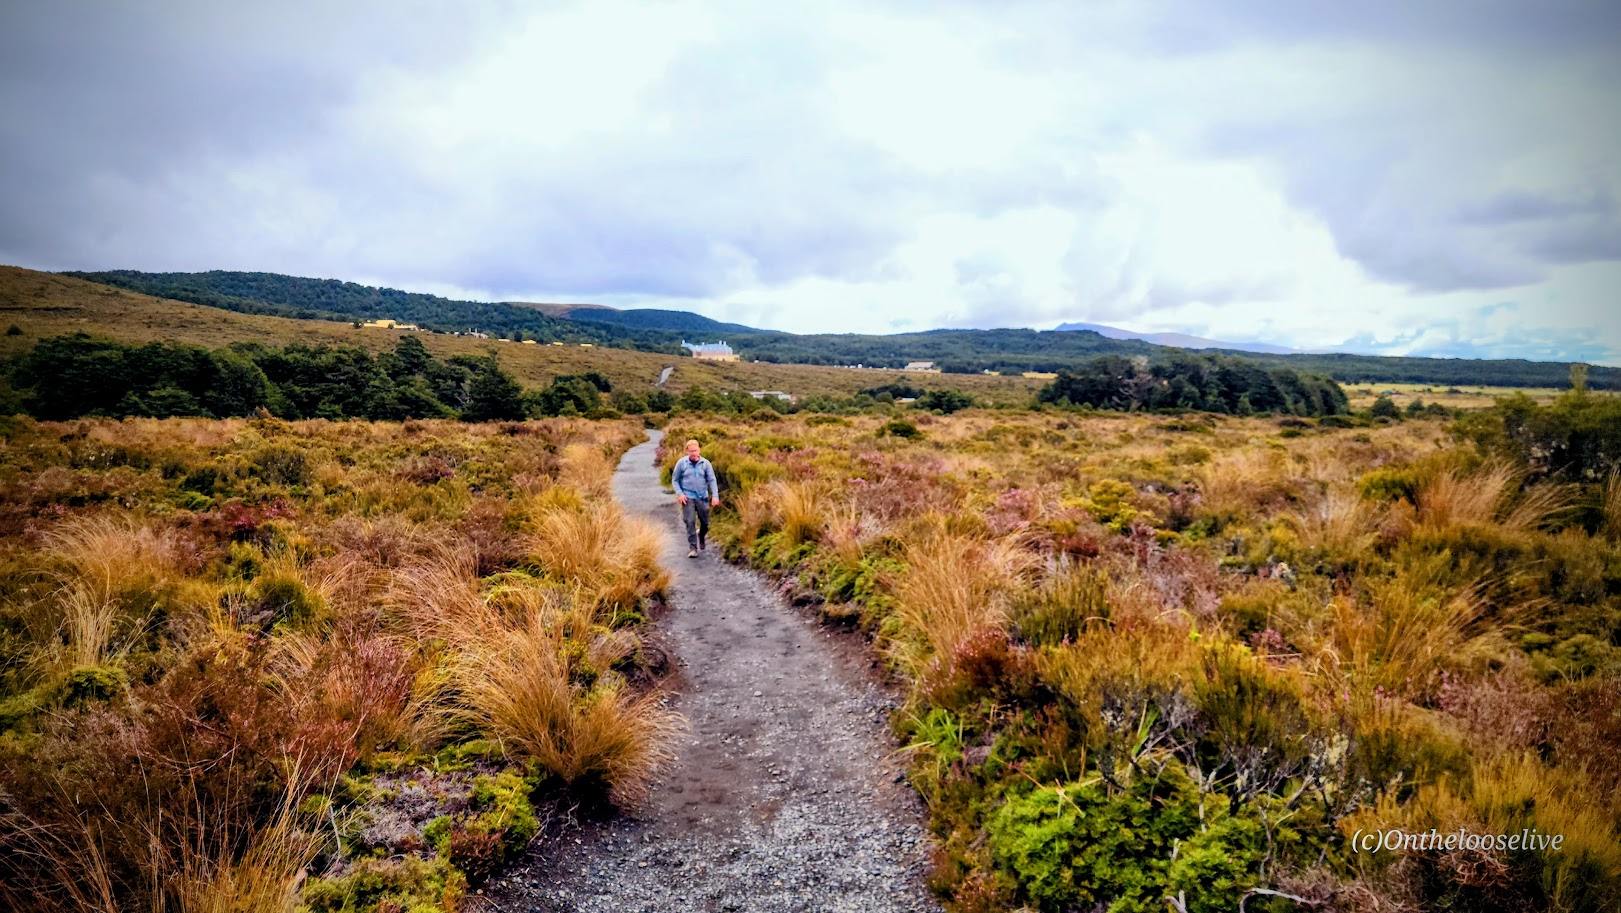
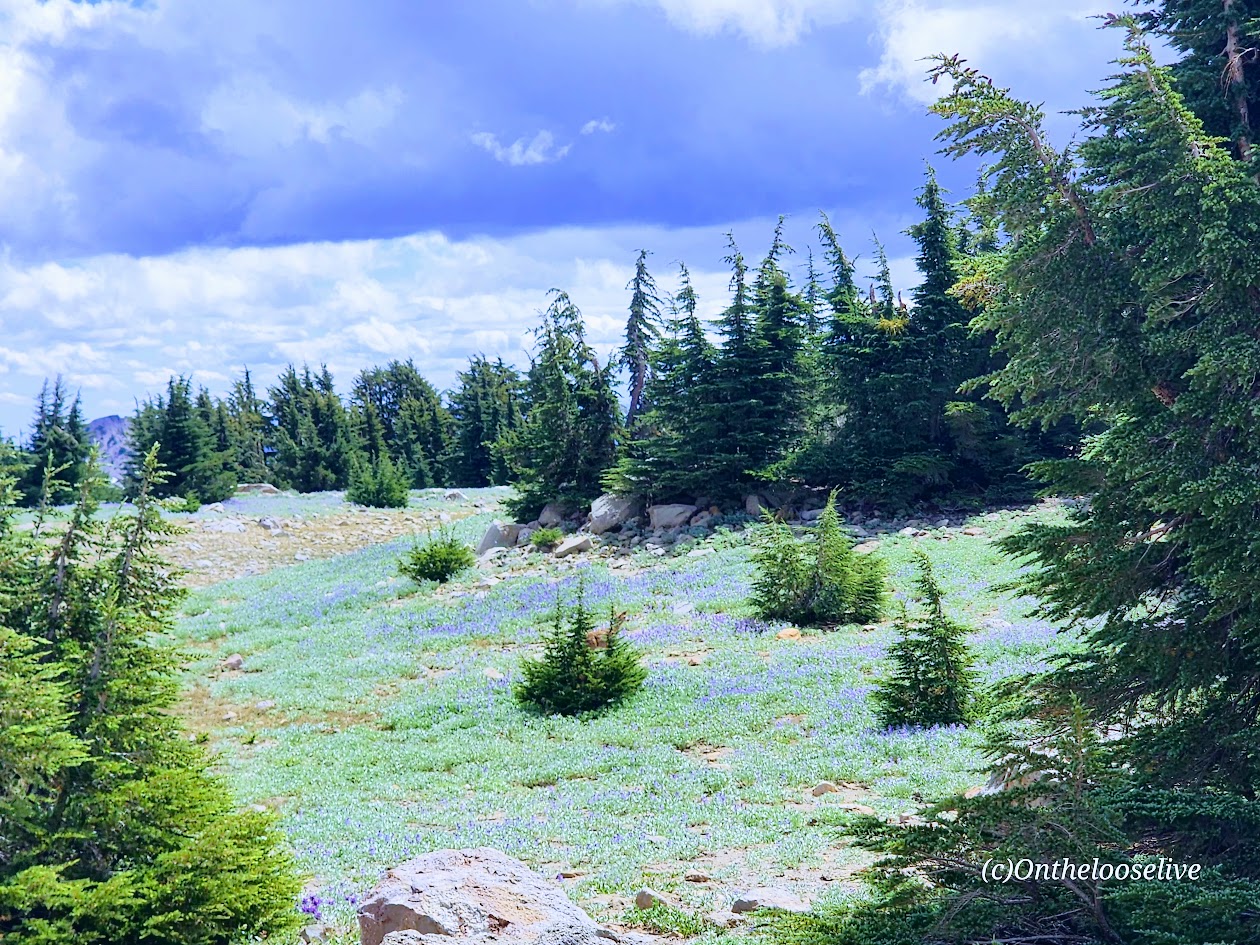
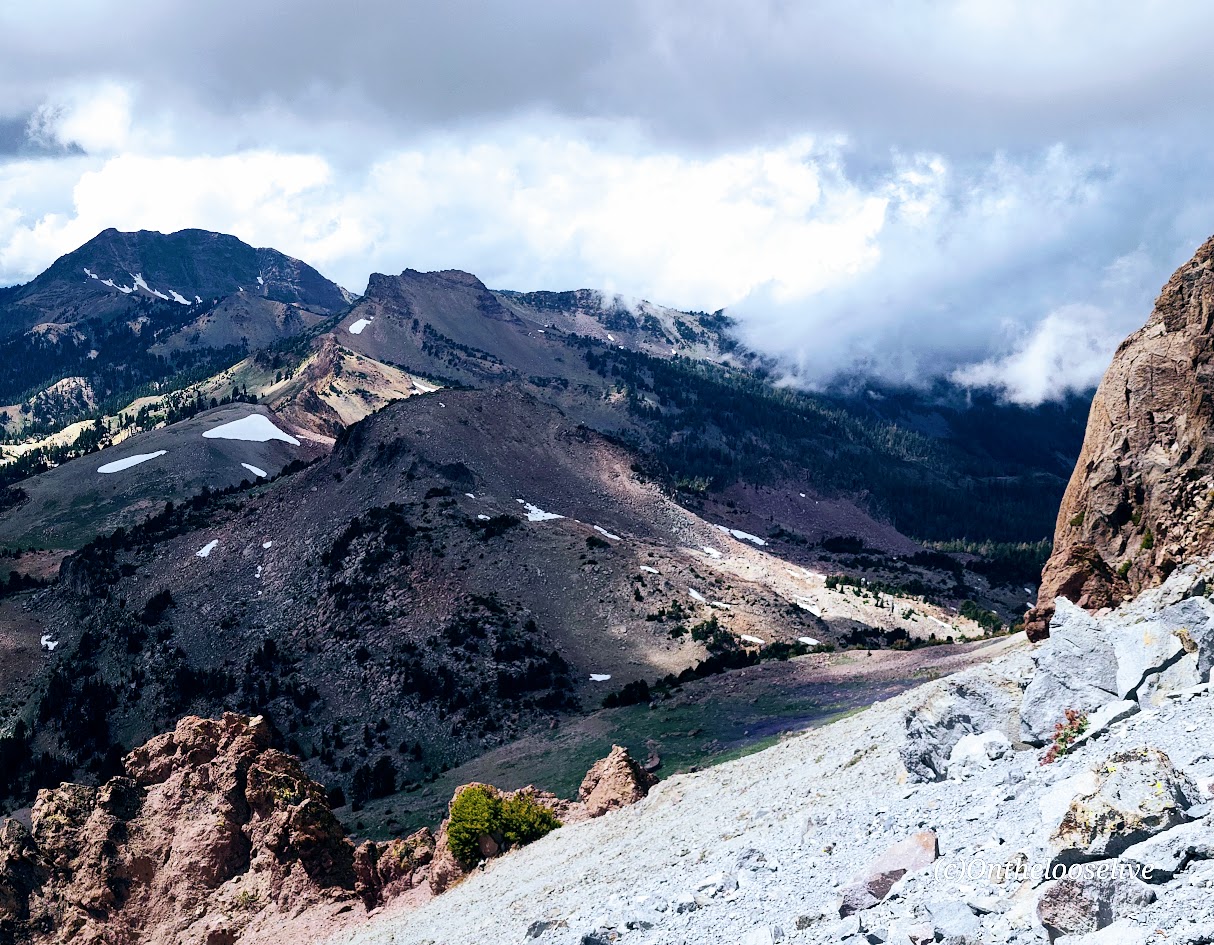
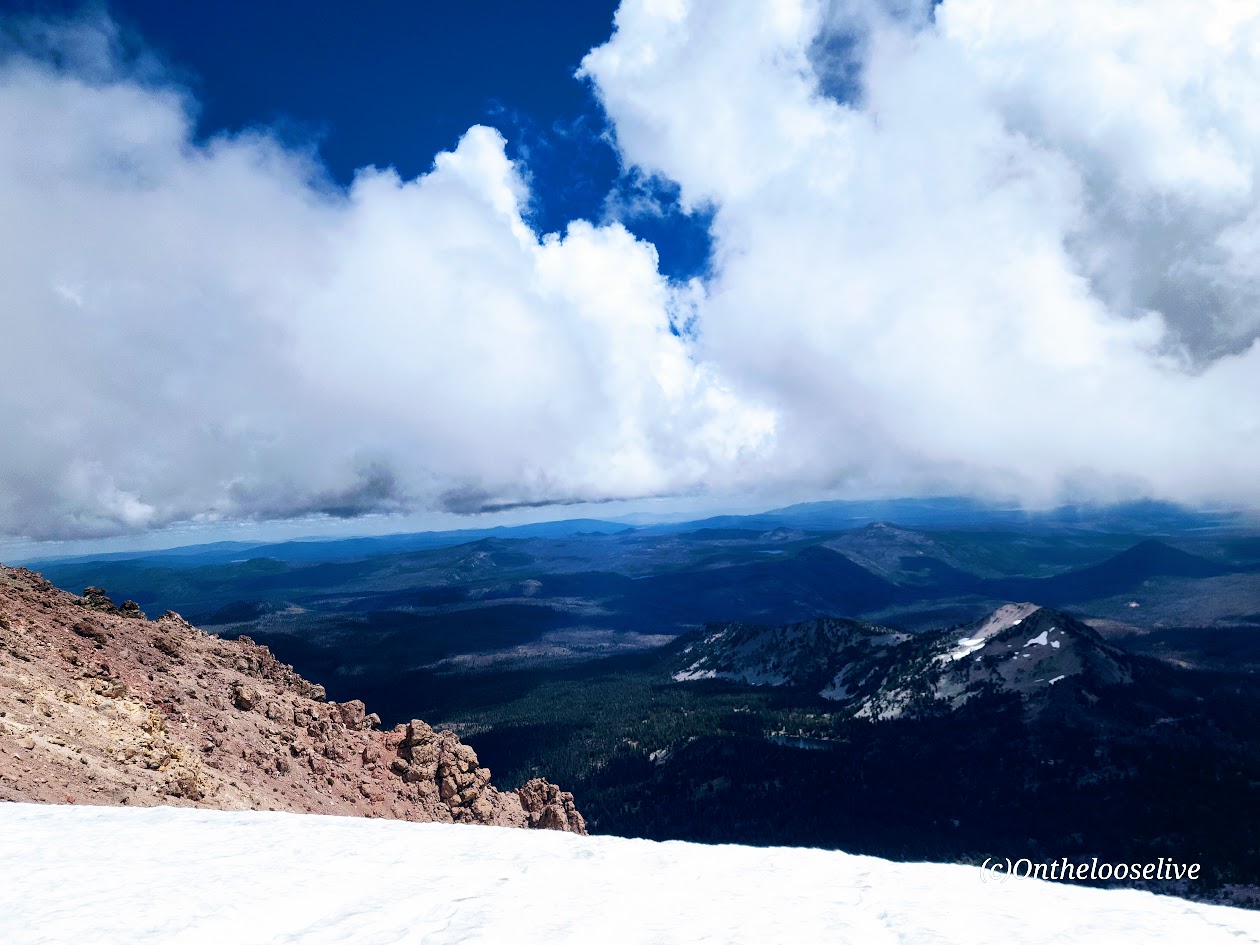
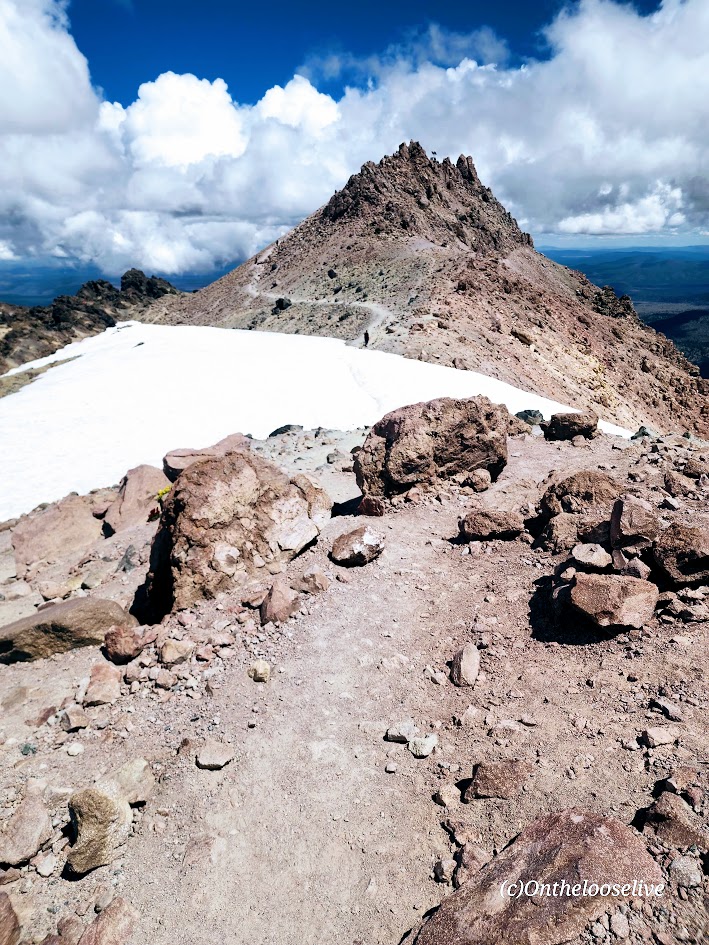
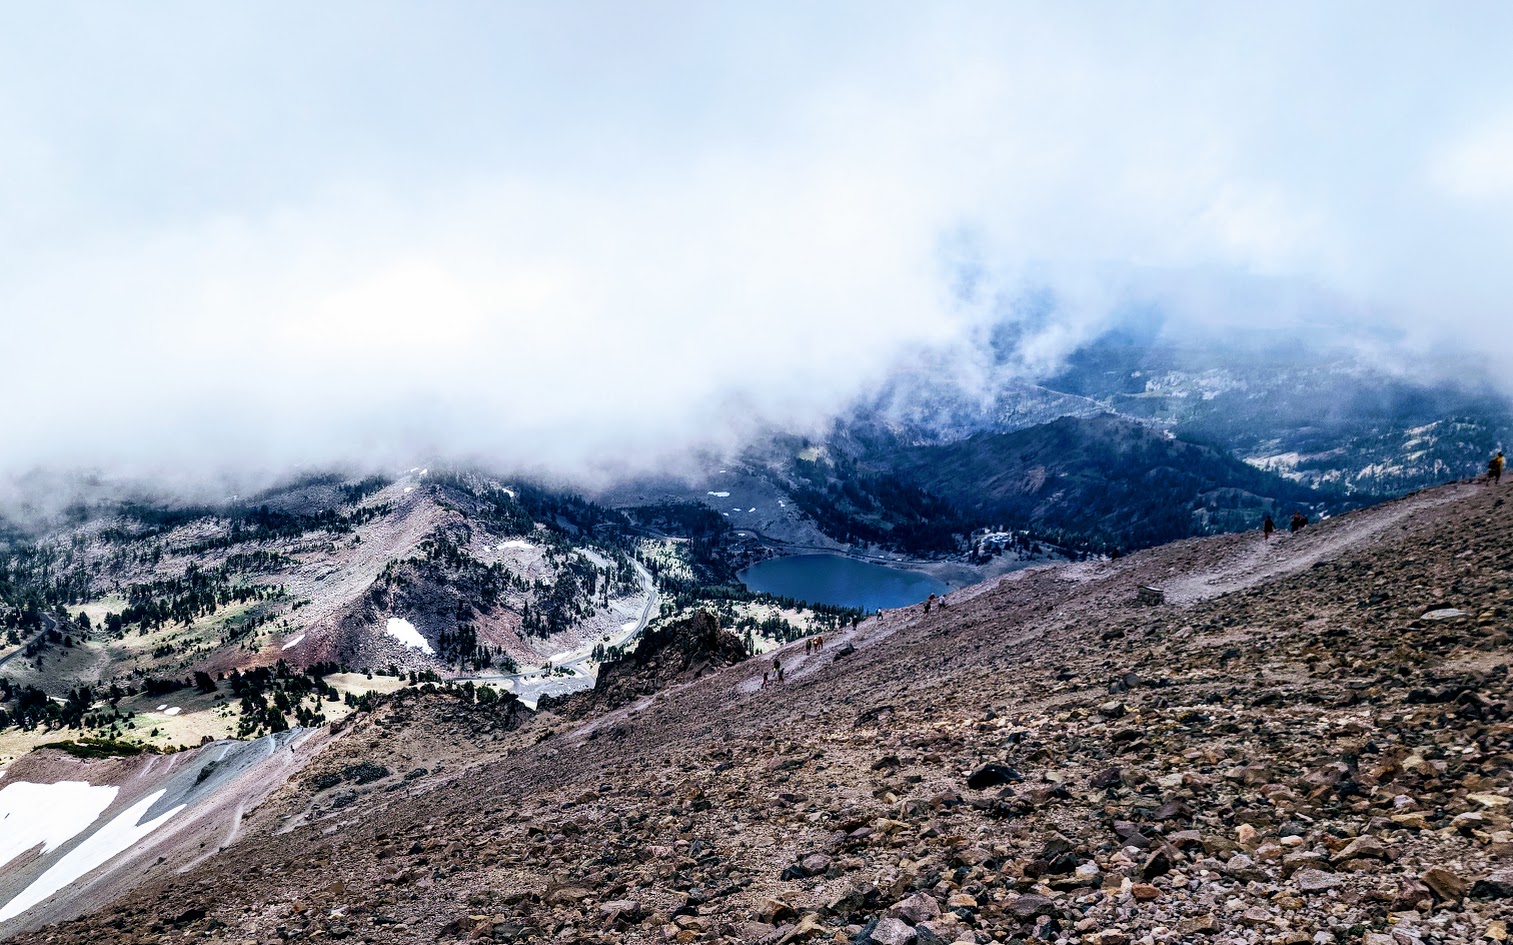
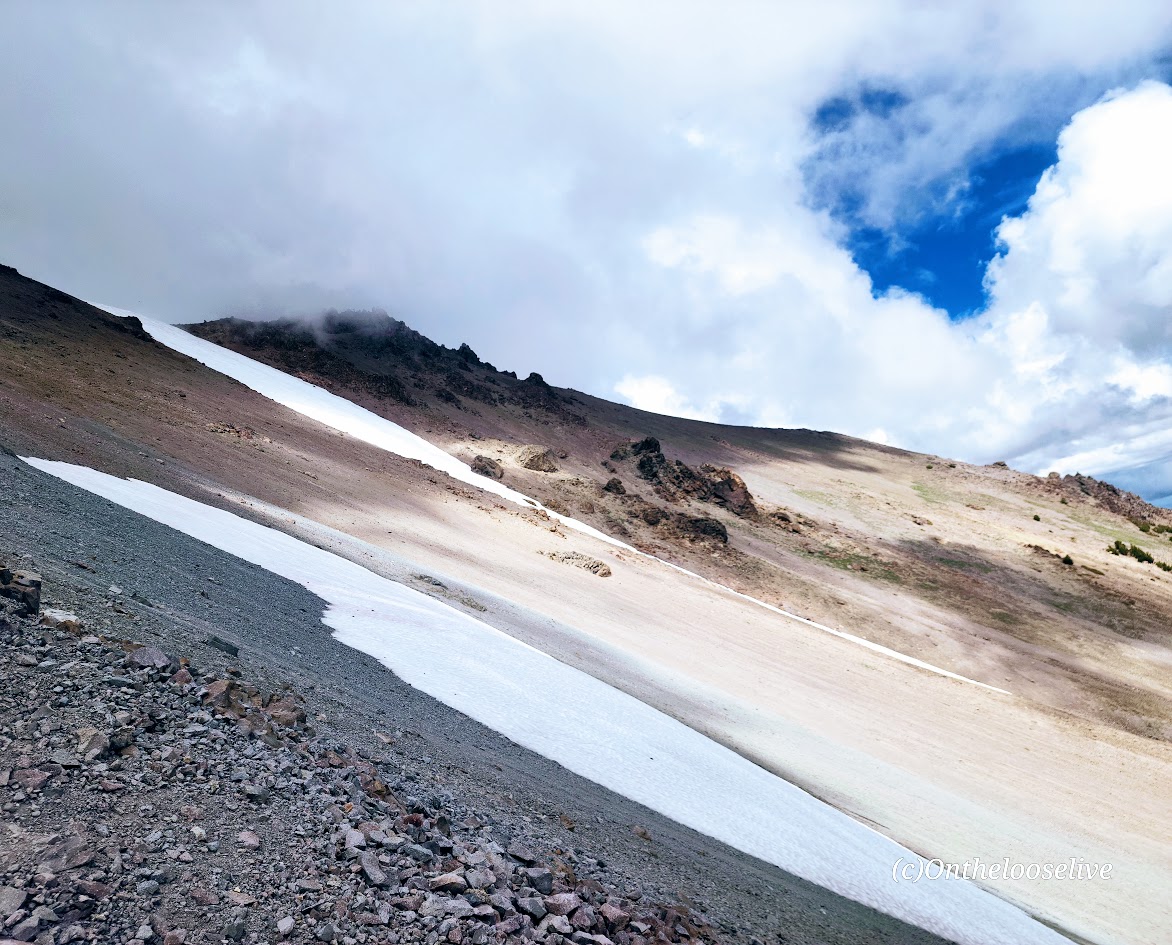
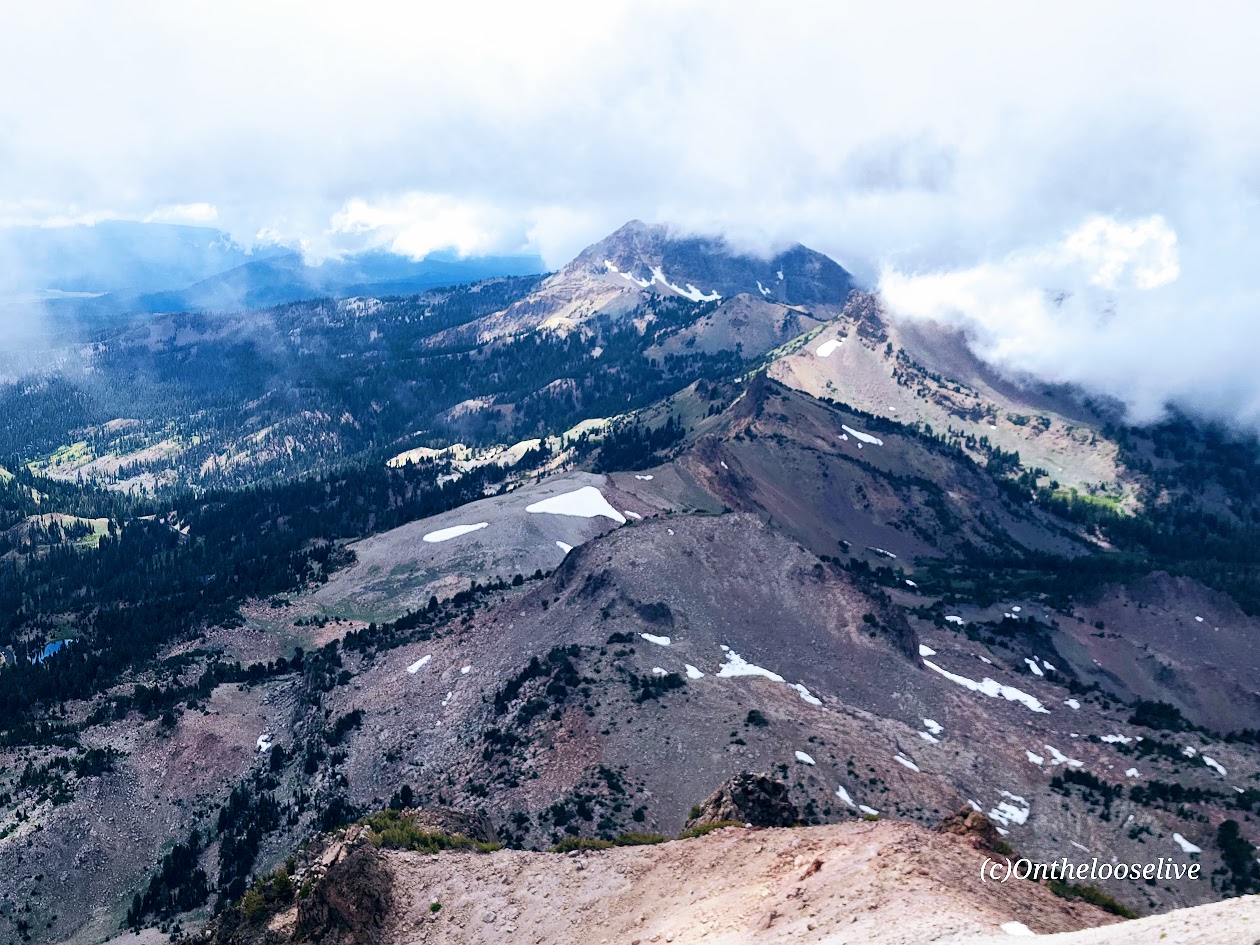
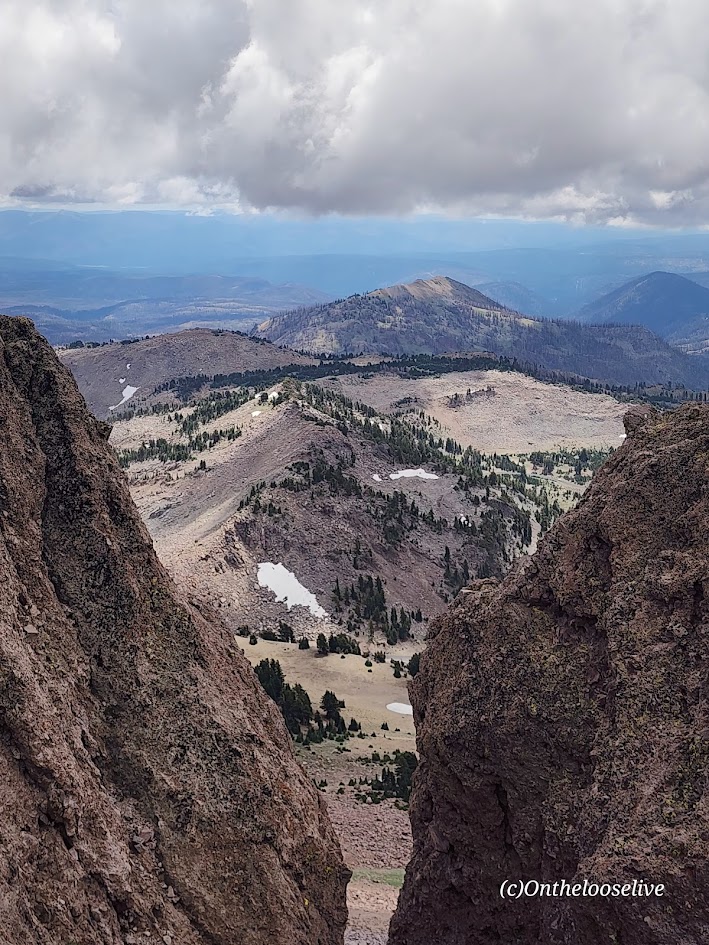
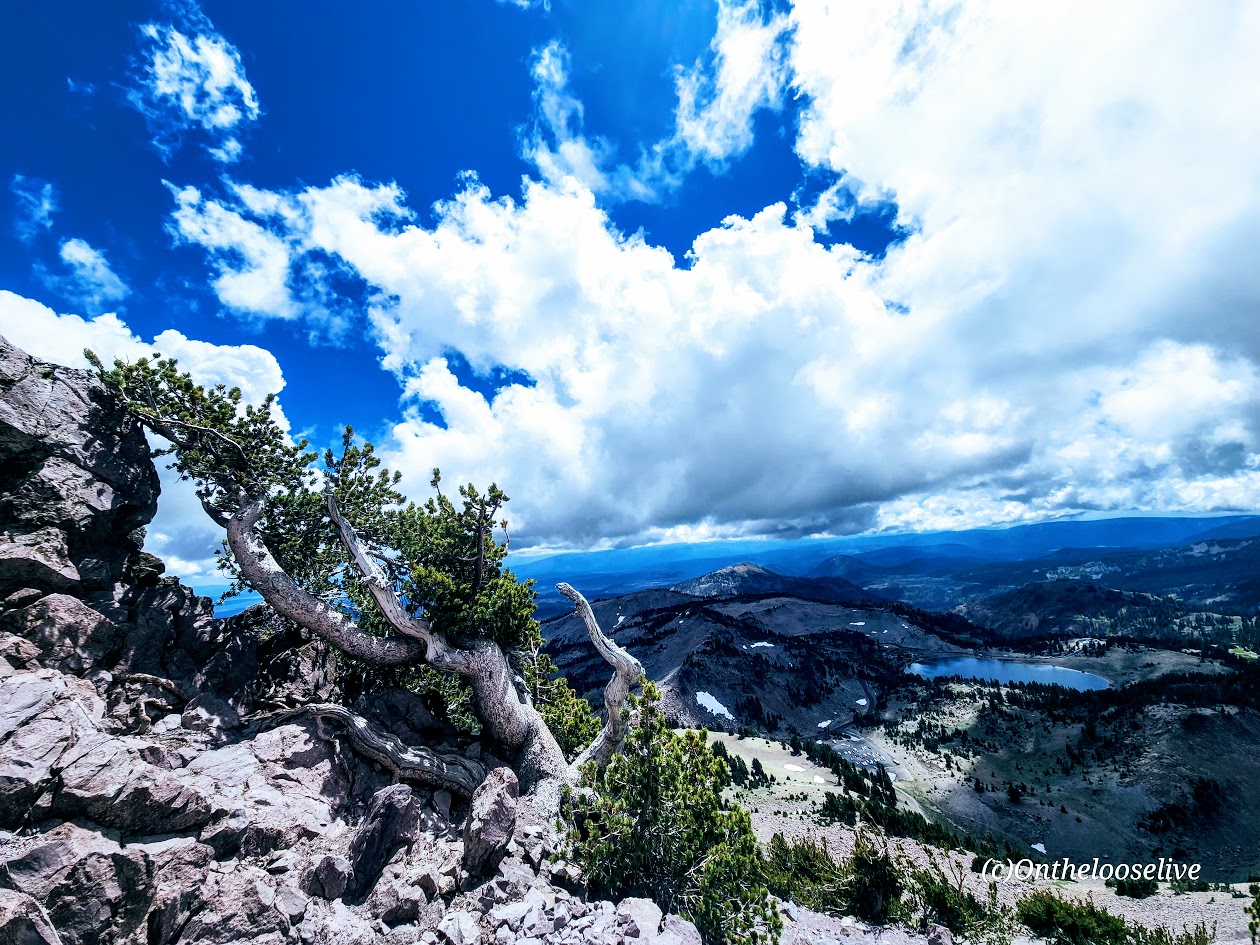
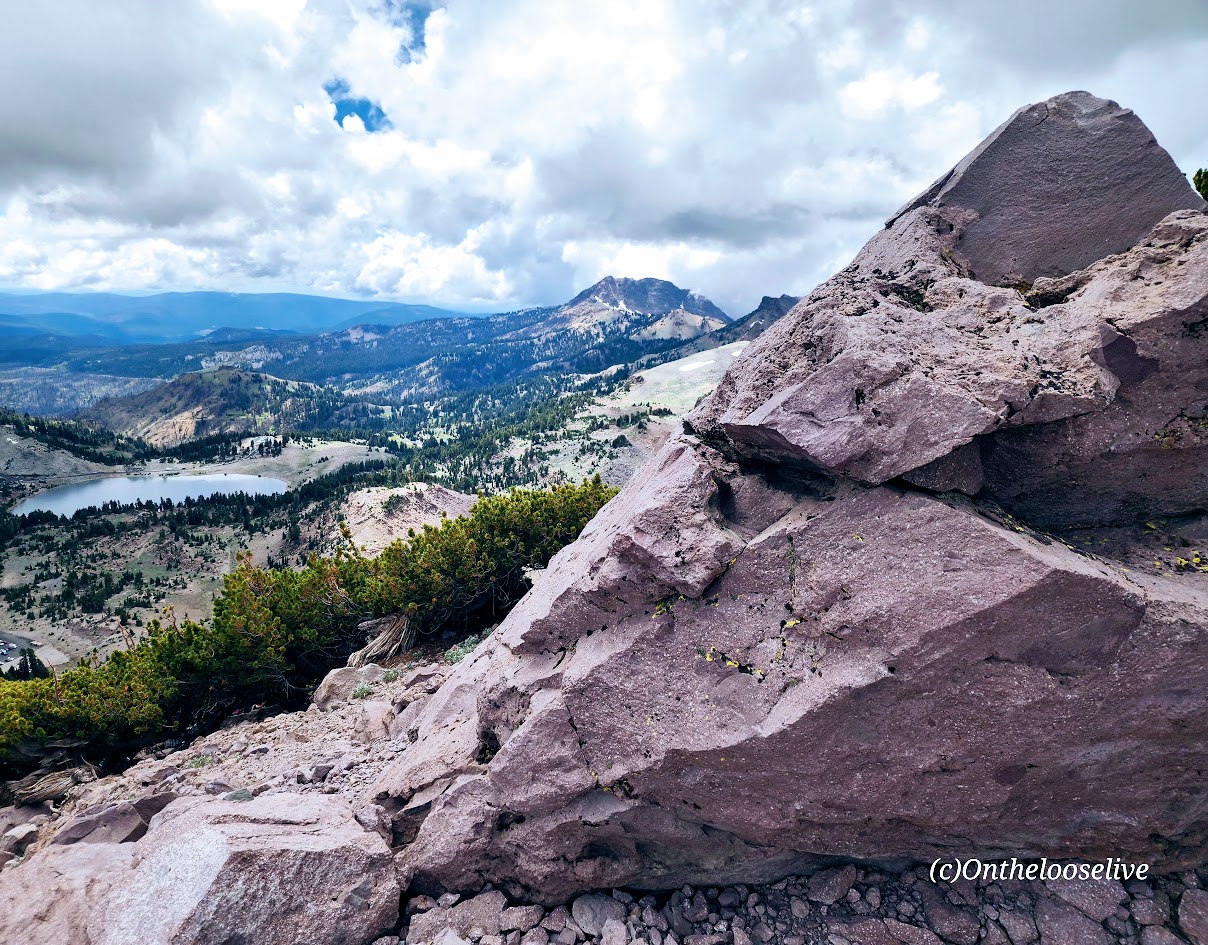
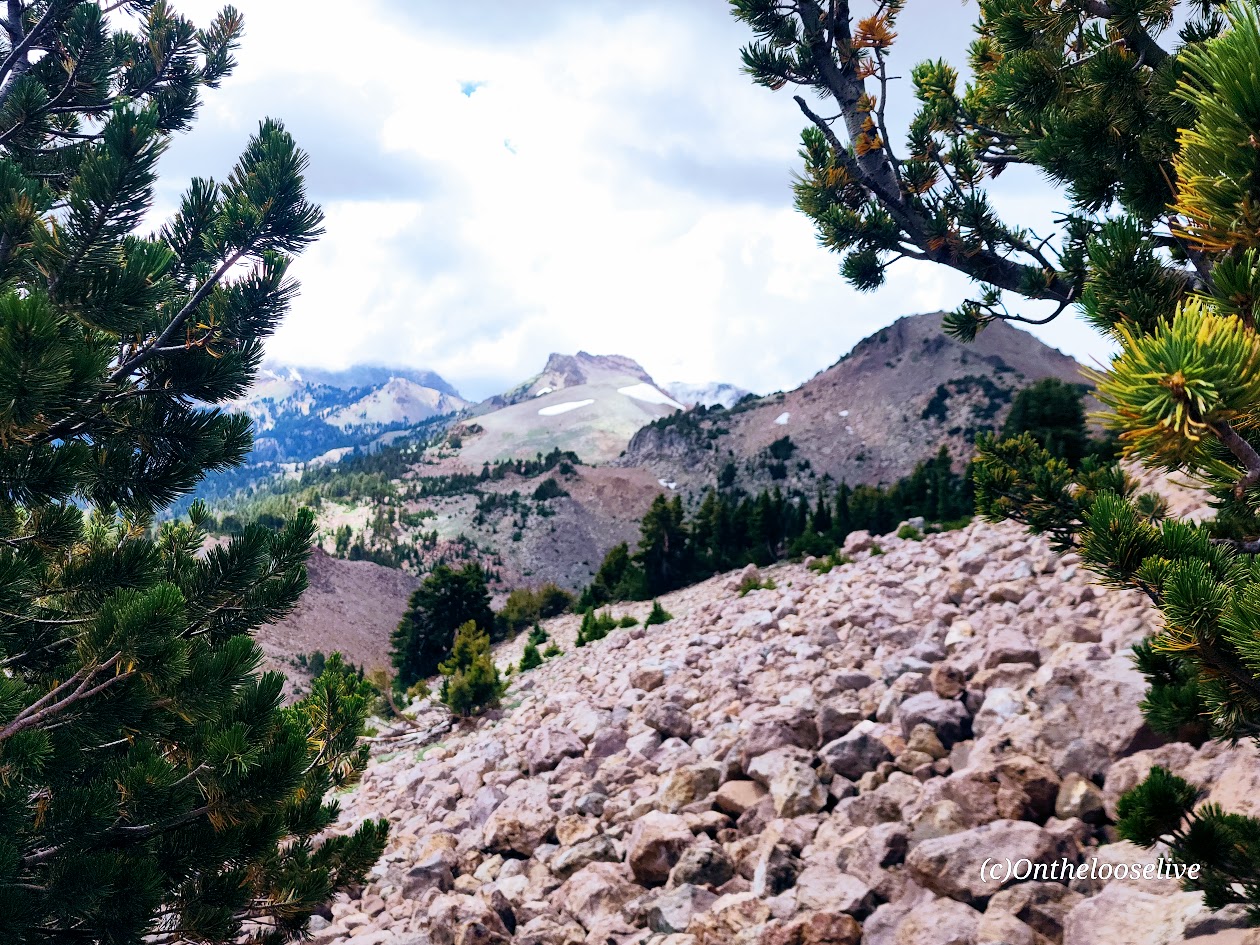
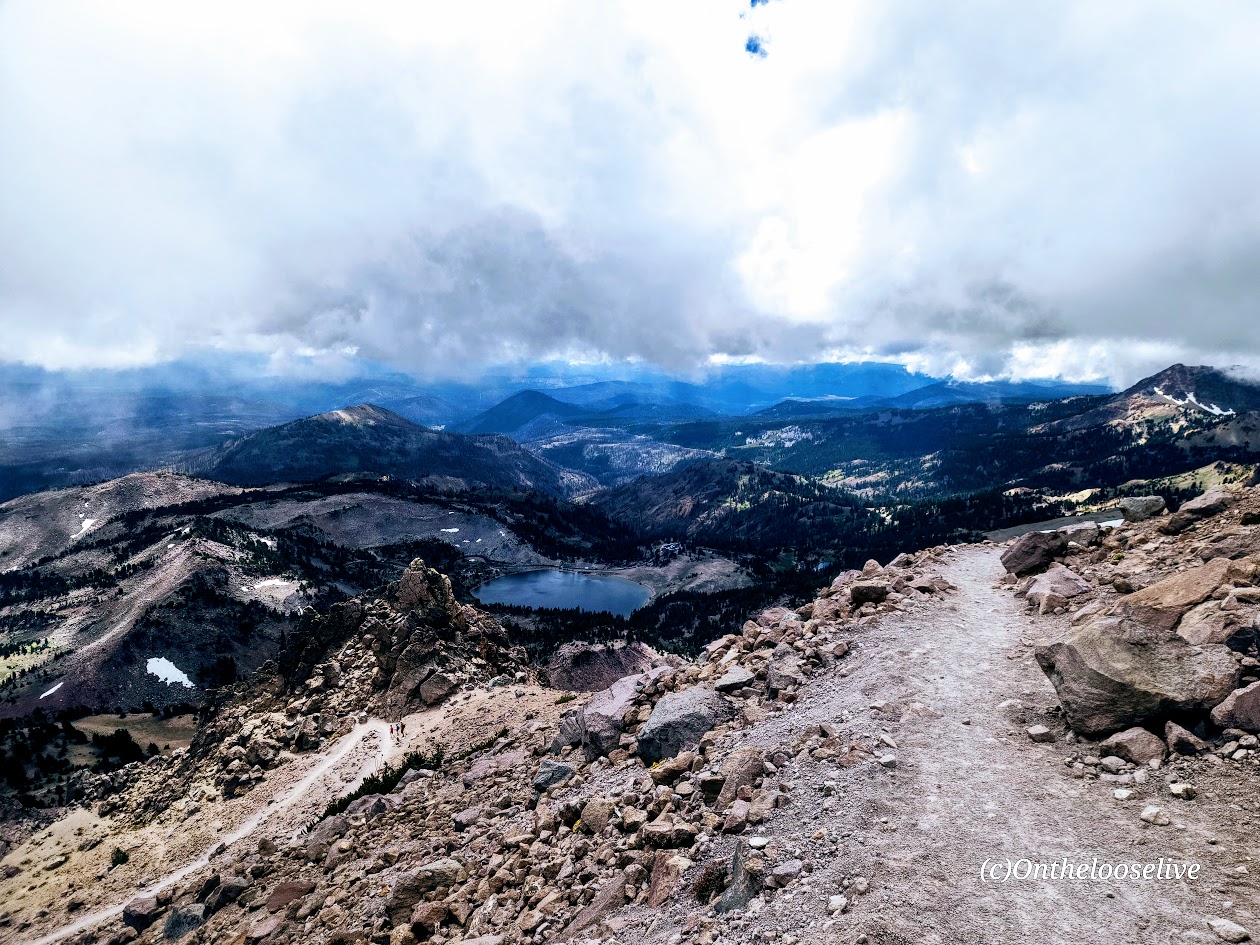
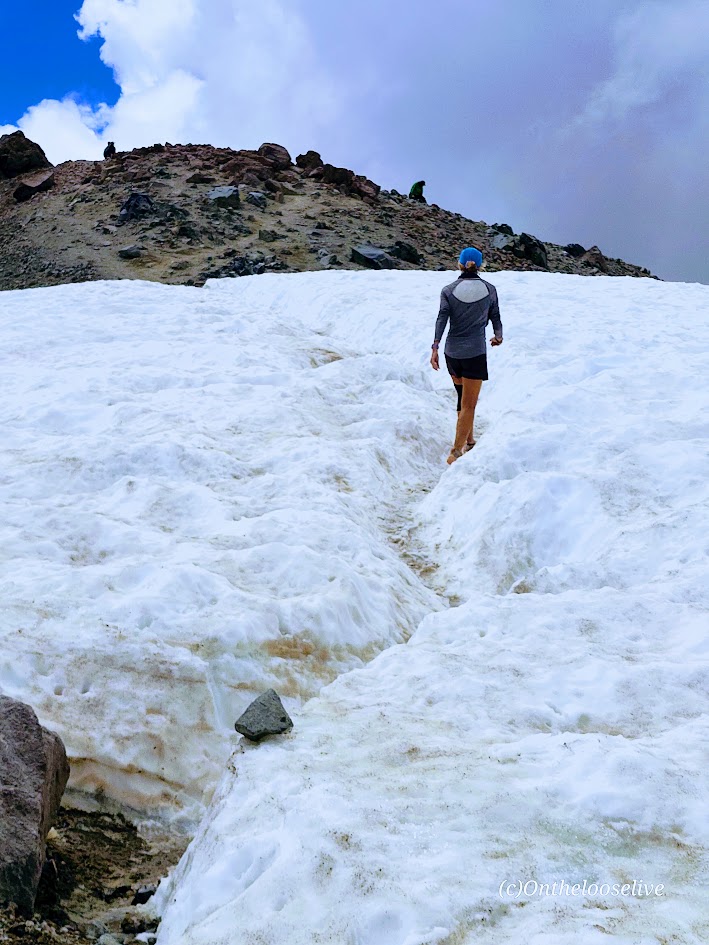
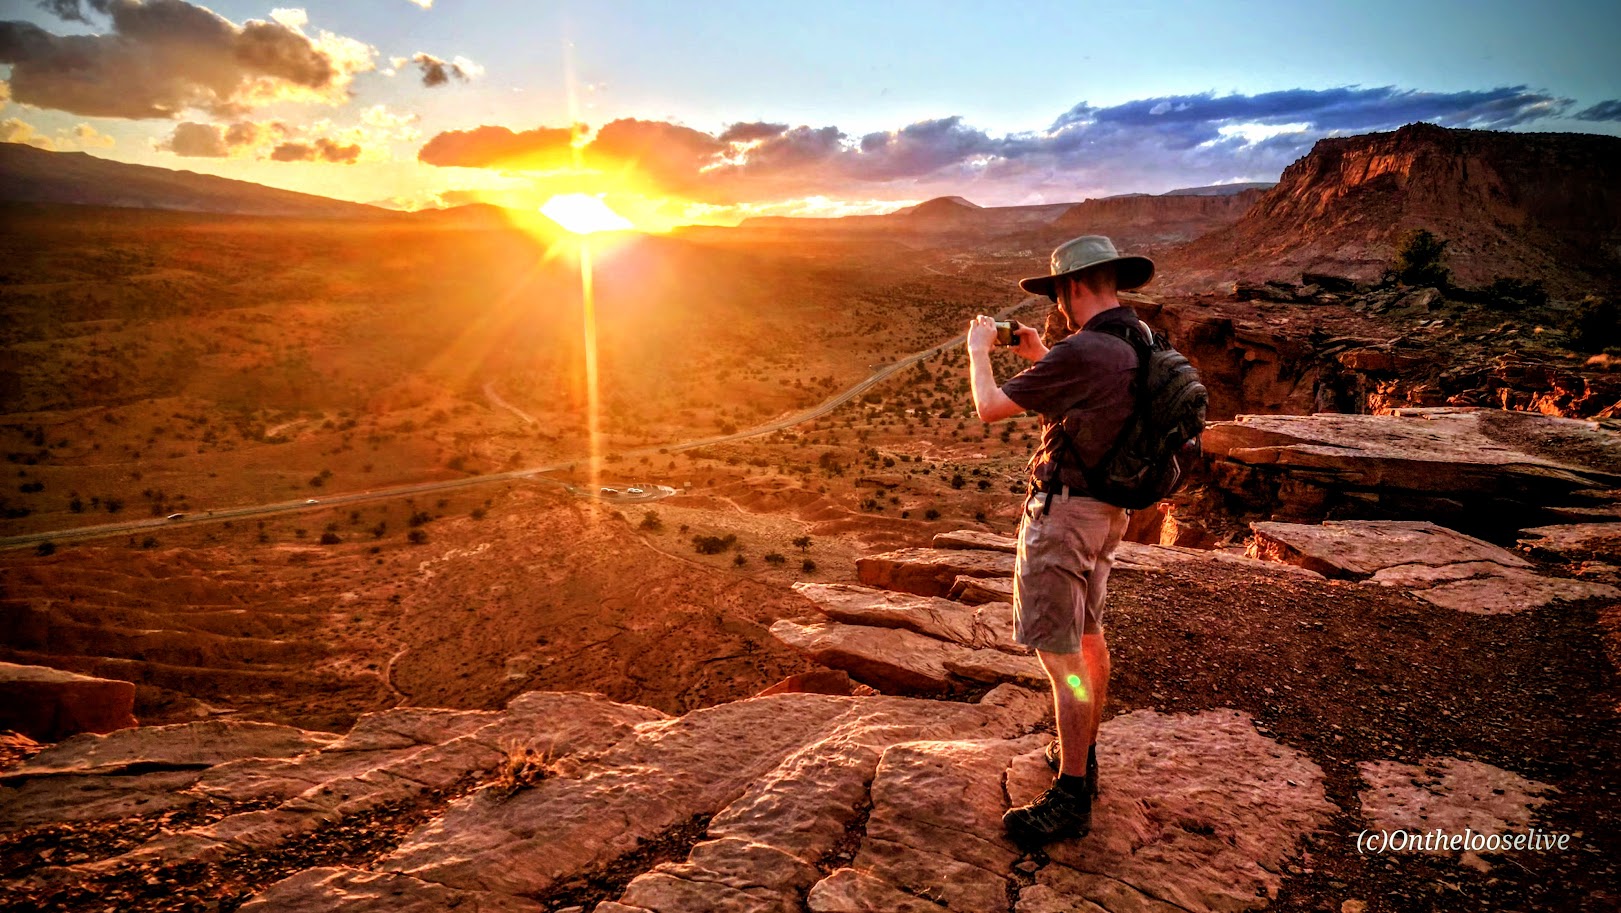
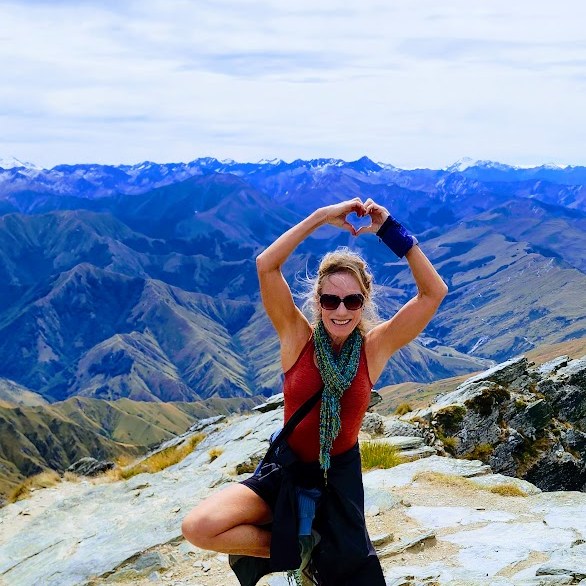
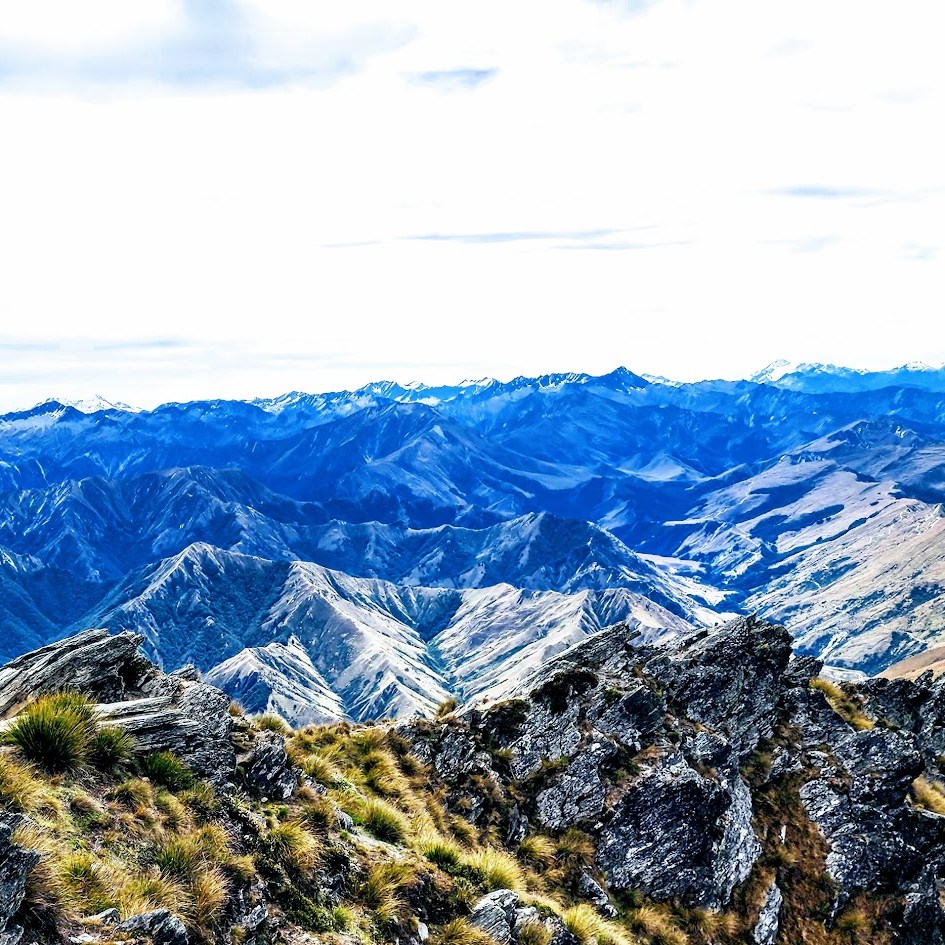
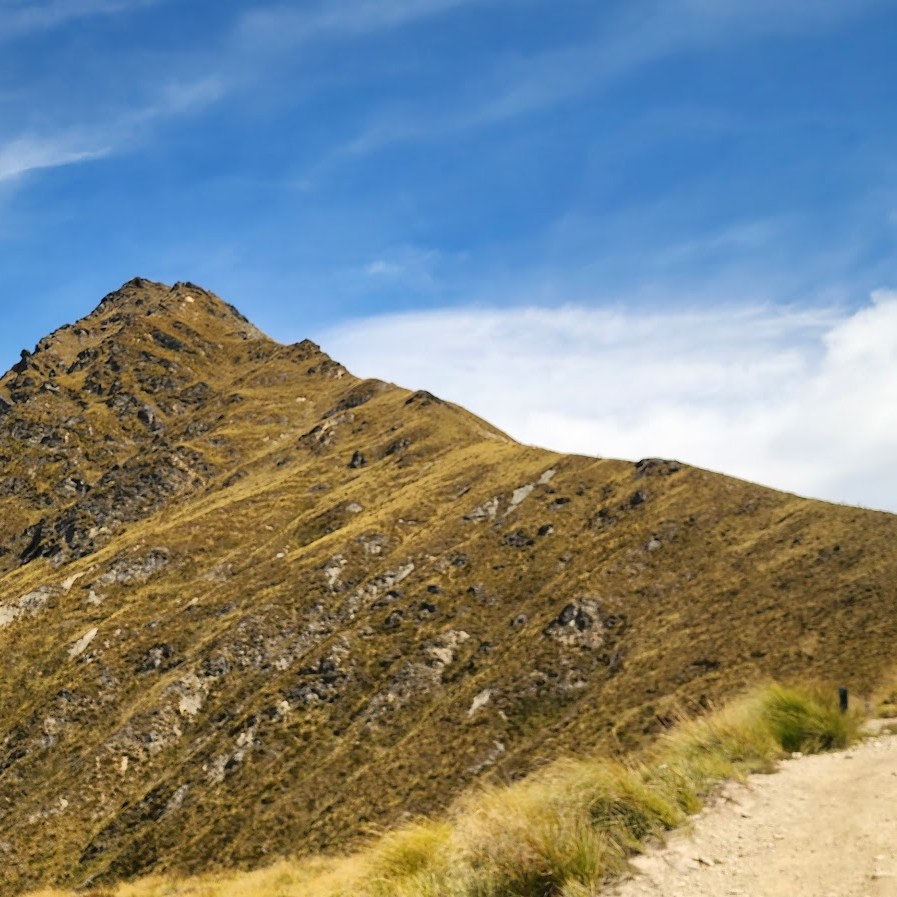
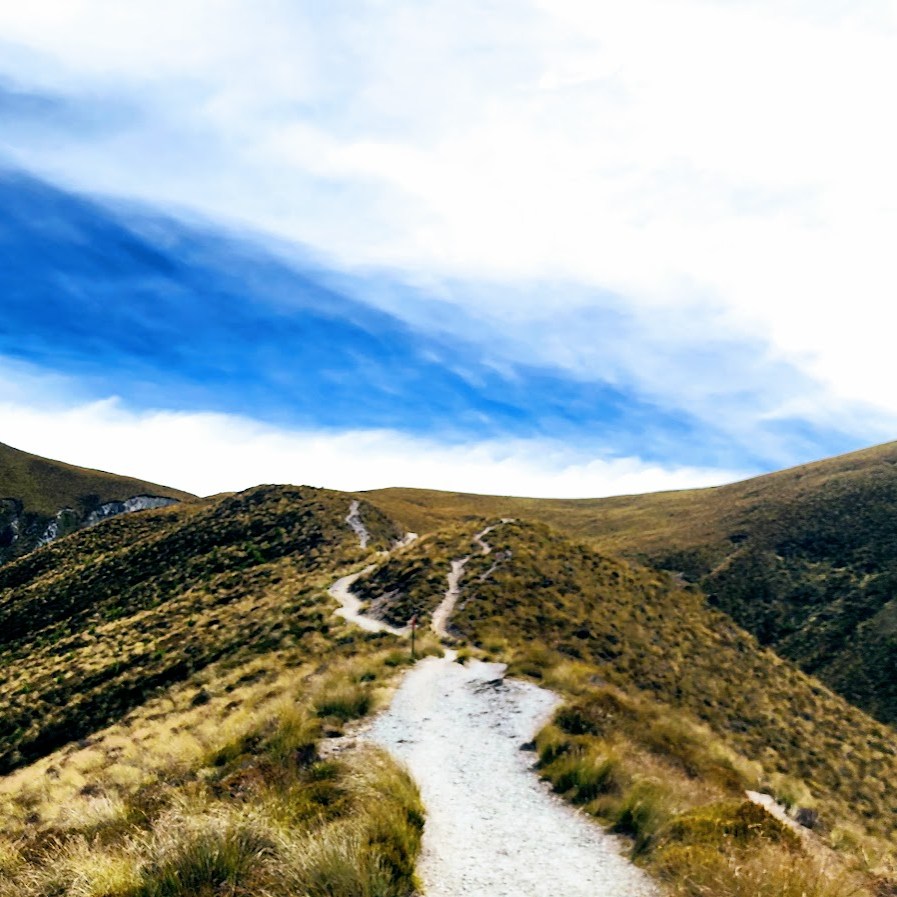
The Ben Lemond Track is well-marked, easy to follow, and easy on the feet, until the last rocky mile or so to the summit. Great for trail running. The mountain bike trails are separate (45 mountain biking trails and 10 e-bike trails), so no close encounters with bikes (thankfully), but it’s fun to watch them flying down the ridgelines from a distance. As you climb the ridgeline, the incline is consistent, but mostly gentle/moderate until that last mile. Your reward is expansive views of the dazzling Lake Wakatipu (NZ’s longest lake – 50 miles long) and Queenstown far below, and a stunning panoramic view of it all at the top. While the summit is only 5,735 feet in elevation, it is considered alpine as it’s above treeline, completely exposed, and subject to severe, volatile weather. (Be prepared and check the weather forecast in advance.) I’ve discovered that many alpine hikes in New Zealand offer plenty of elevation gain without the altitude factor—same magnificent alpine hiking and scenic rewards, but far less arduous than hikes at higher elevations. Super fun and doable for hiking, trail running, and biking, but not helpful if you need altitude training or will be competing at altitude.
While not an official “Great Walk” of NZ, the Ben Lemond Track is a GREAT hike—in my opinion, it’s a “must do” if you’re in Queenstown.
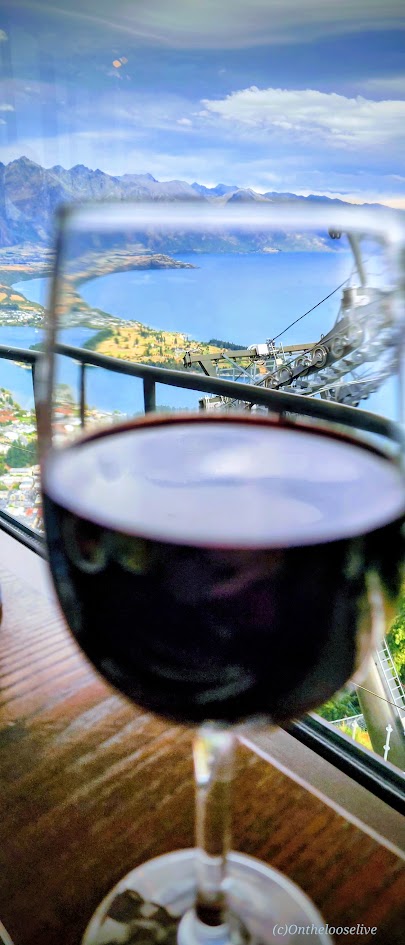
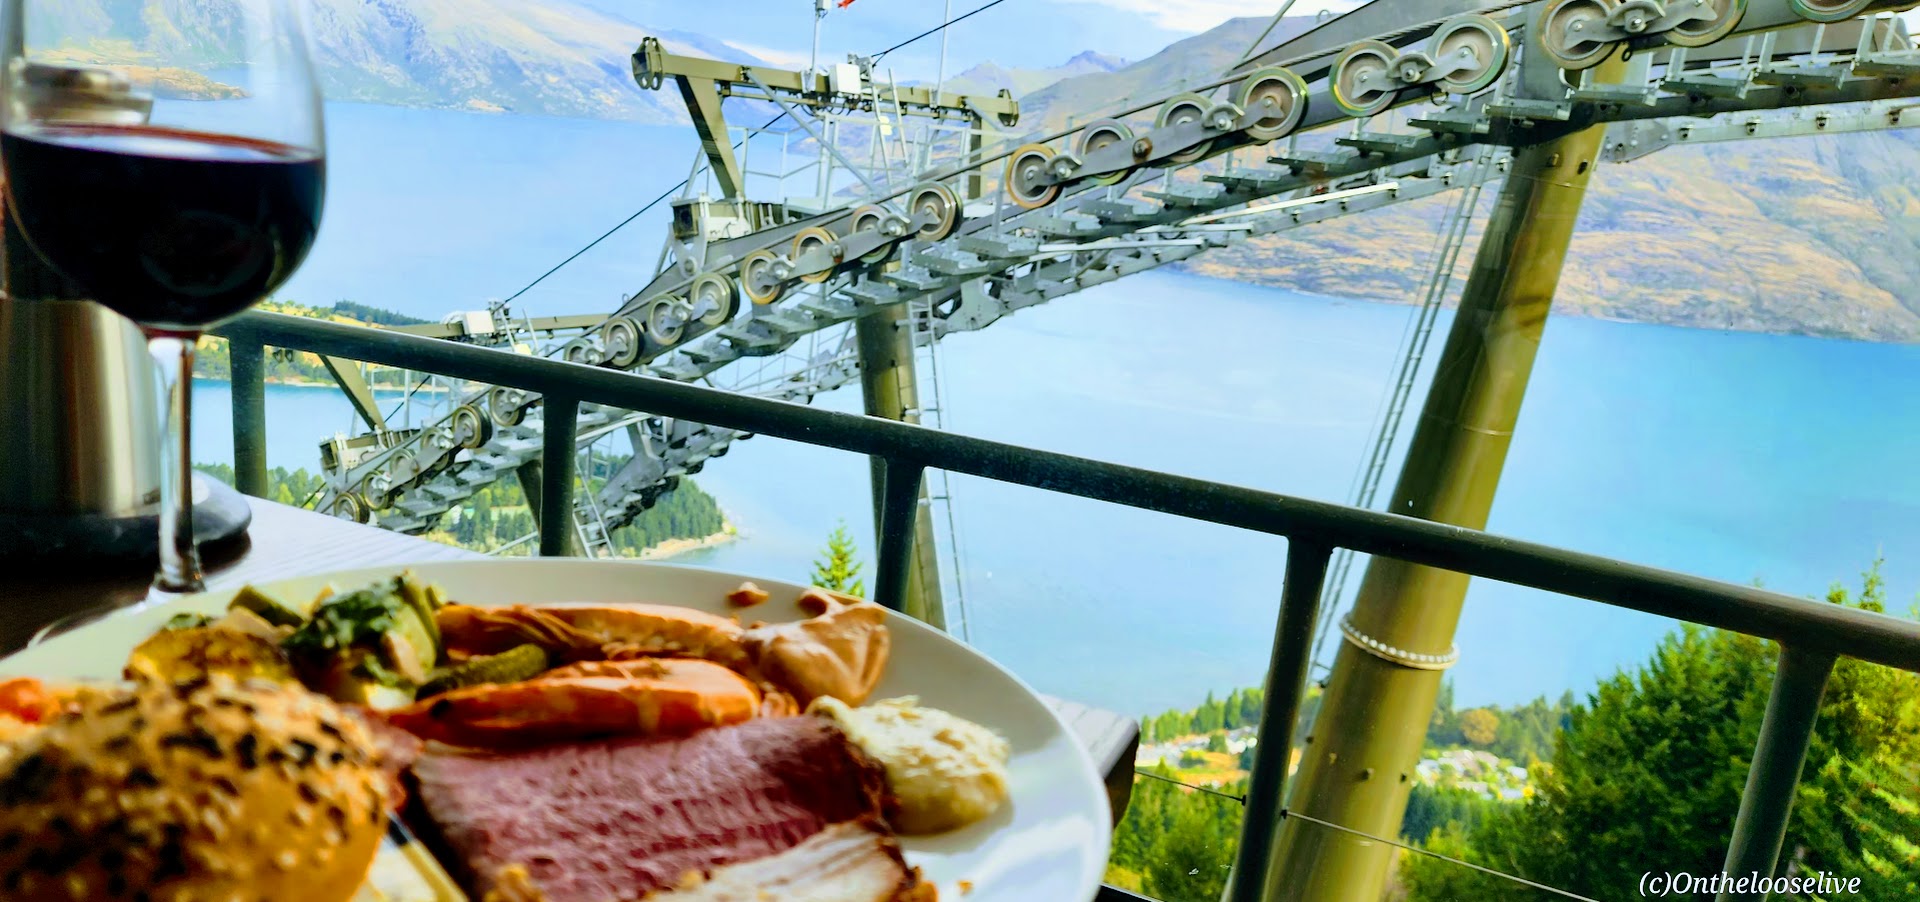
So many adventures, so little time! Definitely something for everyone here! Whatever Queenstown adventures you choose, be sure to work up a good appetite, and then treat yourself to the lavish all-you-can-eat feast (lunch or dinner) at the Stratosfare Restaurant. Enjoy the incredible views, live music, and decadent delights.
Pro Tip: Reservations are required at the Stratosfare Restaurant, but it’s 100% worth checking in to see if they have last-minute availability. You just may get lucky like I did!
Skyline Gondola Views
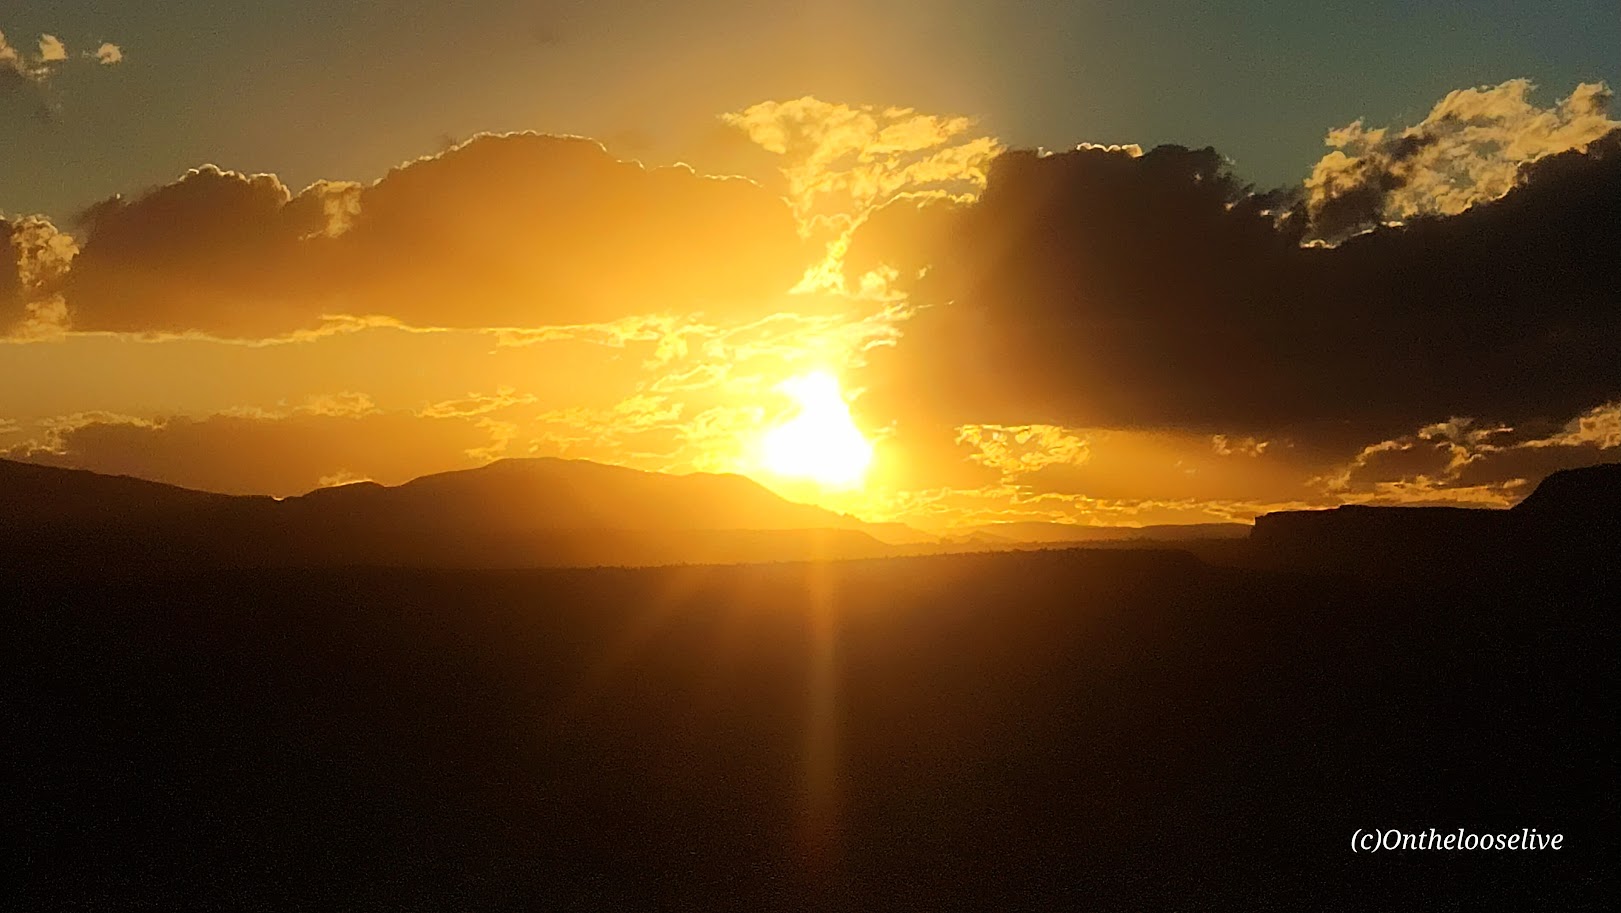
Happiness is a challenging hike followed by an indulgent feast, a sunset gondola ride, and a cozy bed with a welcoming bottle of local wine and snacks—all with spectacular views! This was truly an epic day for me in NZ and in my life!
Happy Trails! Stay tuned for more NZ adventures.