Adventures Near & Far, St. George Yoga & Hike Retreats, Popup Yoga, Local Guiding
Search Icon
Author: livevigorously
Greetings, I’m a St. George local who is passionate about blending my love for yoga, and the great outdoors to create an unforgettable experience just for you. Enjoy outdoor yoga (all levels) in an iconic setting and/or a guided hike to secret petroglyphs, caves, and slot canyons. With stunning Snow Canyon as my backyard, I'd love to be your guide to the best this area has to offer! Ask about my "home stay" options.
While it was bittersweet to leave lovely Vila Nova de Mil Fontes behind, we were all looking forward to what the new day with Top Bike Tours Portugal would bring.
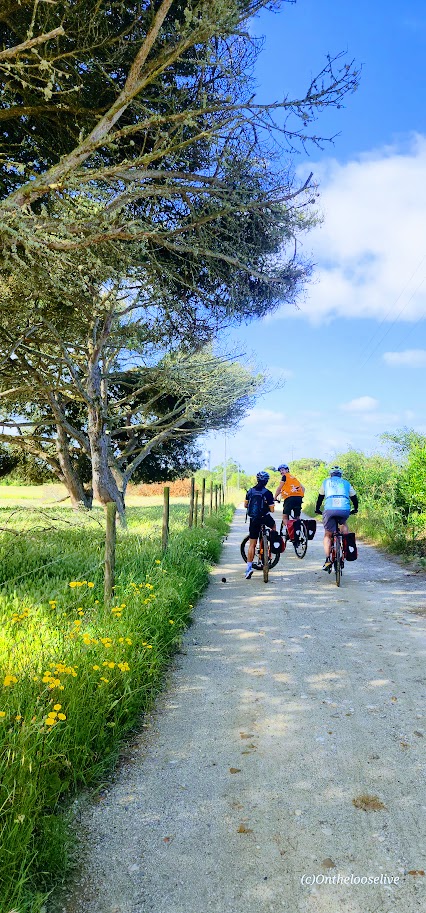
Once again, we followed our trusty guide, Telmo, through a maze of paved and gravel roads.
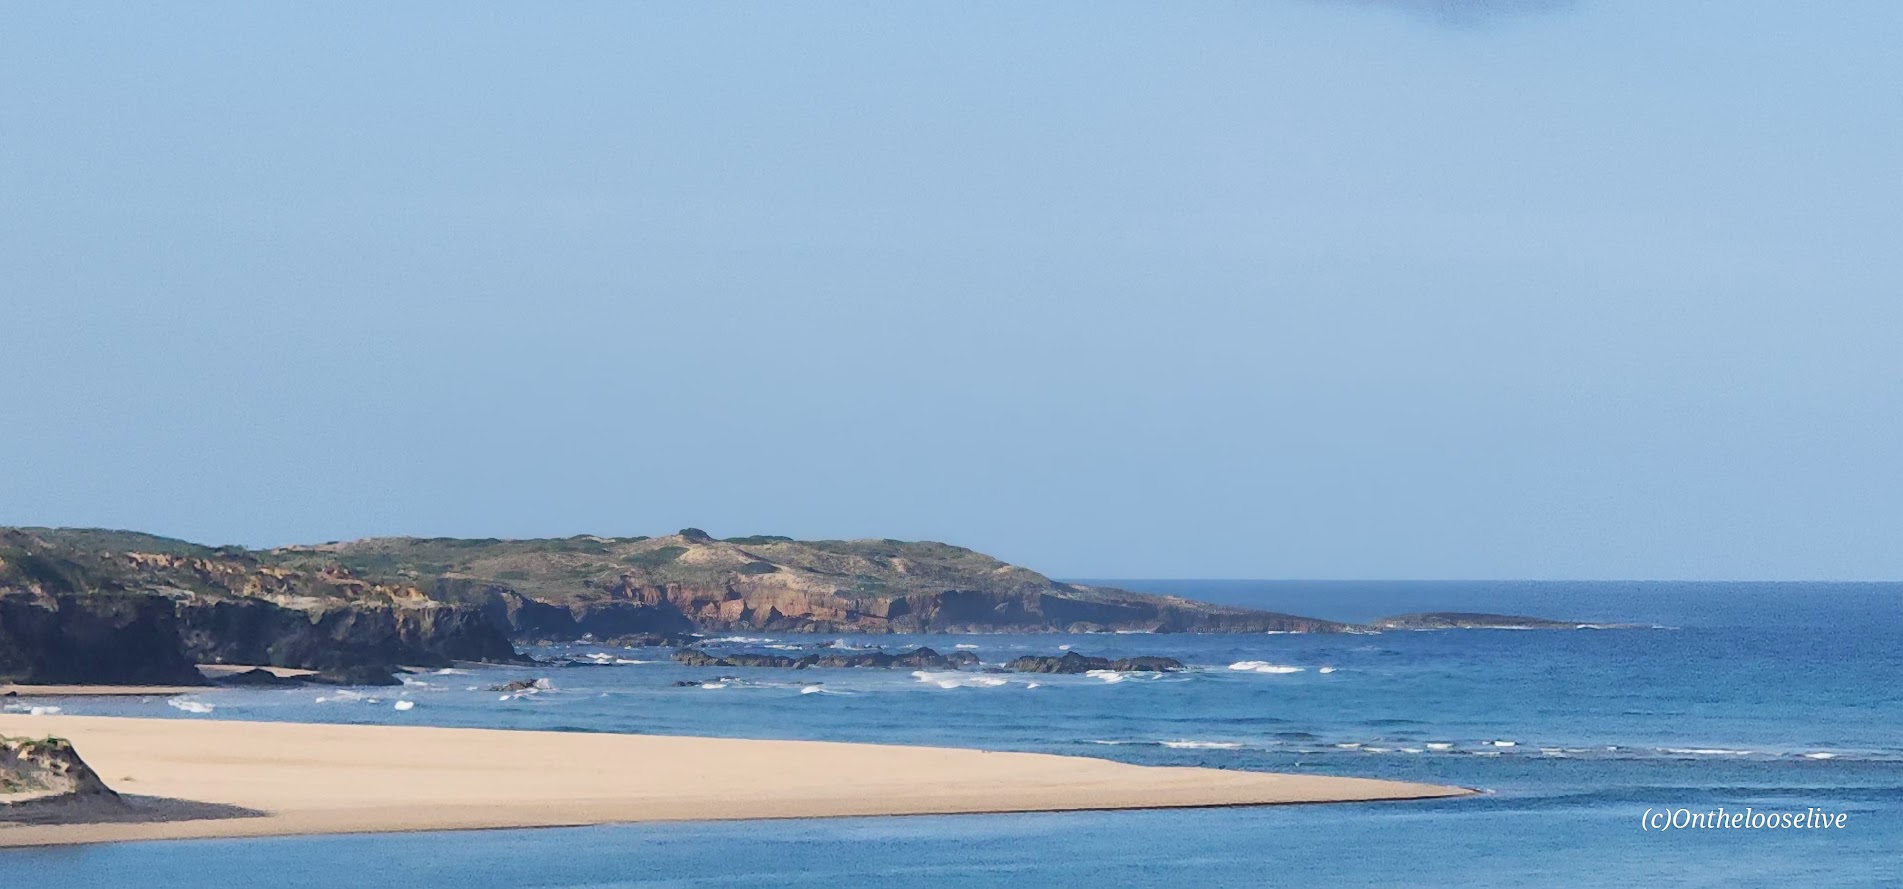
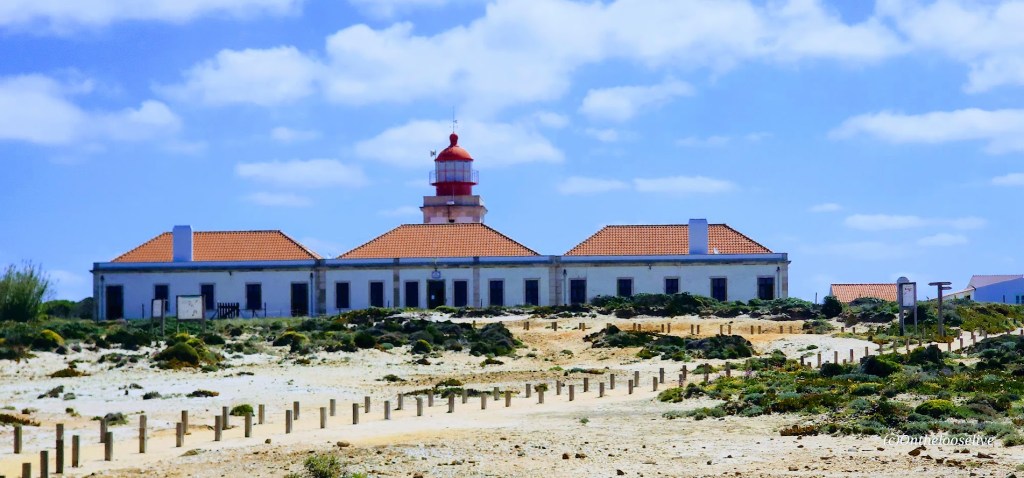
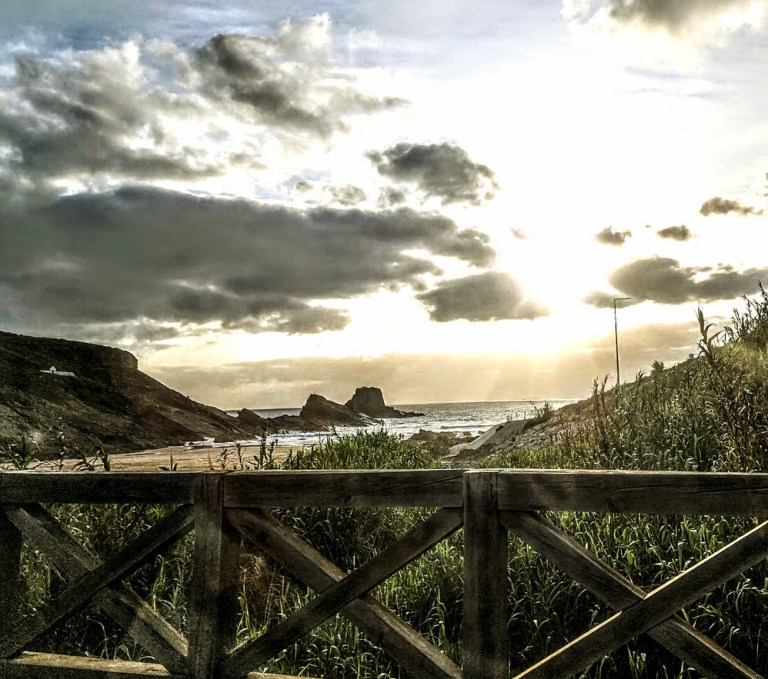
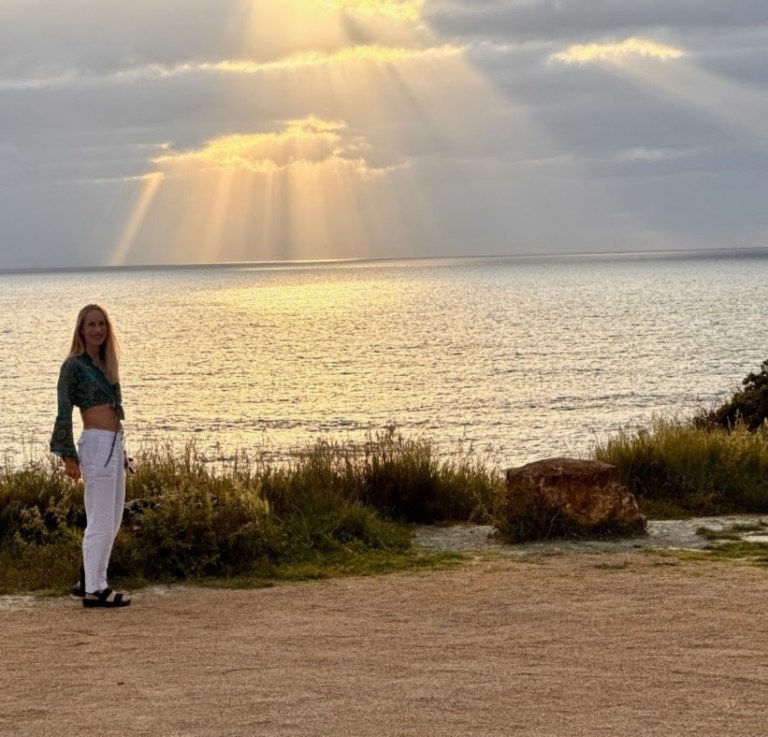
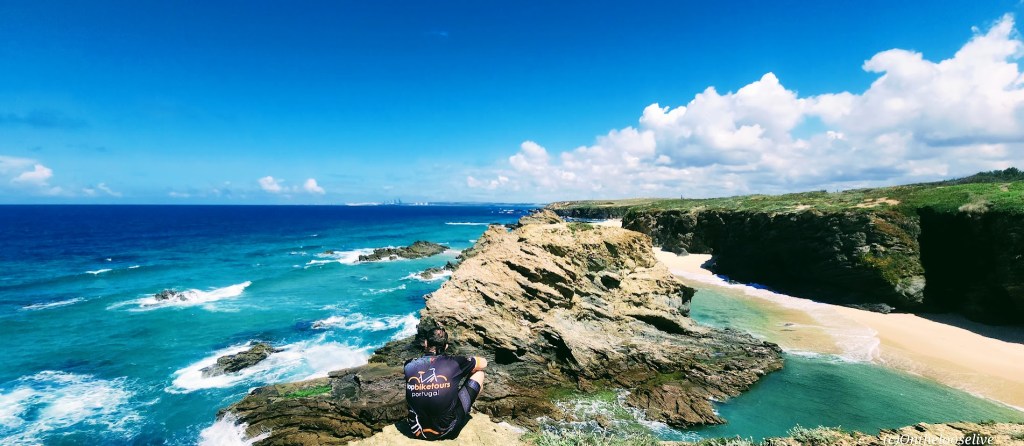
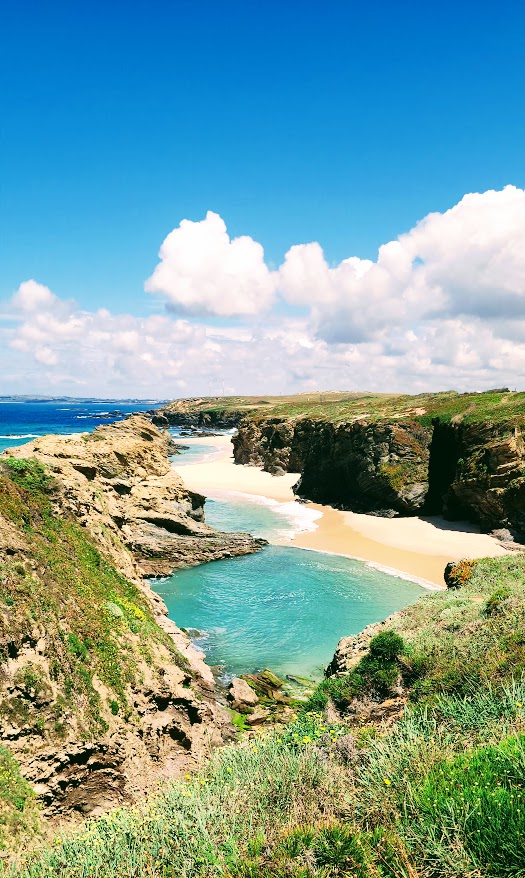
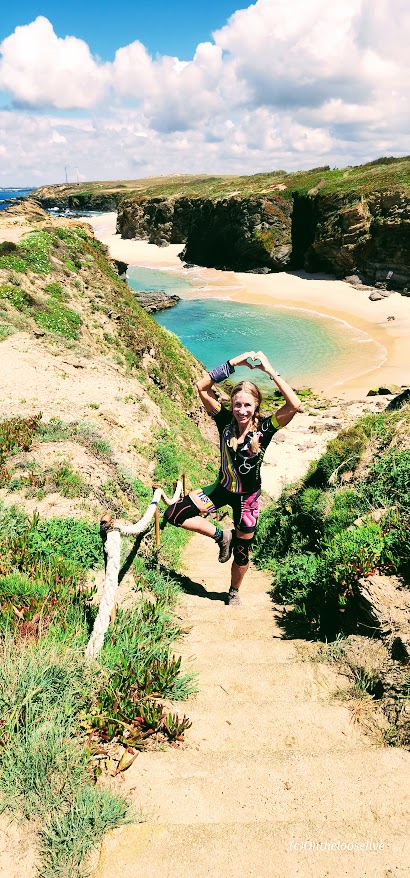
One of our scenic stops was at the picturesque Zambujeira do Mar Cabo do Sardao Lighthouse, where the striated and serrated rocks in the sea meet the flowered-top cliff for postcard-like photo ops.
Gosh, I could spend days immersing myself in this splendid scenery, but we were off again to take in the beauty and charm of the tiny seaside village of Zambujeira (population 911). Zambujeria would later stand out as one of my many favorite hamlets. We enjoyed a refreshing lunch and gelato treat in a restaurant on the cliff overlooking the sea.
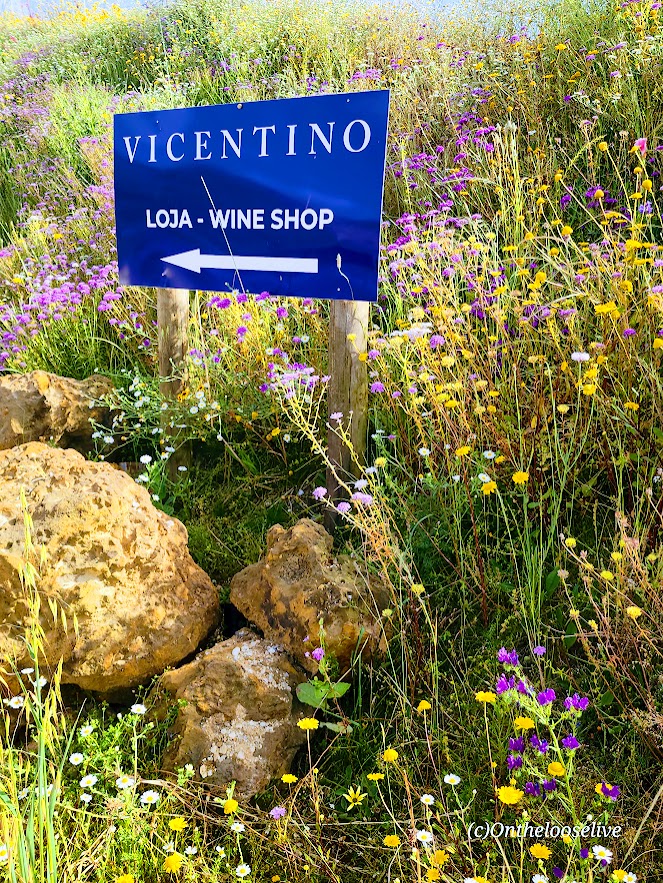
Top Bike Tours Portugaloutdid themselves with an amazing itinerary today, including a private tour and tasting experience at the splendid Vincentino winery (as nice or nicer than Napa and Sonoma wineries that I’ve been to and as delightfully palatable).
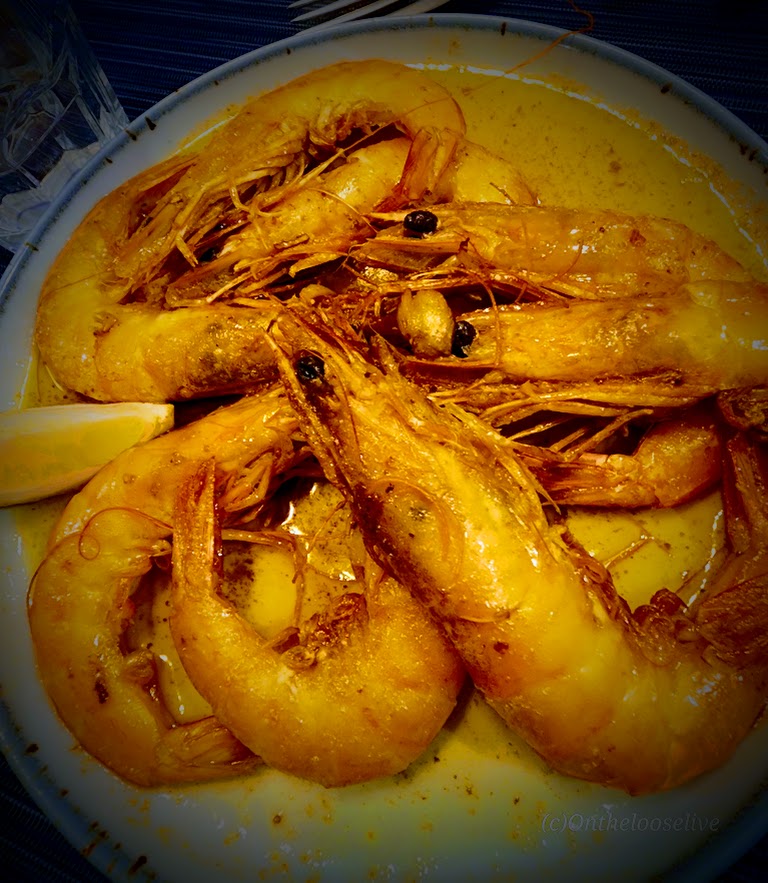
A sumptuous seaside dinner feast followed at a local, seaside, family-owned restaurant.
And if all that wasn’t enough, when we returned to the hotel, we were treated to a surprise, private, traditional Portuguese Fado concert—“Oh, my!”
Without question, this was one of my “top” days in Portugal, but then again, it seems so was every day that I spent with Top Bike Tours Portugal.
Distance: ~33 Miles Elevation Gain: 1,047 Ft Terrain: A mix of road & off-road
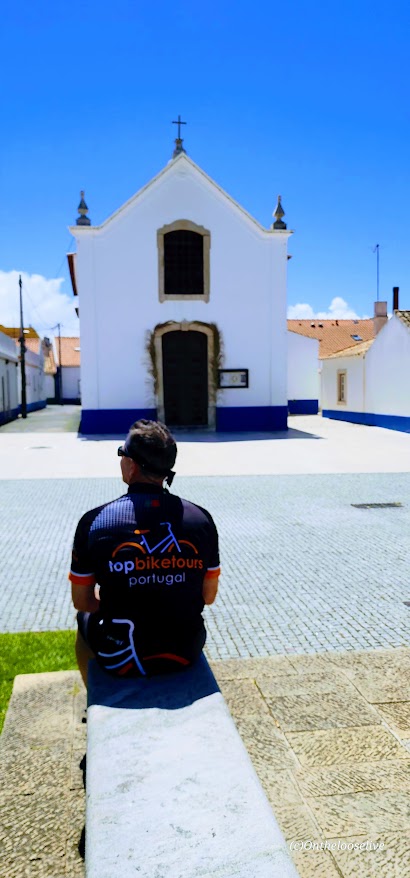
After a delicious buffet breakfast at the Octant Hotel, we saddled up, donned our new “Top Bike Tours Portugal” jerseys, and began our first day’s biking adventure.
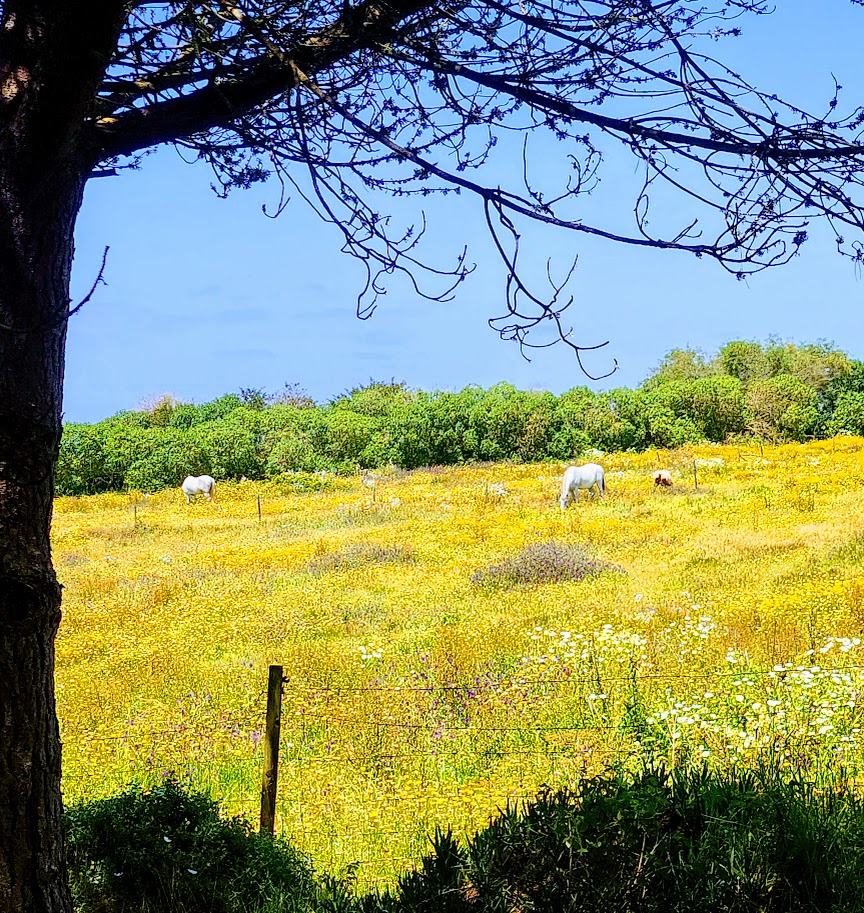
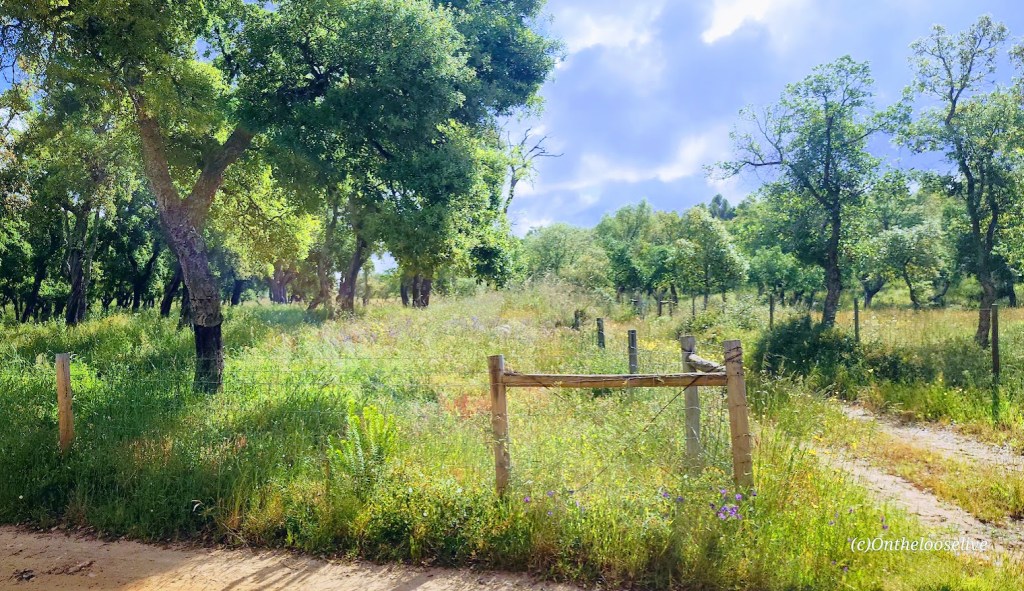
We followed our wonderful guide, Pedro, [Top Bike Tours Portugal], into the lovely countryside via a maze of paved roads and gravel, dirt, and sandy paths. Encountering engaging vistas and a surprise around every corner.
At our morning rest stop, we were treated to our first glimpses of street art. The sea breeze foreshadowed that we would soon be at the captivating coast!
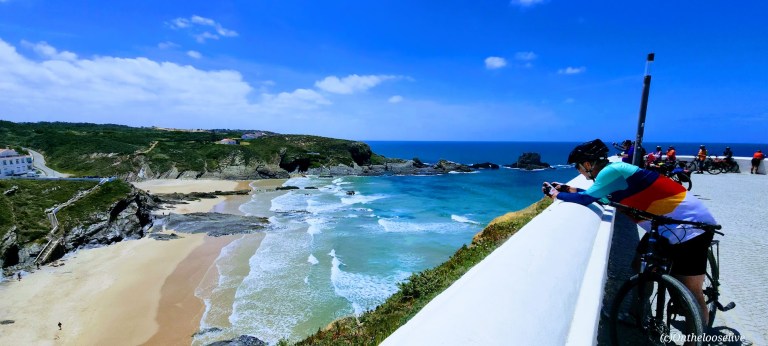
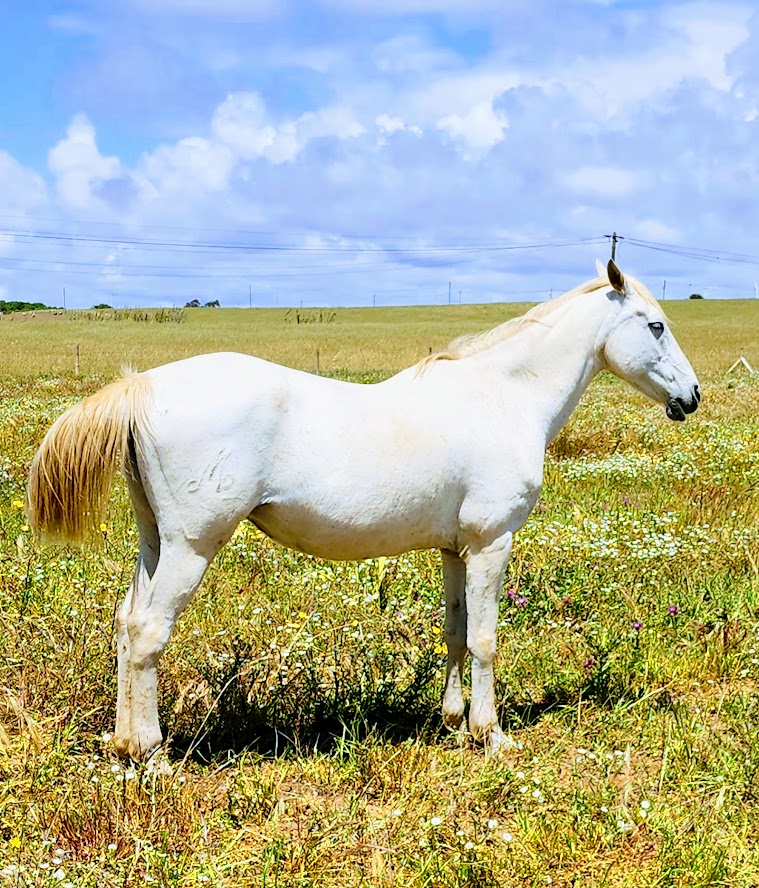
Soon we would be pedaling alongside the sea and taking scenic breaks to immerse ourselves in the rugged, ravishing natural beauty around each corner. Other than sharing it with a few hikers, we had much of the breathtaking scenery all to ourselves.
I kept thinking, “Wow, this must be the best part”, and it would just keep getting better and better. As would each moment, hour, and day of this epic bike adventure!
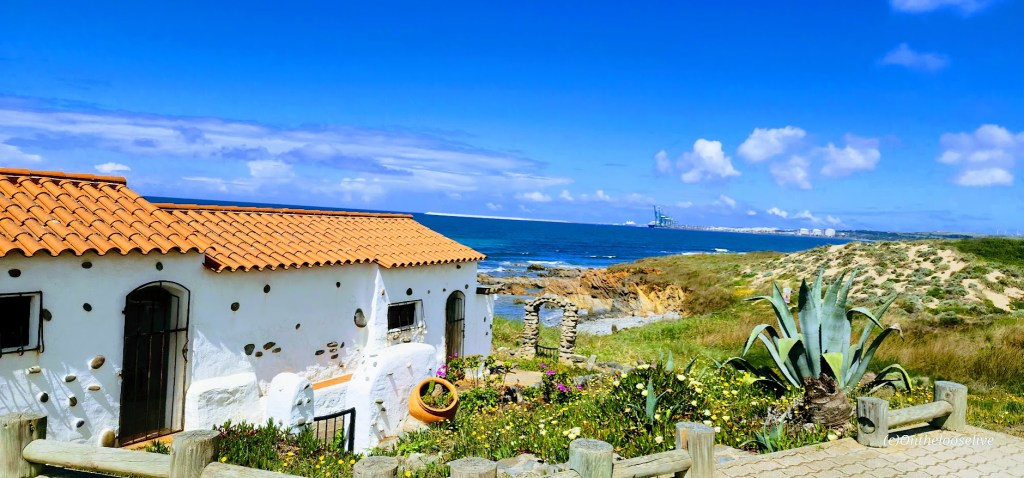
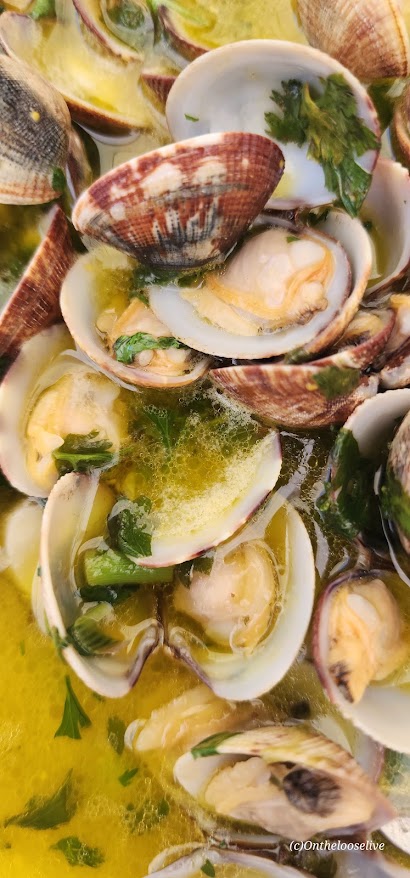
We enjoyed a leisurely lunch stop in the charming, fishing village of Porto Covo (population 1,400), where white-washed houses and restaurants with brilliant blue trim perch atop a hill overlooking the raging Atlantic Ocean and the rugged Alentejo western coast. I enjoyed the freshest tuna salad drizzled with the delicious local olive oil, and my friend had clams in garlic butter. (Fortunately, he was generous enough to share a couple of those sumptuous morsels.)
We would see many more hikers in the days that followed as our biking route encompassed segments of the Fisherman’s Trail, which is part of the Rota Vicentina, a network of hiking and biking routes throughout southwest Portugal, spanning the beautiful Alentejo and Algarve regions. The Fisherman’s Trail is a 78-mile-long coastal trail that’s described as one of the most stunning coastal trails in the world. (Indeed, I’m convinced!) Known for its spectacular seaside scenery, including dramatic cliffs, sandy beaches, and charming fishing villages, the route follows the wild Atlantic coastline from Porto Covo to Cabo de São Vicente.
After our tasty lunch, it was onward towards Vila Nova de Mil Fontes (population ~6k). However, first came a steep, rocky descent and a short dirt climb, which the e-bike group navigated with a little trepidation. Most had not ridden off-road before, and many were caught off guard by the “technical” challenges we encountered.
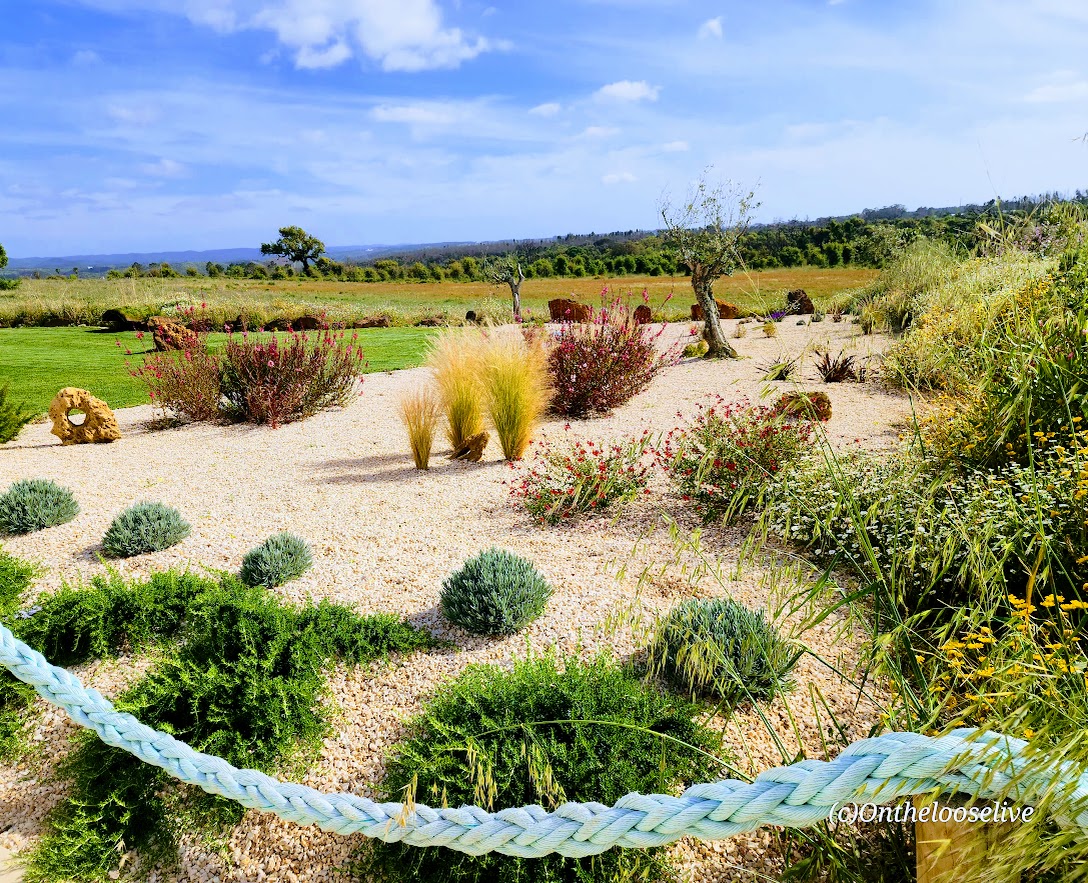
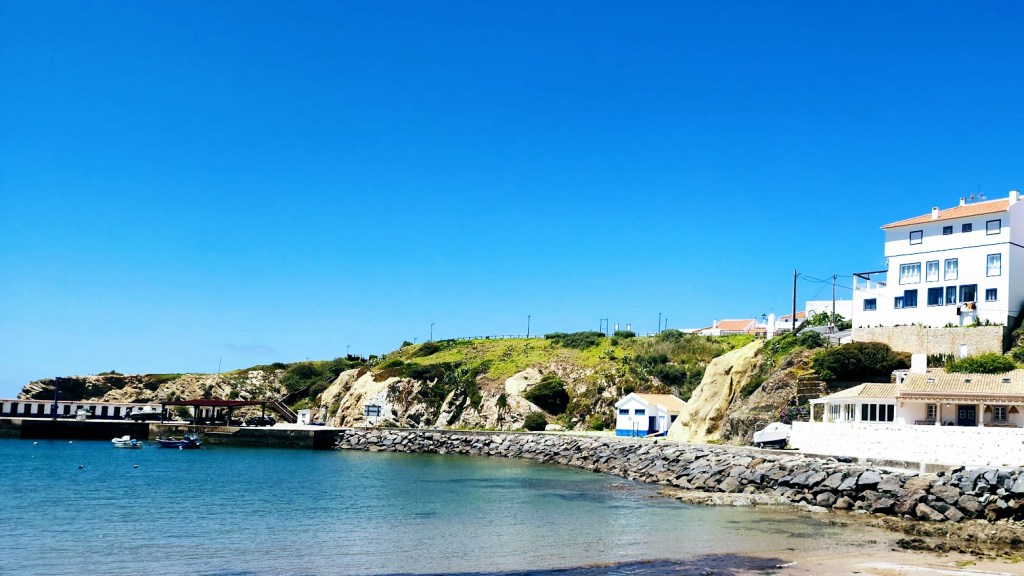
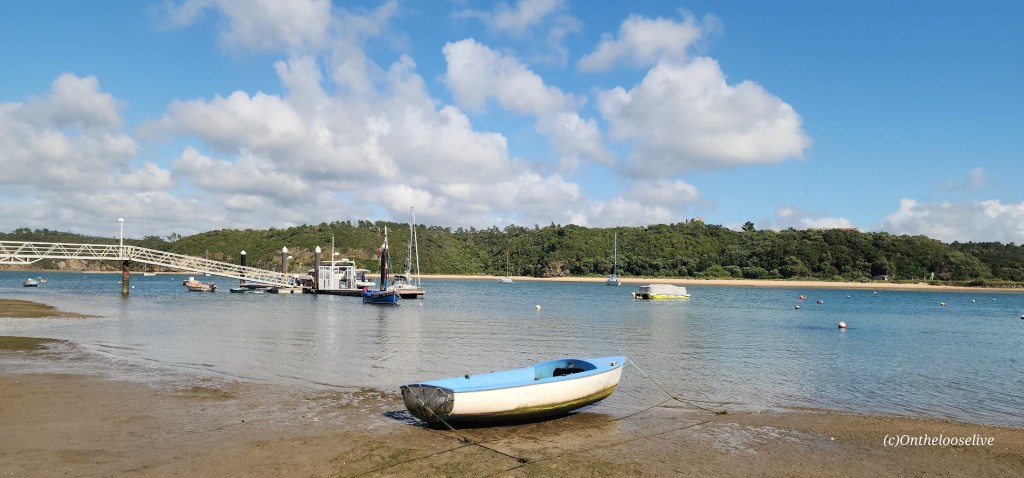
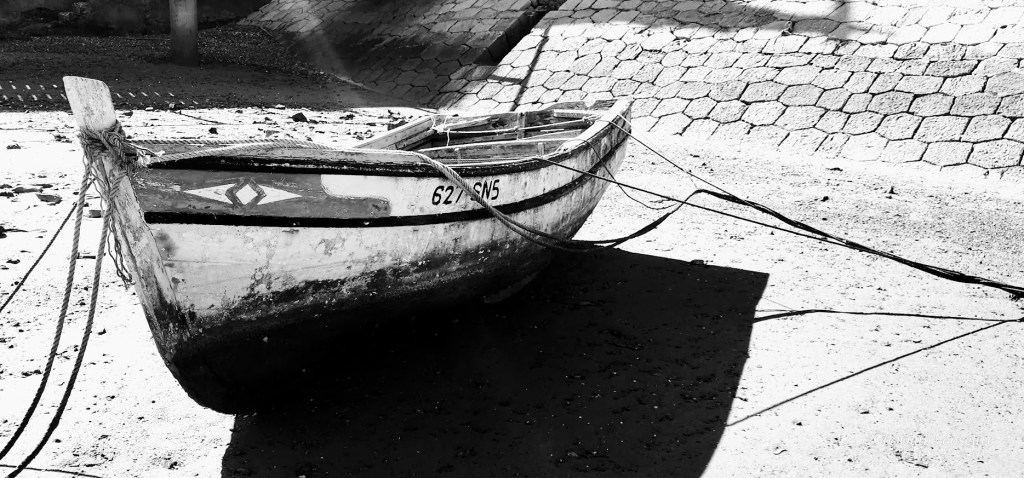
The view from our room at the Vila Nova de Mil Fontes Beach Hotel did not disappoint. The village was founded in 1486 by a royal charter granted by King João II and is located where the Mira River meets the sea.
After a refreshing post-ride libation (a Caipirinha for me), we took a relaxing stroll on the beach. (I developed my taste for this quenching cocktail on my cycling trip in Cuba and was delighted to find that they’re popular in Portugal too.)
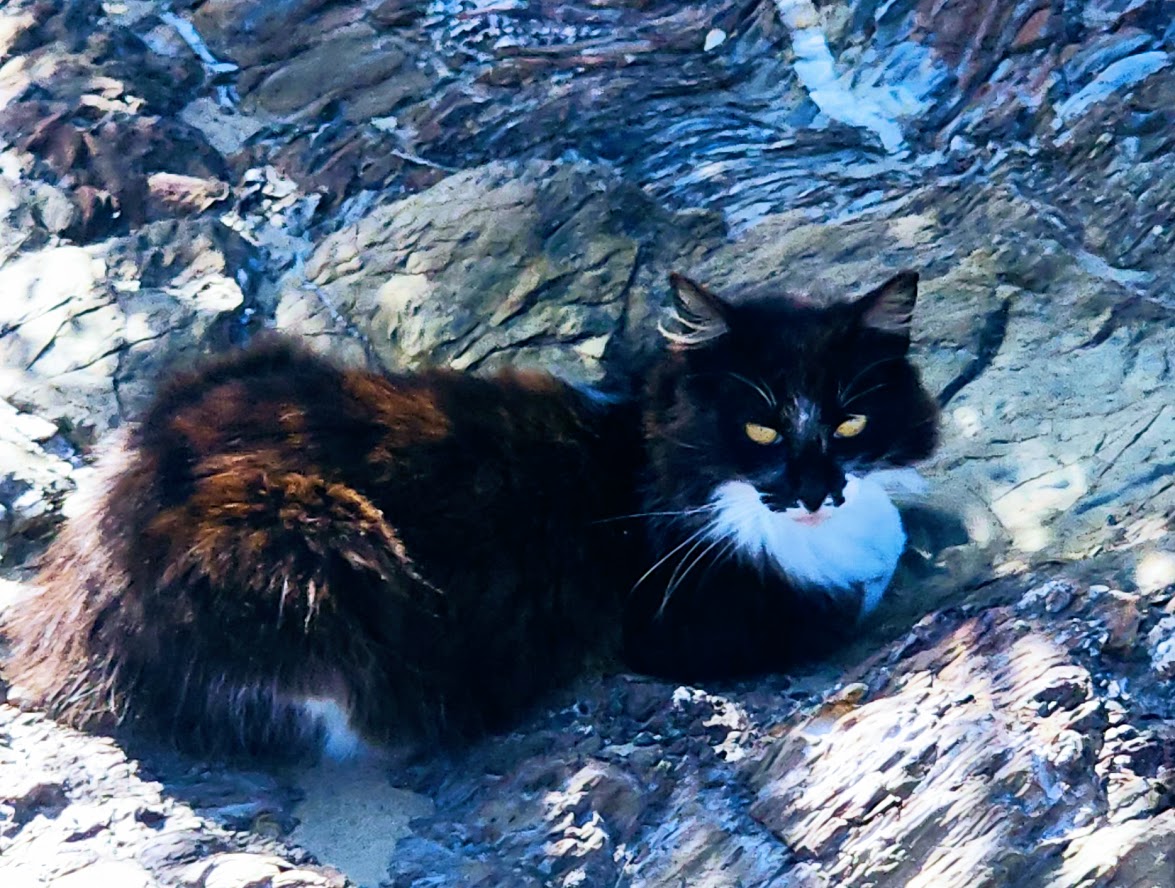
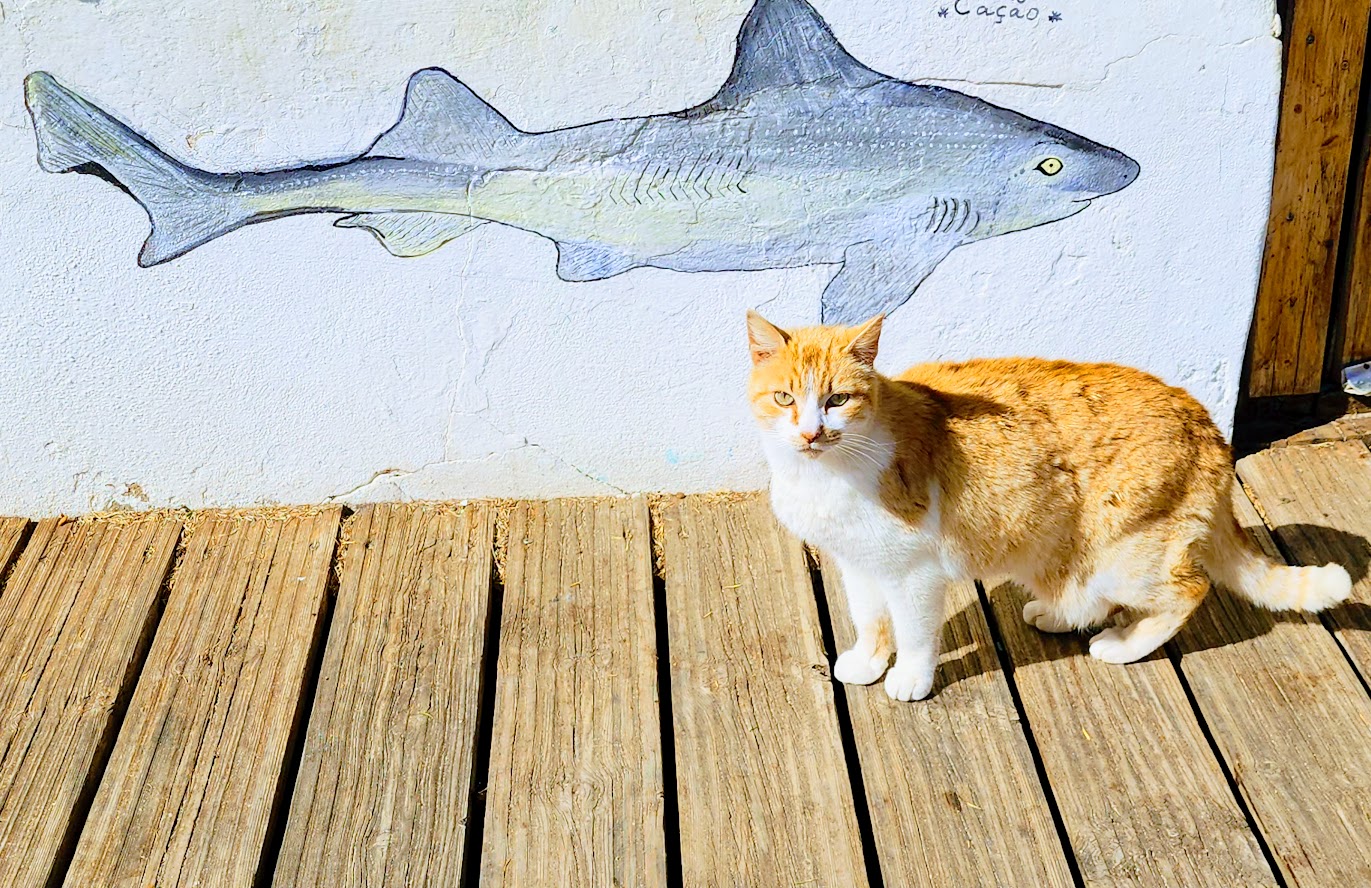
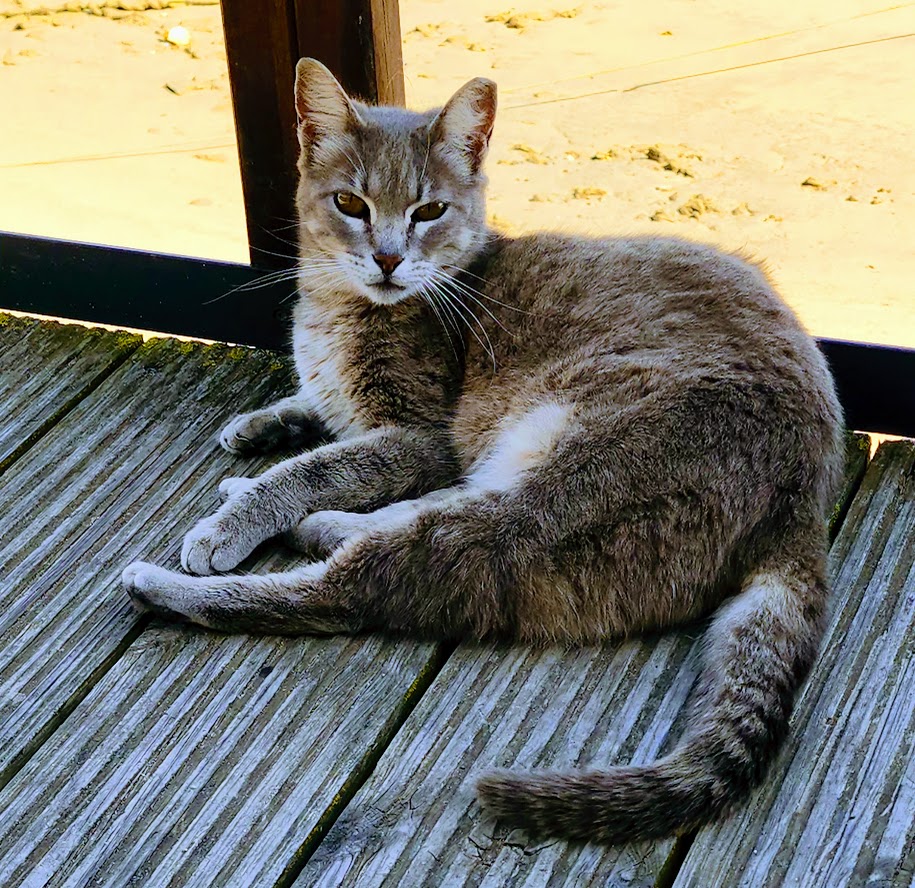
Meet the friendly, well-fed feral felines of Vila Nova de Mil Fontes. (Say that 5 times – lol!)
Fun to share this awesome adventure with my yogi and hiking friend, Bradley! Here’s before and after cleaning up for dinner, and officially in full vacation mode! (Things came together as they often do for me, “Last minute Lydia”, about 2 weeks prior to “take-off”, and Bradley spontaneously jumped in to join in the fun. (Luckily, we were able to get in some saddle time prior as the rides were more challenging than advertised…Let’s just say that 16% grade hills were not an anomaly.)
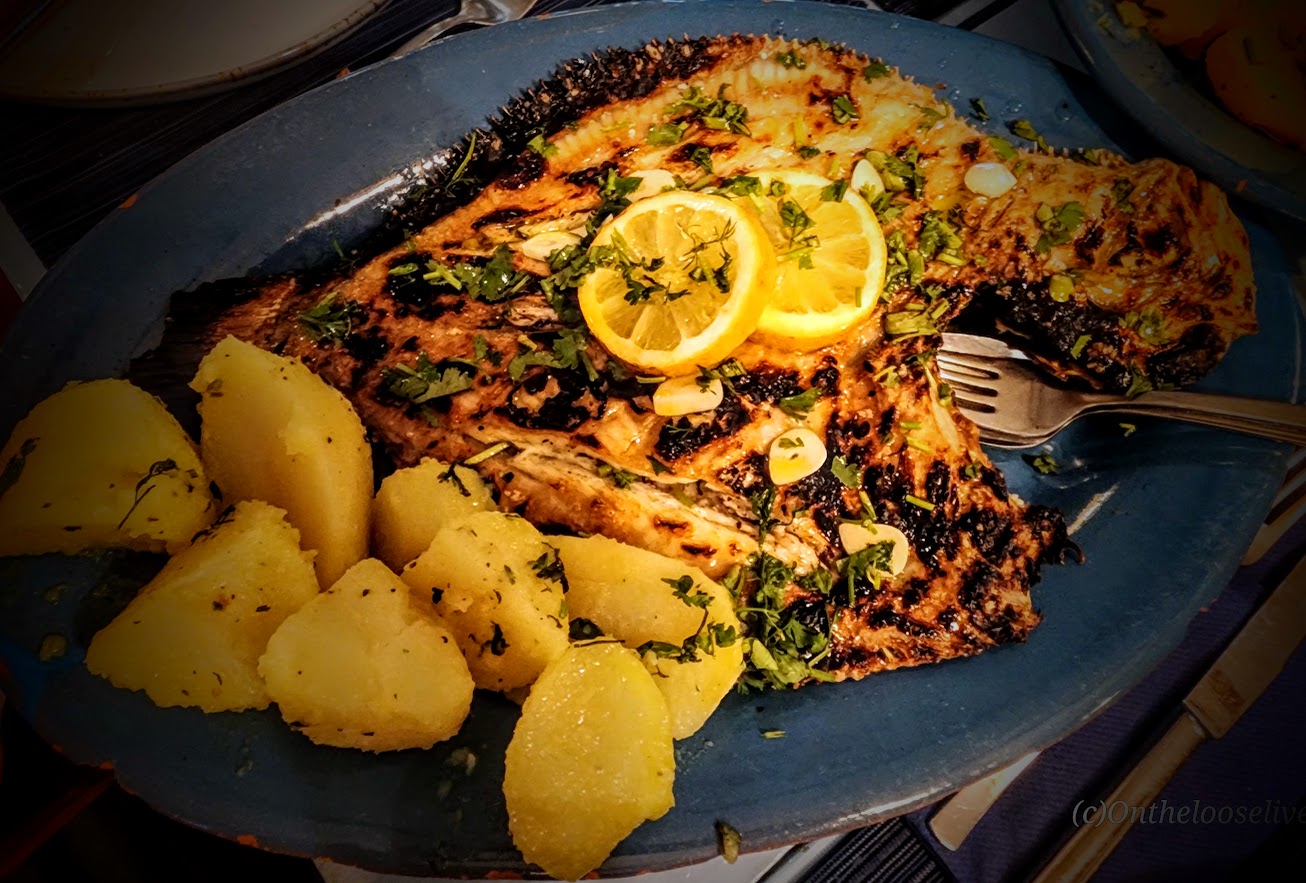
That evening, we enjoyed our group dinner at a charming restaurant where we both “accidentally ordered” a fish casserole. Each individual serving was enough to feed a family!
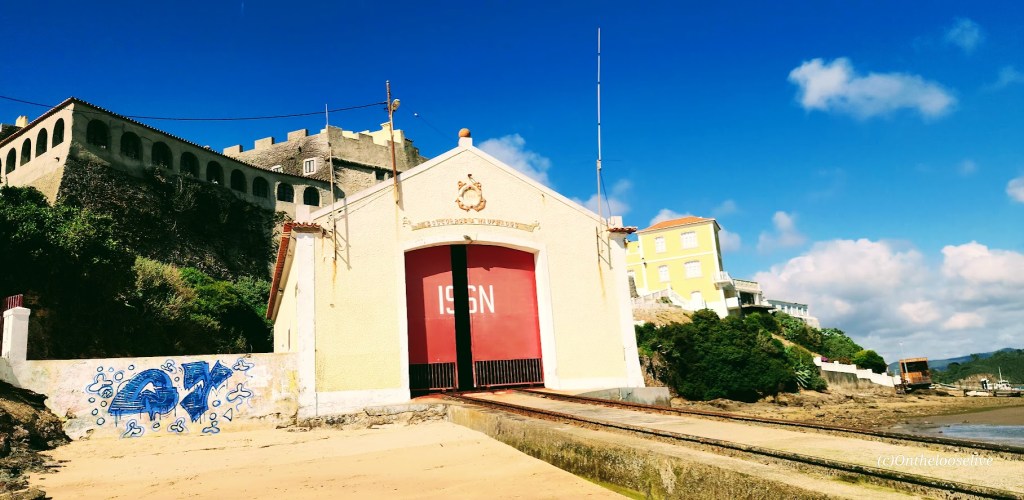
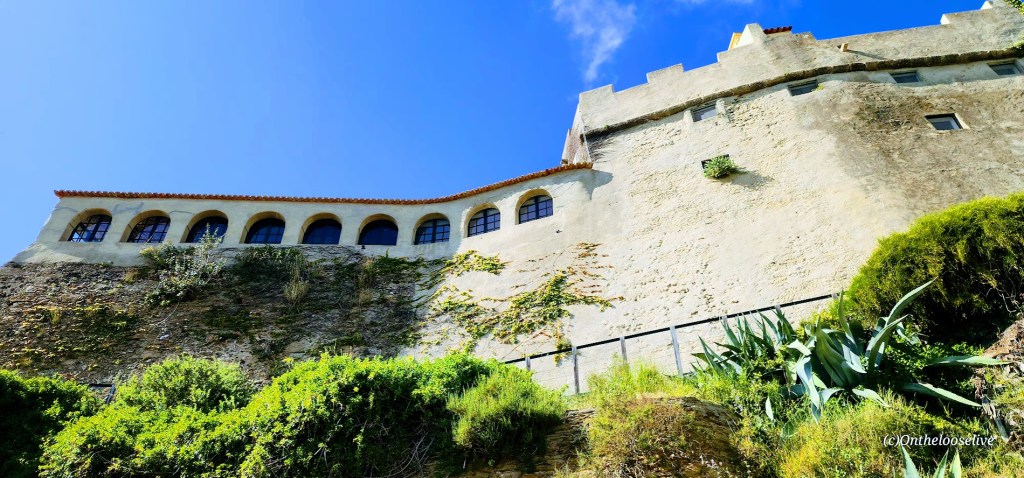
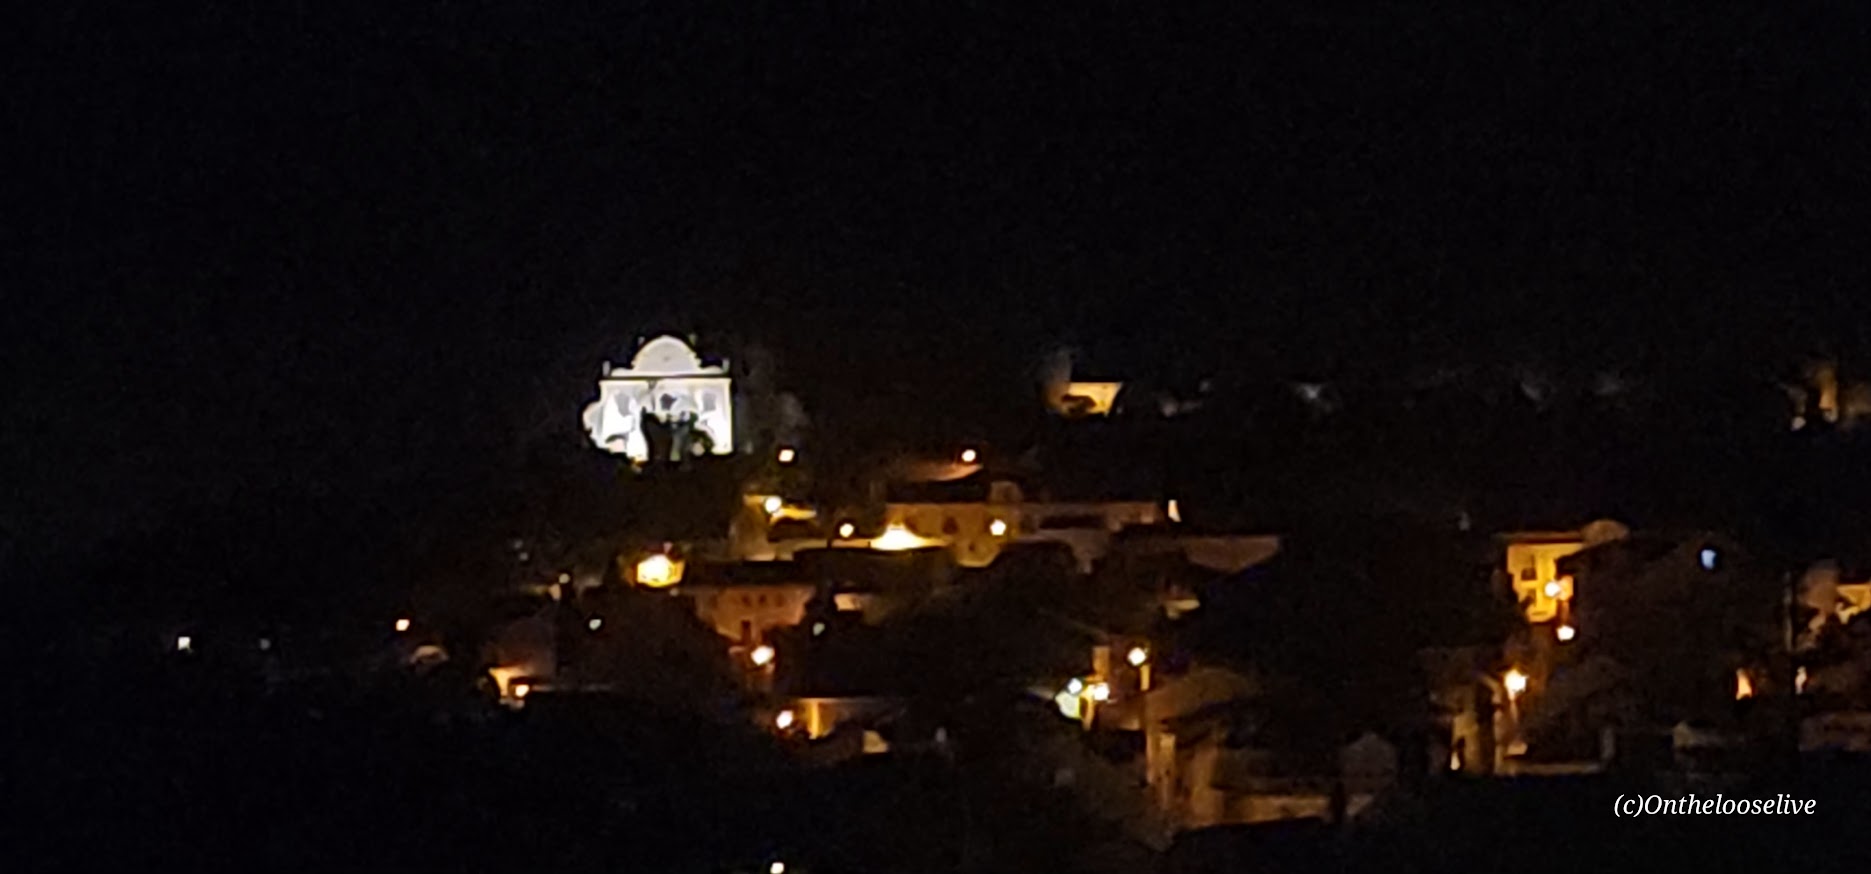
On our after-dinner walkabout along the cobblestone streets of the old town village, we discovered the cliffside fortress/castle (built in 1599 by Filipe II of Portugal to fend off the constant pirate attacks on the village). We’d seen it earlier from the beach below, but it was so much more enchanting at night.
What an amazing day! I was so excited to see what tomorrow would bring.
Happy Active Adventures from Vila Nova de Mil Fontes!
If you missed my previous arrival day post and it’s not obvious at this point, yes, I wholeheartedly recommend Top Bike Tours Portugal. If you’re thinking about booking a tour with them, don’t hesitate! And please tell them I sent you. If you have any questions, please don’t hesitate to message me.
SPOILER ALERT: This was one of the best bike tours and active vacations I’ve ever taken by far—the guides and support van, the challenging, engaging road and gravel routes, the quality of the hotels and restaurants, the spectacular scenery, and ALL the cultural add-ons – private tour of Amalia Rodrigues, Portugal’s “Queen of Fado” spectacular Frank Lloyd Write inspired cliffside. seaside home, the surprise private Fado concert, fortress tour, winery & distillery tours, etc. (As you probably know by now, I’ve taken a few bike tours and travel adventures, including Cuba, Thailand, etc.)Top Bike Tours Portugal exceeded expectations across the board. (Note: I tried to be expectations-free, but let’s face it, I’m spoiled by all the beautiful places I’ve seen and the excellent adventures I’ve been privileged to have.)
Thelmo, Pedro, and Top Bike Tours made my first encounter with Portugal not only unforgettable, but it’s no overstatement to say, life-changing, as it was a scouting trip for me to find a new EU adventure base camp and home.
From the warmth of the people, the ravishing, pristine beauty of the coastlines, the exquisite cuisine, the extensive and challenging road and gravel biking, the surfing, and the enchanting, white-washed villages, I was spellbound. I left my heart in Portugal, and I’ll reunite with it sometime in the not-too-distant future… In the meantime, I’ll relive my incredible journey along the Vincente Coast and the Algarve in the posts to come.
After conducting some research, I chose Top Bike Tours Portugal because I’d read a couple of rave reviews on an international middleman site that mentioned the company and guide by name. I also wanted to go direct to ensure that the local company would receive the entirety of my payment. While self-guided options were available, since navigation isn’t my strong suit, I chose the guided option with full Support and Gear (SAG) Van, which was only about $100 more per day and so worth it for the added peace of mind.
A break in my work schedule allowed me to join the “reduced” (shorter version) of the Vincente Coast Algarve 8-Day Bike Tour at the last minute. (Those who know me know me as “Last Minute Lydia,” and the way this trip and scheduling my subsequent eye surgery in Prague (more on this later) came together was in my typical spontaneous “if the stars align” fashion.
Total Distance and Mileage:141 miles with 8,290 feet of climbing.
Difficulty on regular bikes: Moderate ++, depending on your fitness level – the hills are no joke here, and they are plentiful – 16% grade was not an anomaly. Also, having some off-road bike handling experience is important. Many in our group were not experienced with the rougher terrain of off-road gravel biking, and exercised good judgment by walking the sketchier sections.
Day 1 – Arrival Lisbon and van transfer to Santiago do Cacém
Day 2 – Santiago do Cacém to Vila Nova de Mil Fontes
Day 3 – Vila Nova de Mil Fontes to Zambujeira do Mar
Day 4 – Zambujeira do Mar to Aljezur
Day 5 – Aljezur to Carrapateira
Day 6 – Carrapateira to Sagres
Day 7 – Sagres to Lagos
Day 8 – Departure
Arrival Day 1
We arrived at Lisbon Airport in the afternoon (after a long travel day from Utah) and were met by an Uber driver who took us to a hotel.
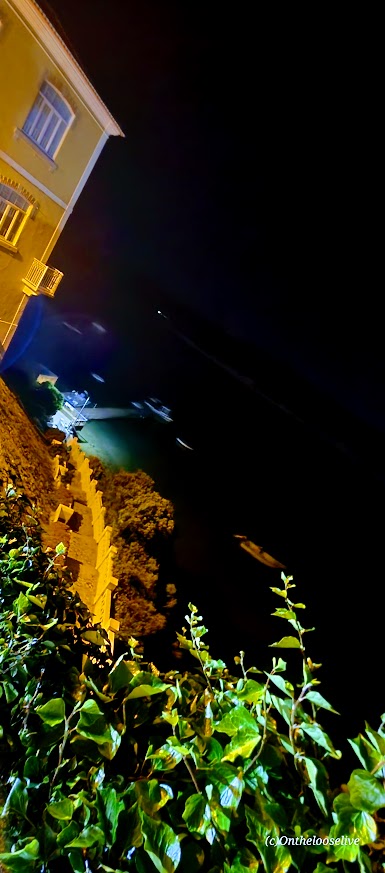
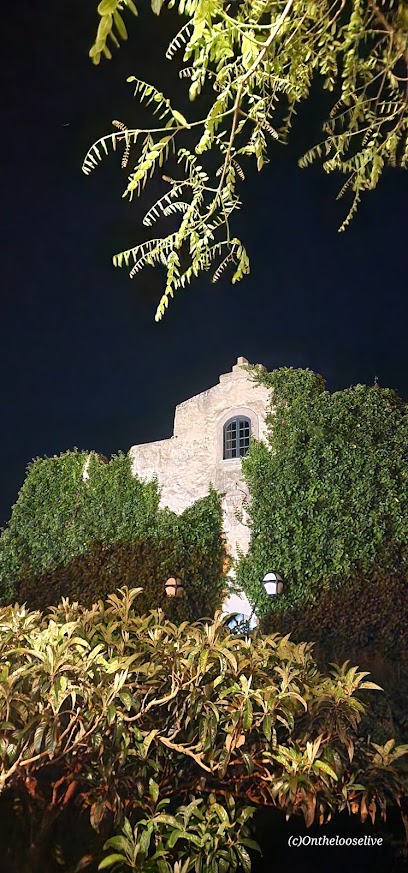
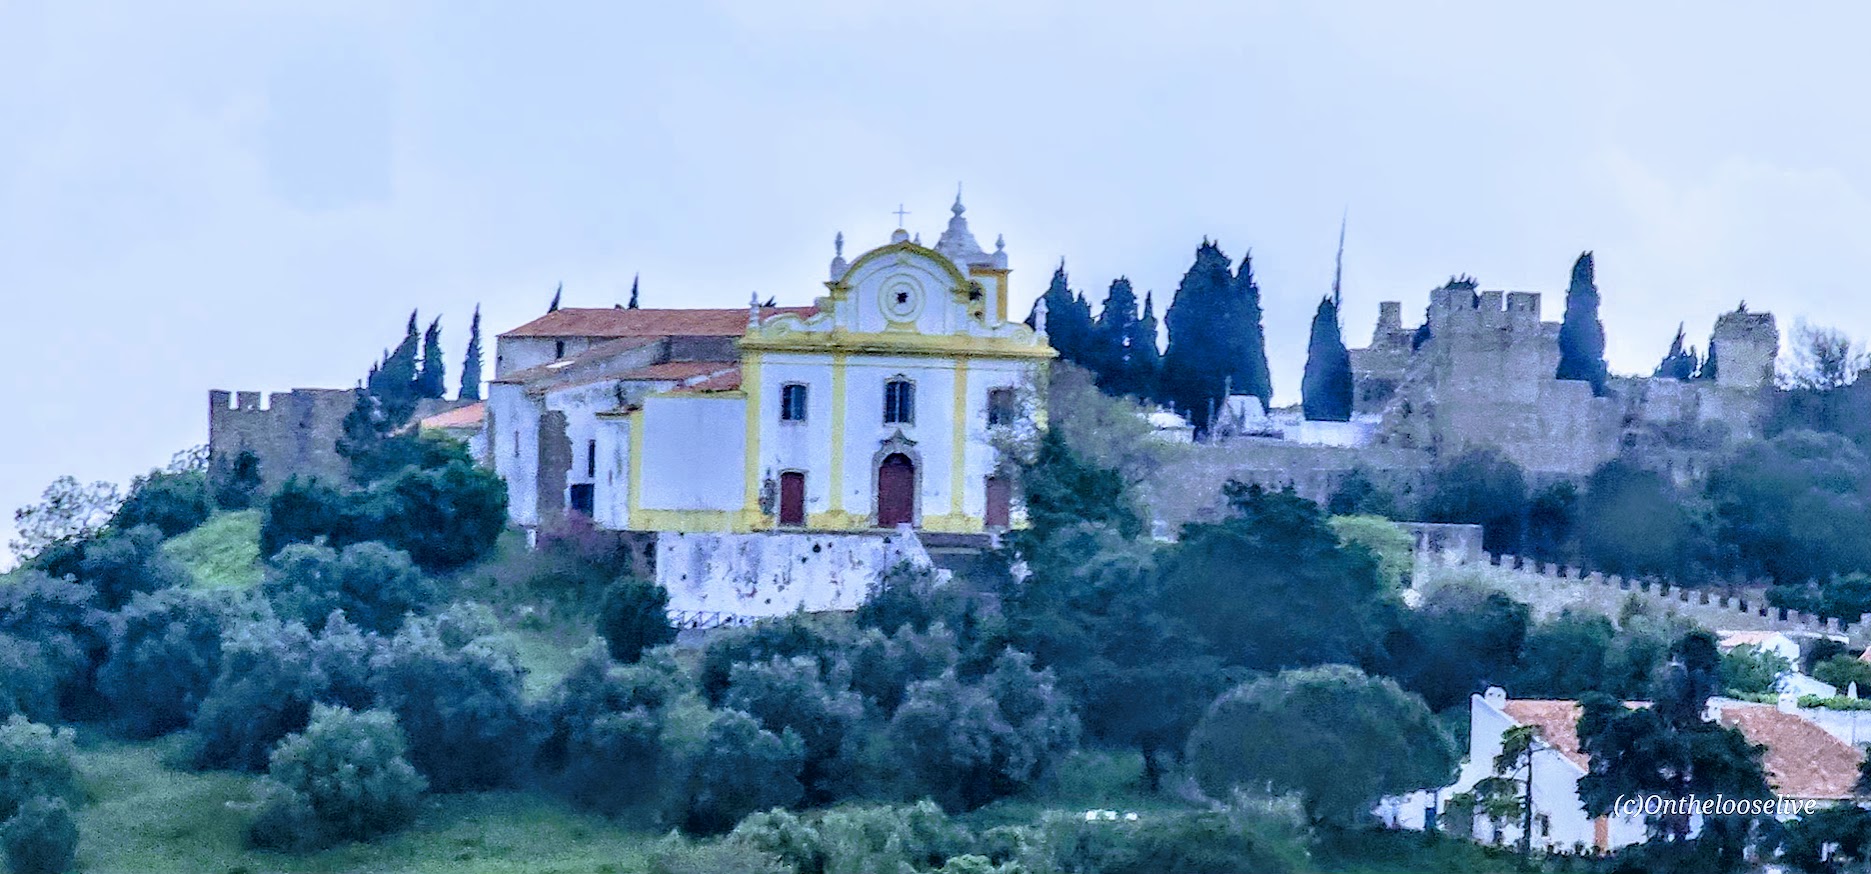
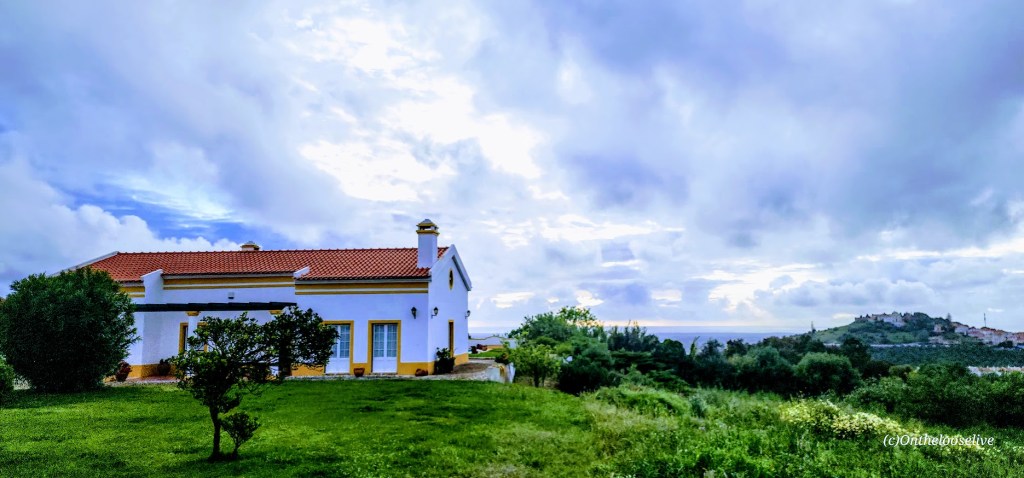
The featured image and the 2 images below are taken from my hotel room’s grass patio. In the distance, rooftops and a distant sea view. Across the way, a church and a castle dating back to the 5th century (didn’t realize it was there until I blew the photo up to write this blog).
At the hotel, we met with our guide, Thelmo, our support van driver, Pedro, and the rest of the tour group for introductions and bike fittings. Surprisingly, the group was comprised primarily of Americans (the exception being 2 Brazilian ladies). Out of the 14 of us, only 3, my friend Bradley, another fellow, and I opted for regular bikes; the rest chose e-bikes.
Much to my dismay, despite many valiant attempts by my friend, Bradley, and Thelmo and Pedro, the bike cleats I brought failed, so I would be left to ride on flat pedals without the knee-saving advantage of being clipped in. This would present quite a challenge on hills with my bone-on-bone knees, but I had to try. Of course, they offered me an e-bike, but, as you may know by now, I love challenges and being vigorous, and being a die-hard former triathlete and cyclist, I didn’t want to surrender my will to self-propel.
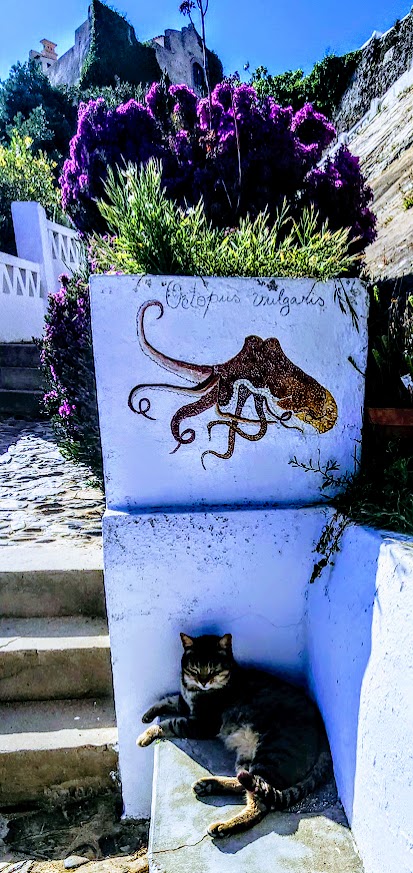
To shake off the effects of 24 hours of travel and give my legs a stretch, I took a quick walkabout before dinner. On my short scenic stroll, I encountered a couple of the well-fed local feral felines and discovered a windmill and Roman Ruins, which were closed for the night. I also saw what would be the first of many Cork Trees in the countryside. (Portugal is the world’s largest exporter of cork.) Cork trees typically take 25 years to reach maturity and then can be harvested every 10 years or so. The number on the tree connotes the next decade in which it can be harvested. Families that planted and cultivated cork trees leave an ecological, aesthetic, and financial legacy for whoever inherits or purchases the property, though climate change is beginning to compromise this, too.
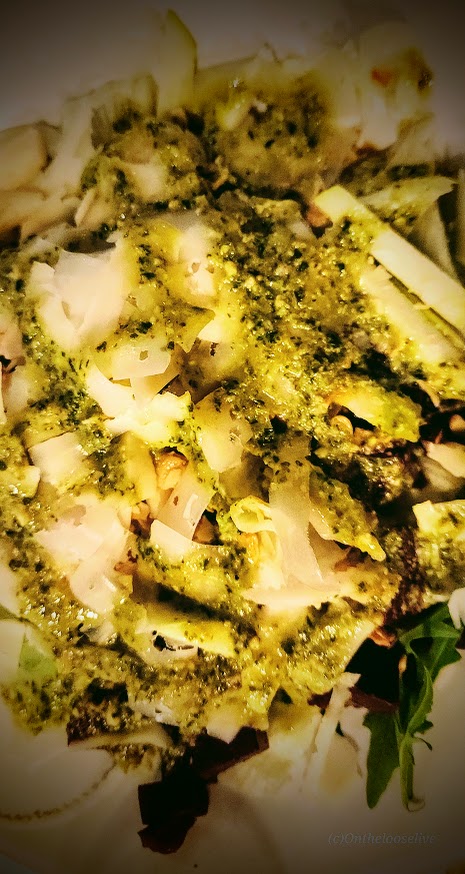
And dinner, let’s just say my first taste of Portugal was savory, delicately seasoned, and one of the healthiest meals I’ve had in a long while. I enjoyed the pesto salad and grilled fresh fish, both of which were outstanding, while my friend savored the octopus. The fragrant local olive oil is the best I’ve tasted, and it added a wonderful, subtle flavor dimension to both the pesto and the fish.
And then it was off to bed for some much-needed sleep, dreaming of the days to come…
Difficulty: Easy to moderate, depending upon your fitness level
This is definitely one of the more engaging official trails in Zion and now one of my favorites. From the trailhead, it begins as a tame, wide-open, flat route.
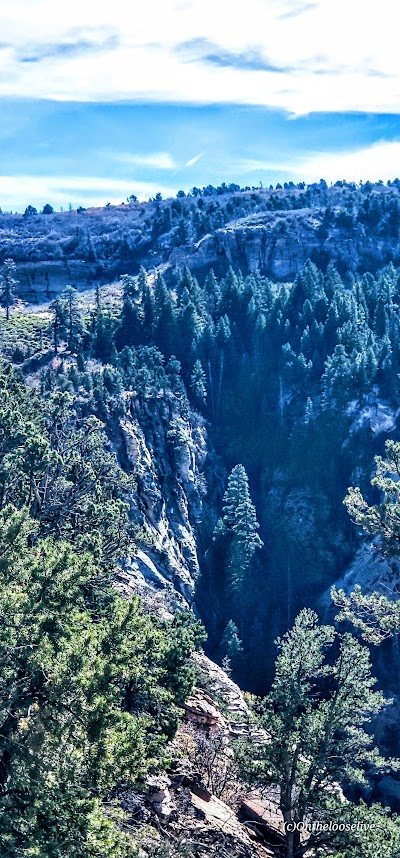
After a mile or so in, stop and look back for a glimpse into a dark canyon below.
As you continue along the trail, you’ll be treated to distant views of Zion, but don’t forget to watch your step as you descend the rocky trail into the lightly forested valley.
After reaching the other side of the valley, the climb will begin in earnest along the remnants of a concrete trail, zigzagging up to higher ground. It’s a friendly grade and easy terrain for fast hiking or trail running. It’s reminiscent of Walter’s Wiggles on Angel’s Landing, but the big difference is that you’ll likely have it and most of the hike from Stave Springs all to yourself!
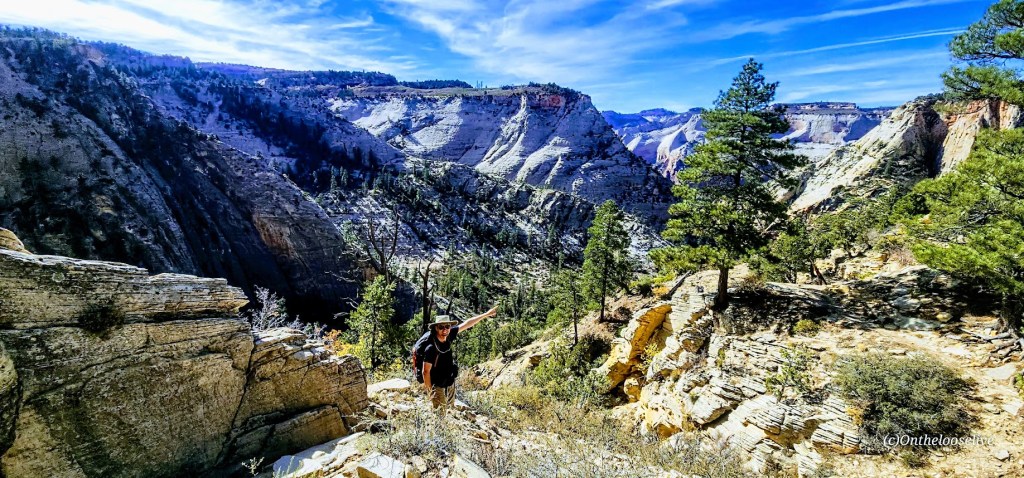
This was my favorite part of the hike—a great workout with great scenery! (The picture above was taken on the return trip down.)
Once you reach the zenith, the views into Zion Valley are spellbinding, but you’ll want to keep your eye on your footing as you traverse along the slim cliff rim. (If you’re subject to vertigo and have a strong fear of heights, this might not be the hike for you.)
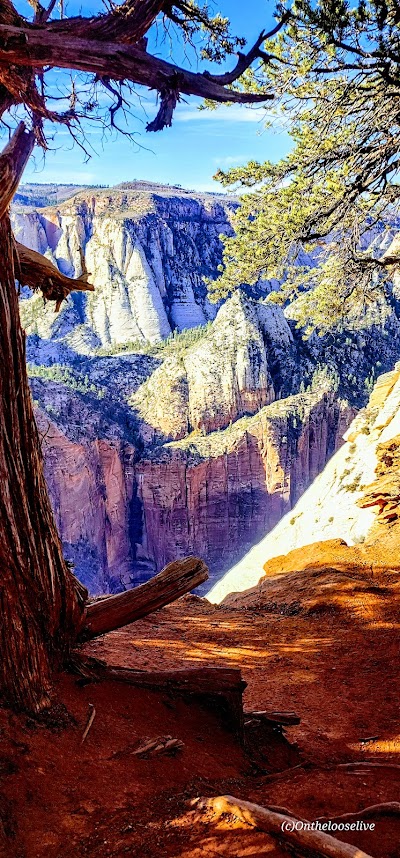
As you approach Observation Point, you can see Angel’s Landing below and across from you, a very cool perspective! This hike doesn’t have the rugged, chained, cliff-hanging social media over-posted appeal and crowds, and that’s exactly why it appeals to me.
Looks like angels are landing on Angel’s Landing. The picture above is taken from the trail along the rim. How dangerous is it? Might depend upon whom you’re with… In 1997, James Bottarin was accused of pushing his wife, Patricia Bottarini, off the cliff to her death here. Choose your hiking (and life partners) carefully!
Yes, Observation Point Views are grand, but in my opinion, they are no better than what you see en route, so you can always skip the last 1/2 mile or so if you want to skip the crowds.
There are two downsides: one is the long drive to reach the remote Stave Springs Trailhead, which is actually an upside, as it keeps the humans away. The second is the crowds you’ll encounter at Observation Point, who have taken the easier, shorter, less engaging route from East Mesa. It can be a shock to the system, especially after enjoying the splendid solitude of the Stave Springs route. Select the hike that suits you, but please note that both trailheads have limited parking, so arrive early to secure a spot.
If you’re lucky, you might encounter some of the locals.
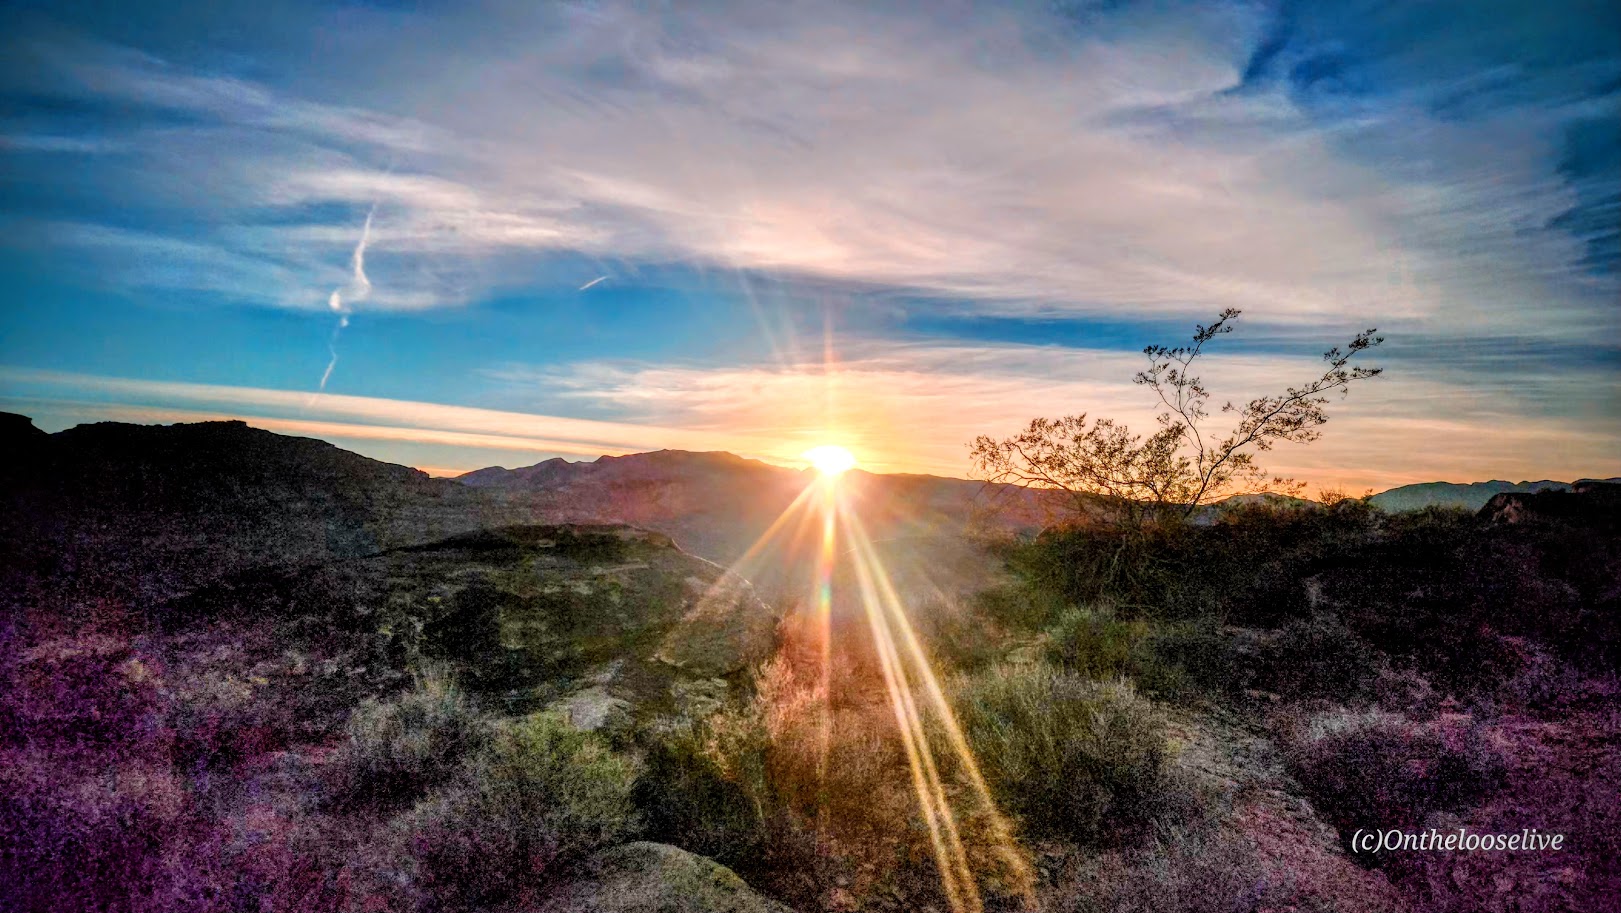
Driving back through Zion and capturing golden light is always a delight.
Getting there: Use the Zion Ponderosa Ranch Resort address for your GPS: Twin Knolls Rd, Orderville, UT 84758. Once there, signs will direct you to the trailhead. It’s a gravel road with a couple of rough spots by the small parking area. High clearance recommended.
Distance: Short: 1-5 miles; you can combine trails to make a longer loop
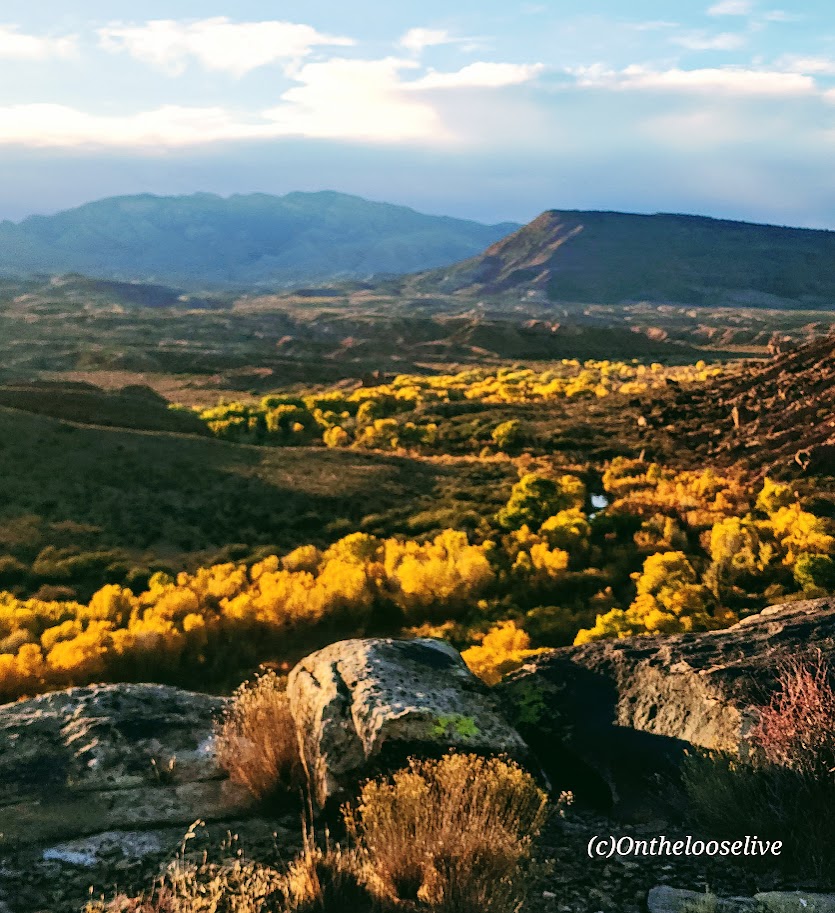
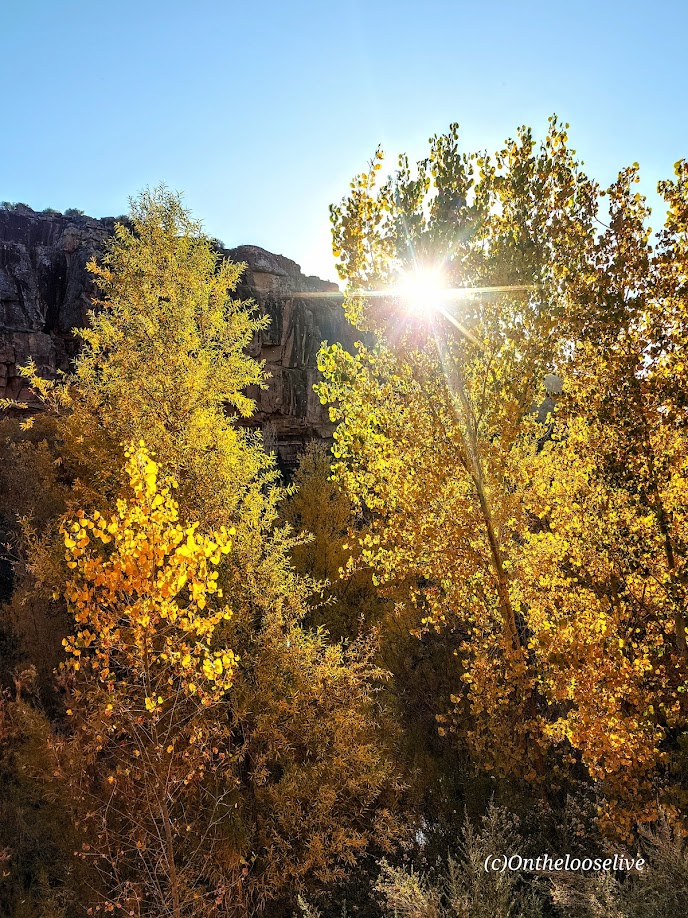
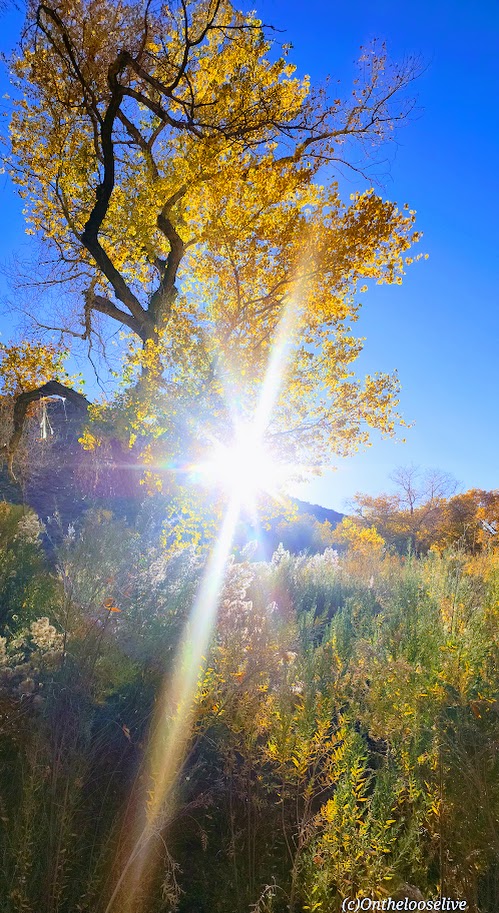
Sometimes, we take the people and things closest to us for granted. That’s the case for me and my local Anasazi (Ivins) and Tukupetsi trails (Santa Clara). These easily accessible, connecting trails are short (runnable and mountain bikeable), featuring the intriguing Land Hill petroglyph site, a fenced-in farmstead ruin once used to store food and herbs, and grand views in every direction.
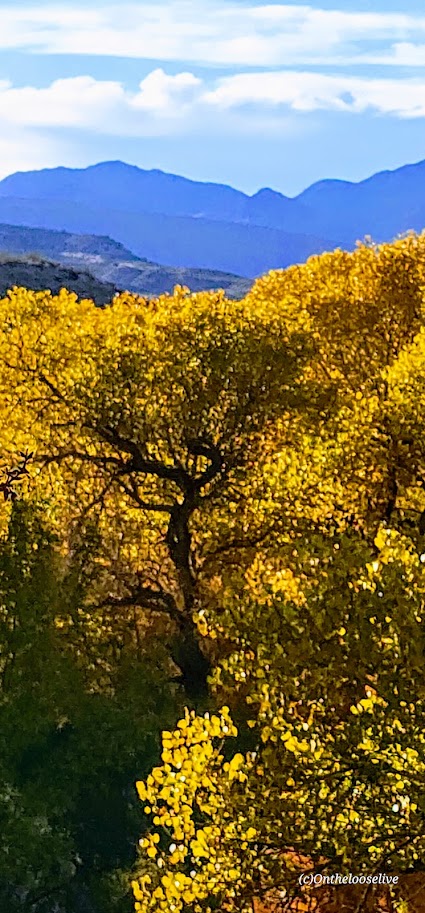
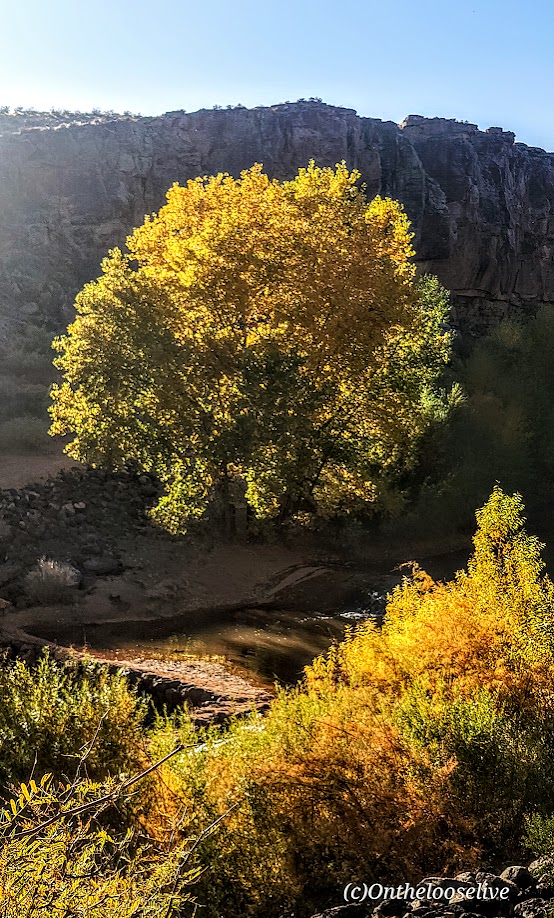
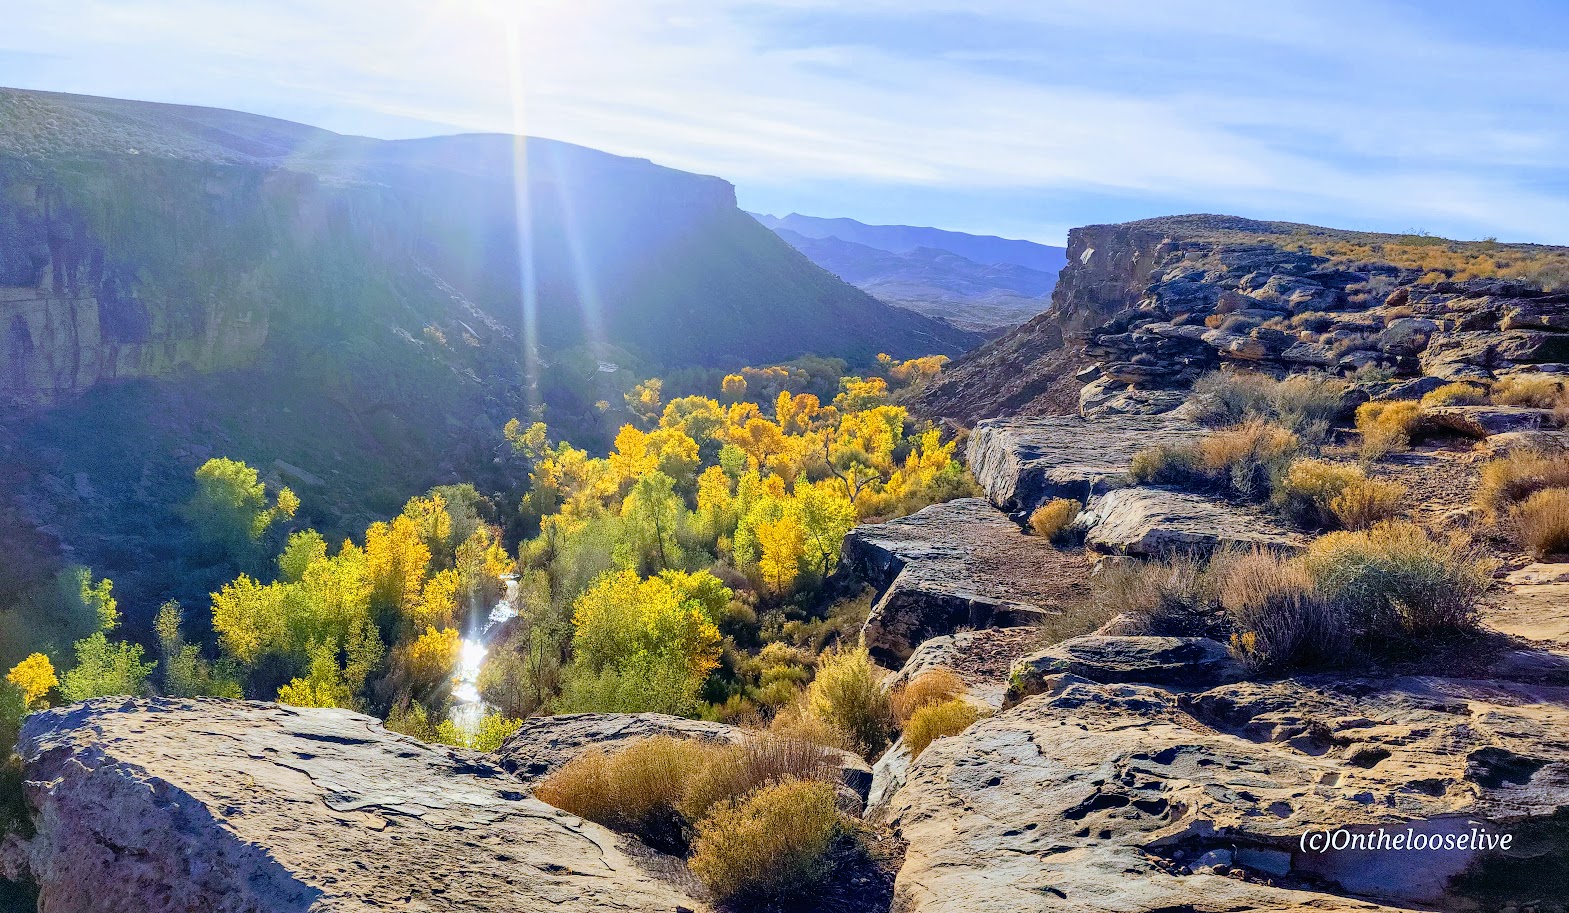
I like these trails best when the Cottonwoods light up the rugged desert landscape with their vibrant flash of yellow, tracing the meandering (and meager) path of the Santa Clara River below. You can find me there, chasing leaves and golden light in my annual frenzy to catch it just right.
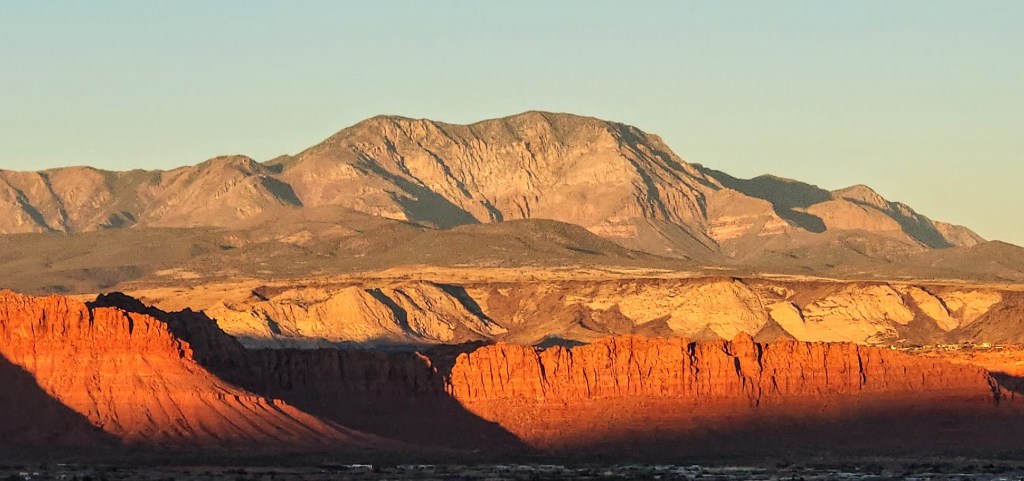
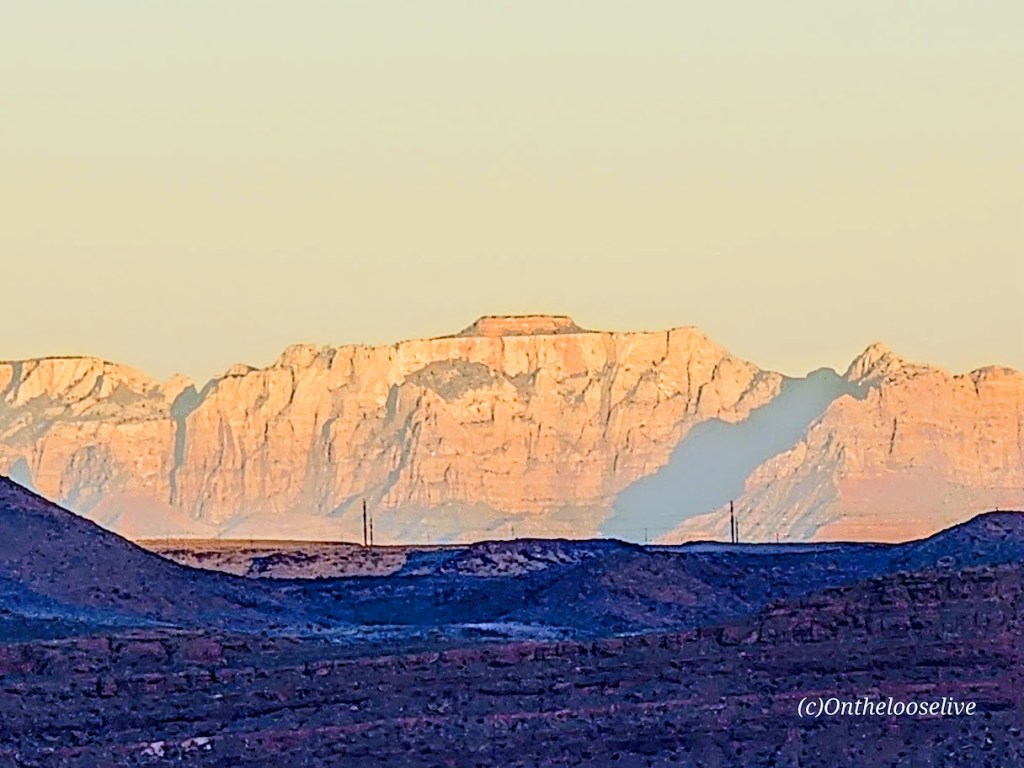
Take in the panoramic views of Red Mountain, Pine Valley Mountain, and, on a clear day, as far out to Zion from the ridge.
I will only post a couple of petroglyph pictures. I’d like you to be able to discover them for yourself.
Here are some highlights from the Tukupetsi side in Santa Clara from the vantage points of the upper and lower trails.
And more from Fall 2025.
Notes: Remember to leave no trace and respect all ancient petroglyphs and ruins. Please do not touch, step, sit on, or deface them. Oils in your hand can damage them, as can debris from your shoes. Perhaps think of them as outdoor museum art and appreciate their mystery.
These easy, short, fun hikes are offered by onthelooselive yoga and hike retreats and day adventures.