Elevation gain: 1,300 ft (From 8,750ft to 10,050ft)
Distance: 3.1 miles, loop (Note the 2 ends of the loop are about a half mile apart)
Difficulty: Moderate ++, depending upon your fitness level and altitude acclimation, most of the incline is packed into the 1st mile either way you go.
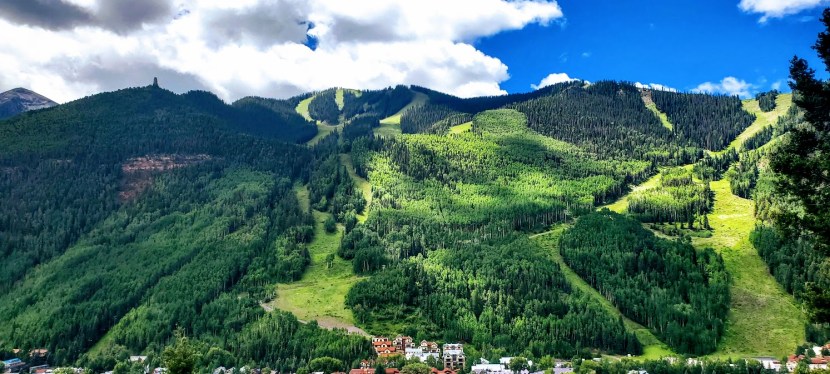
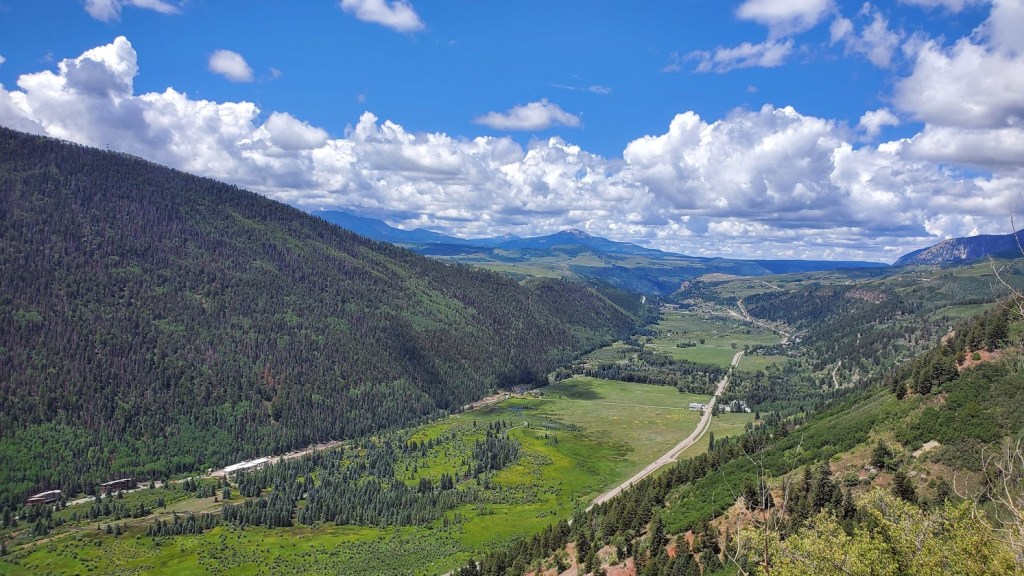
This wonderful panoramic trail was the vision of former Forest Service Recreation Manager Jud Wiebe and it is indeed a vision—from the panoramic view of Telluride below, the mountains beyond, the aspen groves, the foresty vibes, and the wildflowers sprinkled along the trail. You’ll be breathless from the beauty and the thin air.
Ps. There’s a short offshoot waterfall trail here that’s a must do too. Post coming soon.
Getting there: S. Take UT-46 E, CO-90 E and CO-145 S to N Aspen St in Telluride
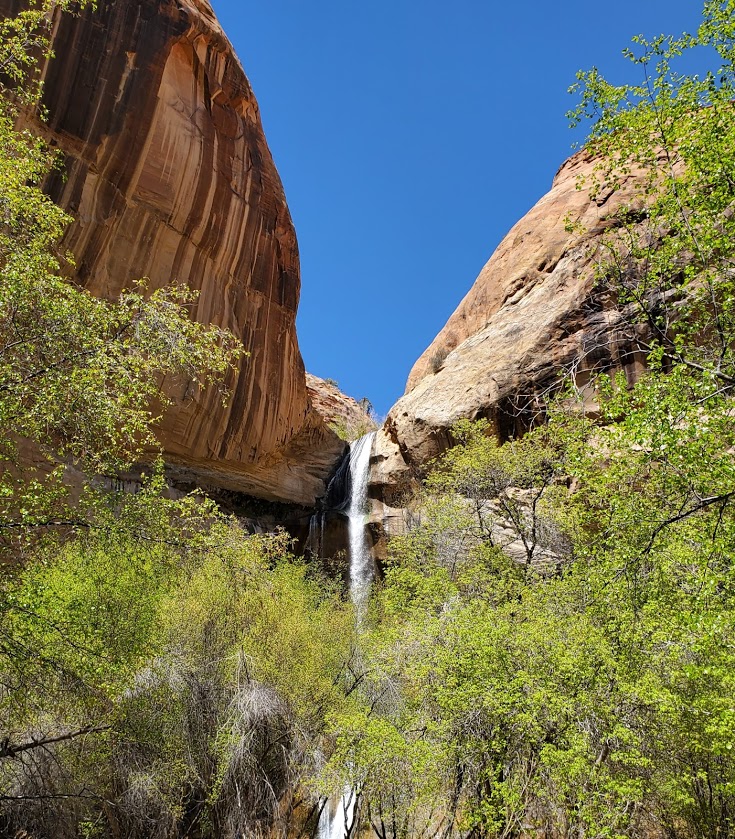
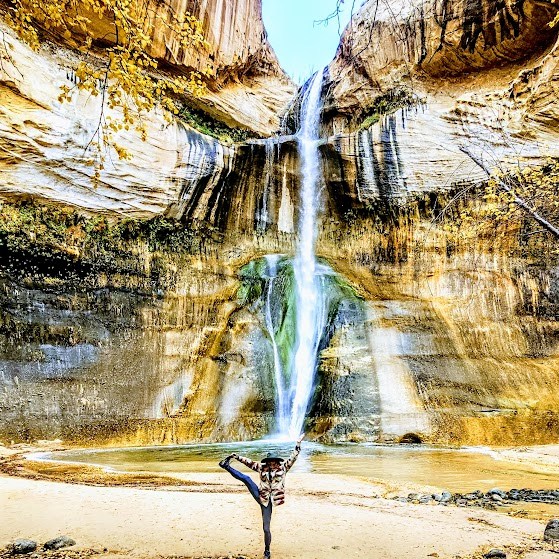
Lovely Lower Calf Falls, Grand Staircase Escalante, UT
Distance: 6 miles
Elevation: ~500 ft
Difficulty: Easy (with a fair amount of thick sand walking)
Highlights: 126-foot cascade into a shallow pool, giant petroglyphs in the distance
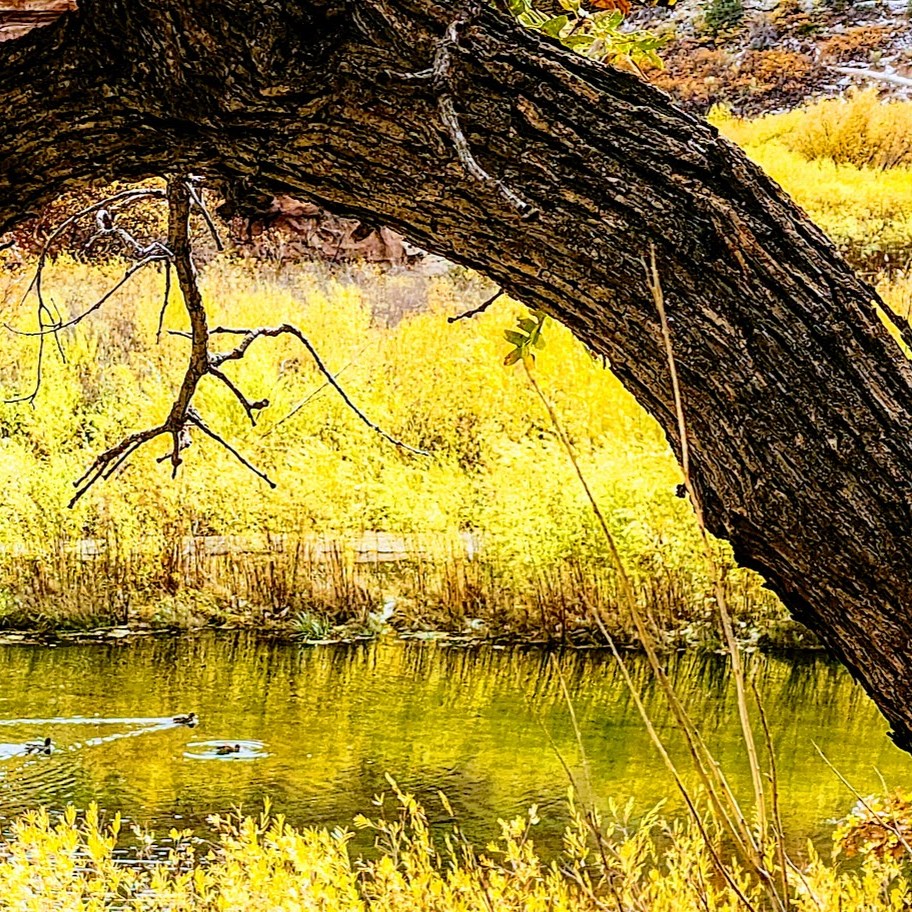
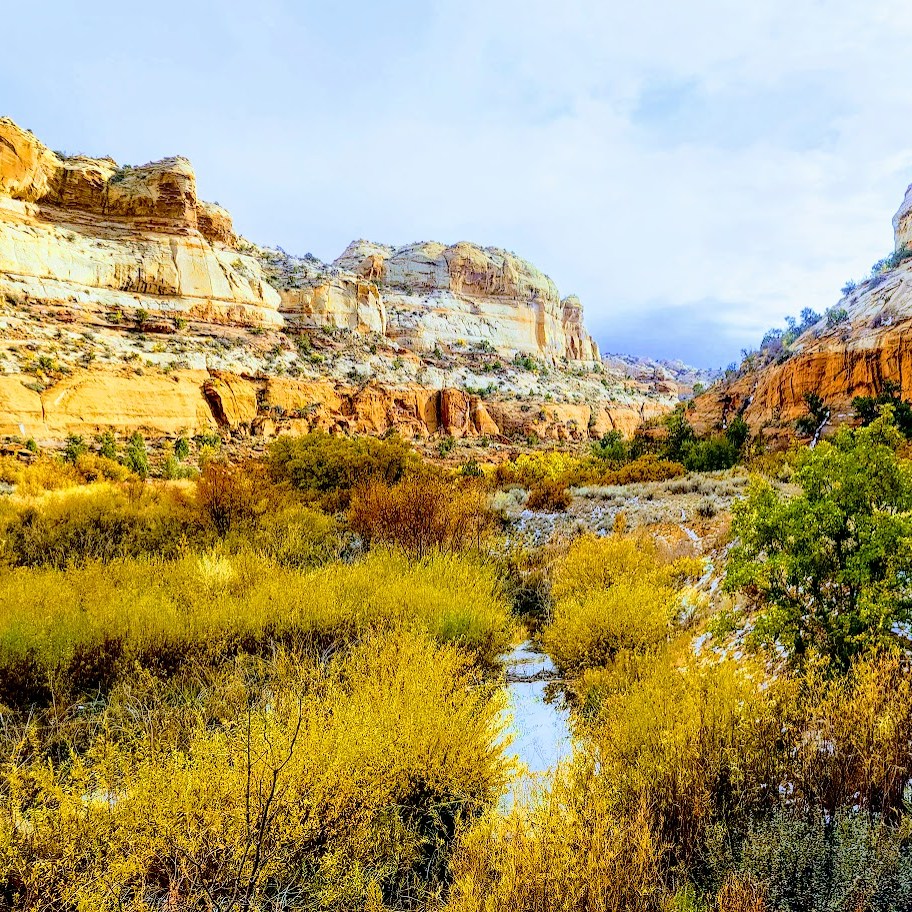
I was fortunate to return to Lower Calf Creek Falls in Autumn, and it was spectacular! Traces from the season’s first snow accented the gorgeous Fall colors and seeing the waterfall framed in golden leaves was glorious. So much beauty! And thankfully, with the cold, wet weather, there were only a handful of people on the trail. Can’t imagine a better way to experience this magical place!
As you can see, this amazing gem is definitely worth a visit. Lower Calf Falls cascades over a nearly vertical cliff face into a large pool that is enclosed on three sides by sheer Navajo sandstone walls. Pick up an interpretive pamphlet at the trailhead to learn about the flora along the trail and giant petroglyphs in the distance (too far in the distance to get a good pic).
Summer Slide Show
Without question, Grand Staircase Escalante is National Park caliber and deserves to be preserved and protected. Stay tuned for more posts on this area!
Notes: This is a very popular destination for obvious reasons. Go early / late to avoid the crowds. Off-season in stormy weather will deliver more solitude.
Soapbox: If you bring pets, please pick up their poop! This trail (single track in many spots) and the falls’ area are small and quickly becoming overrun and overused. One fellow watched me watching him after his Labrador left a big poop pile on the trail. He took out a poop bag, and then when I turned away, he tucked the bag back in his pocket and left the steaming pile! ARRRGH! No respect for fellow hikers or nature. They should permit this hike, at least on weekends, and fine those who litter and leave their dog’s poop. Don’t get me started about the imbeciles who bag poop and then leave the full bag. I can’t get my head around people who go somewhere to enjoy nature’s beauty and then defile it.
Getting there: Highway 12 to the BLM-managed Calf Creek Recreation Area. The parking lot has limited parking. Go early, or you may have to park along the highway.
Difficulty: Moderate to hard, depending on your fitness level and route-finding skills
Highlights: Forest, meadow, wildflowers, rock gardens, peaks with panoramic views
Terrain: At times sandy, rocky, sooty, deadfall hopping, and scrambly fun
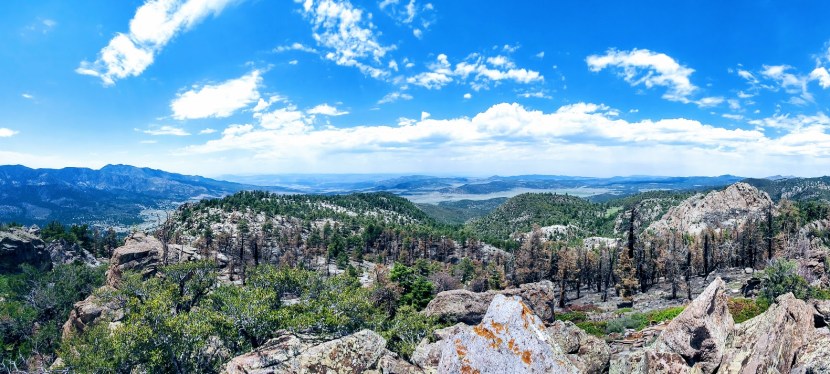
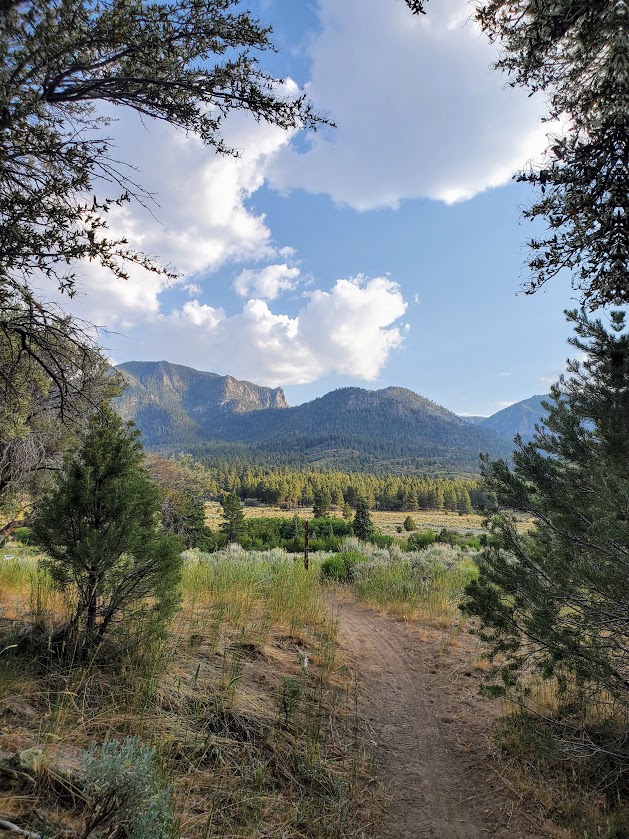
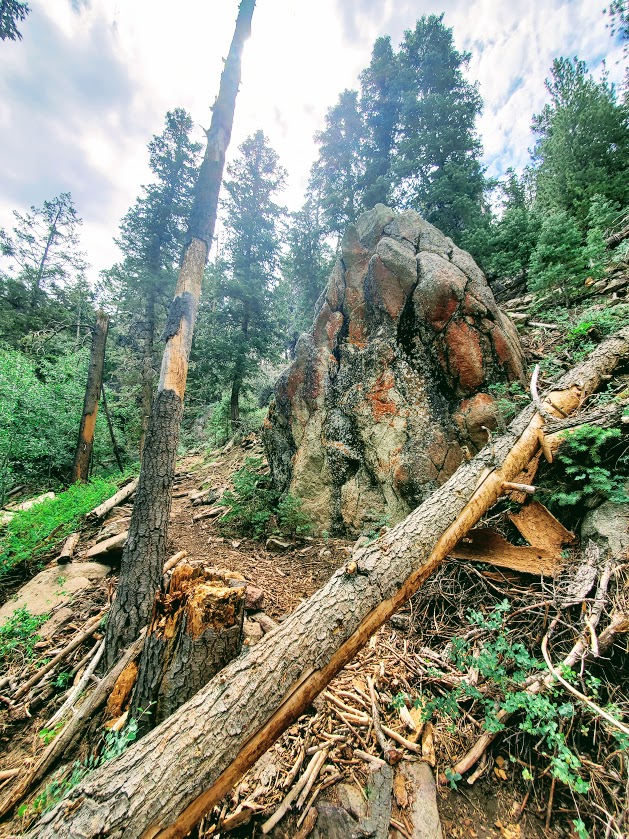
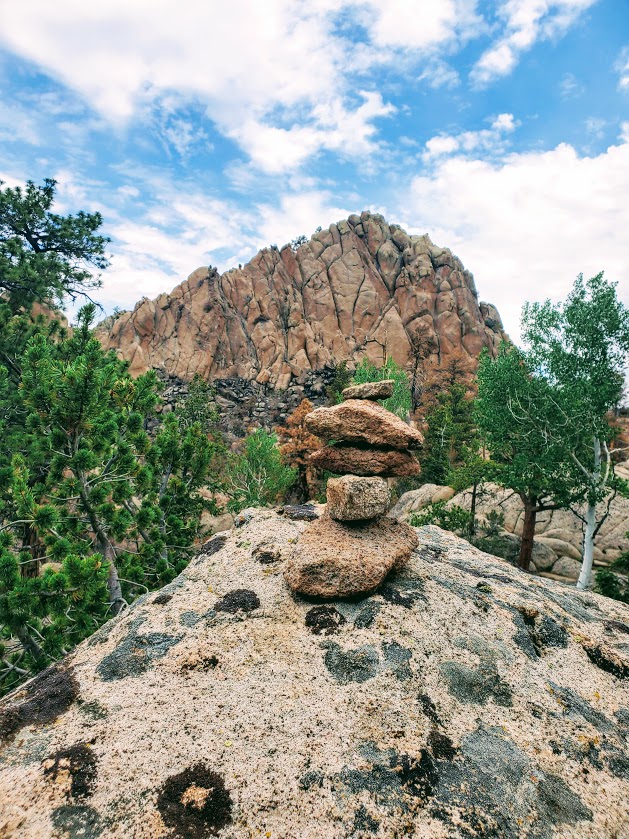
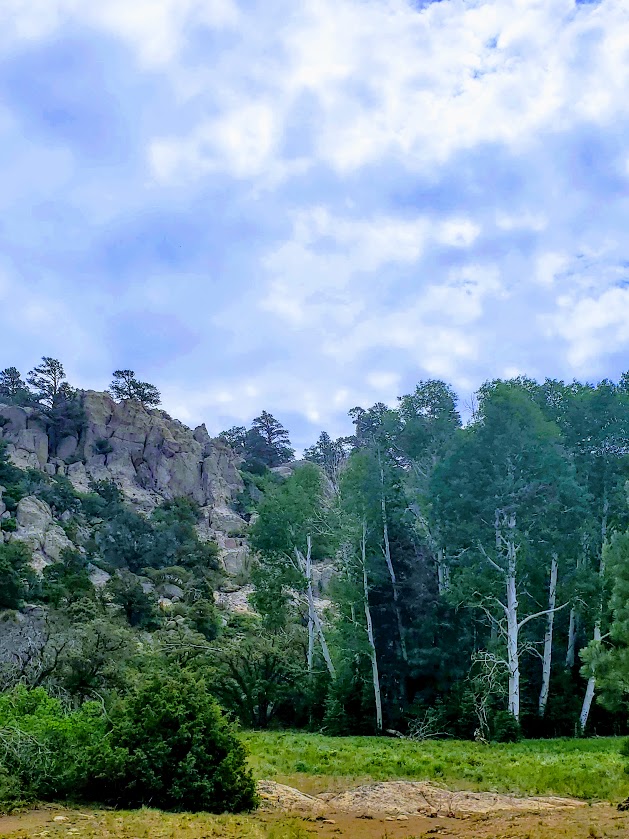
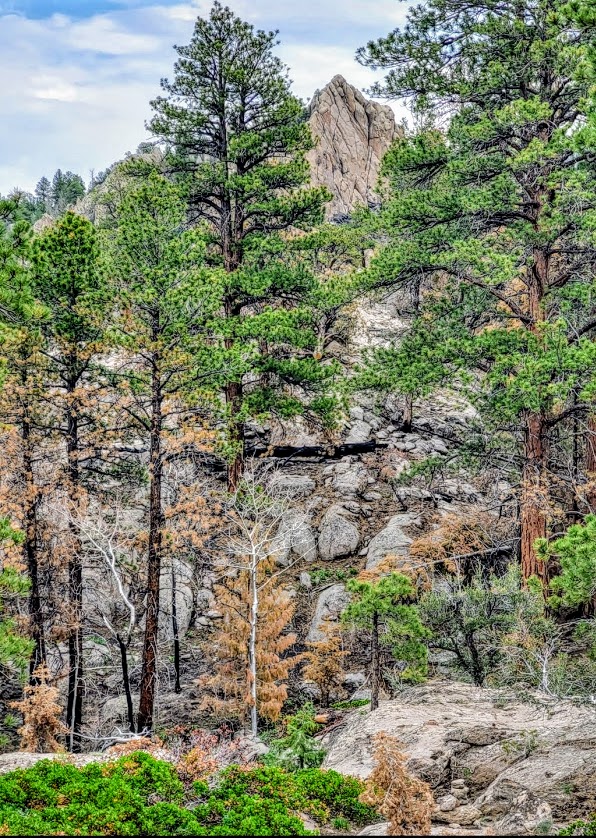
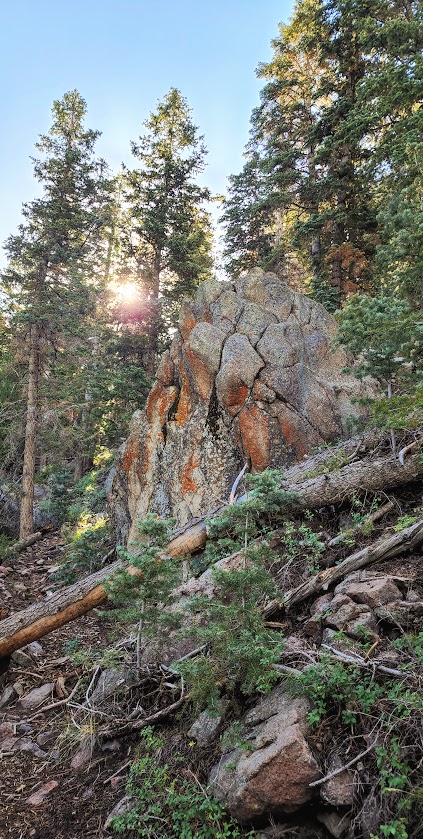
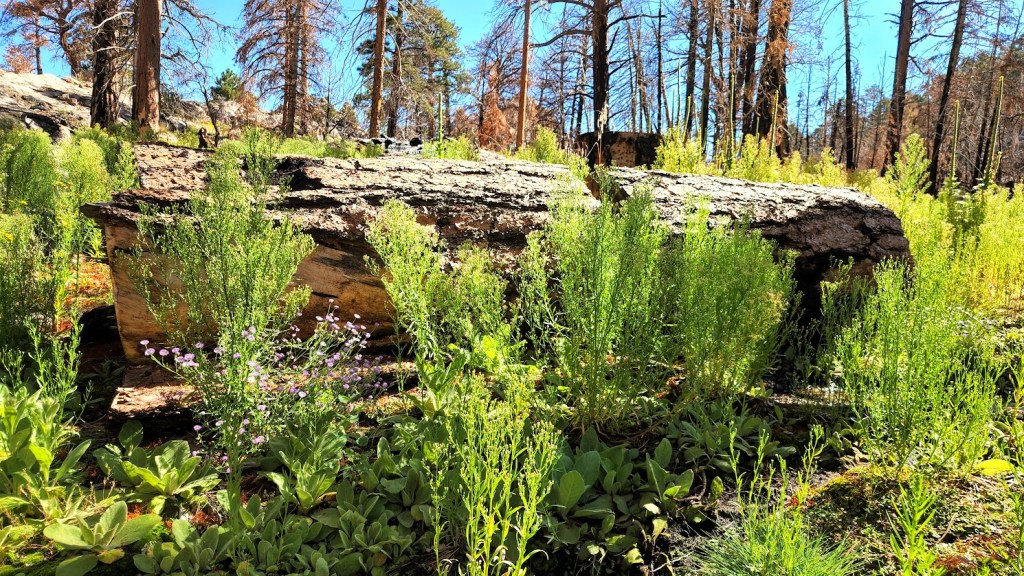
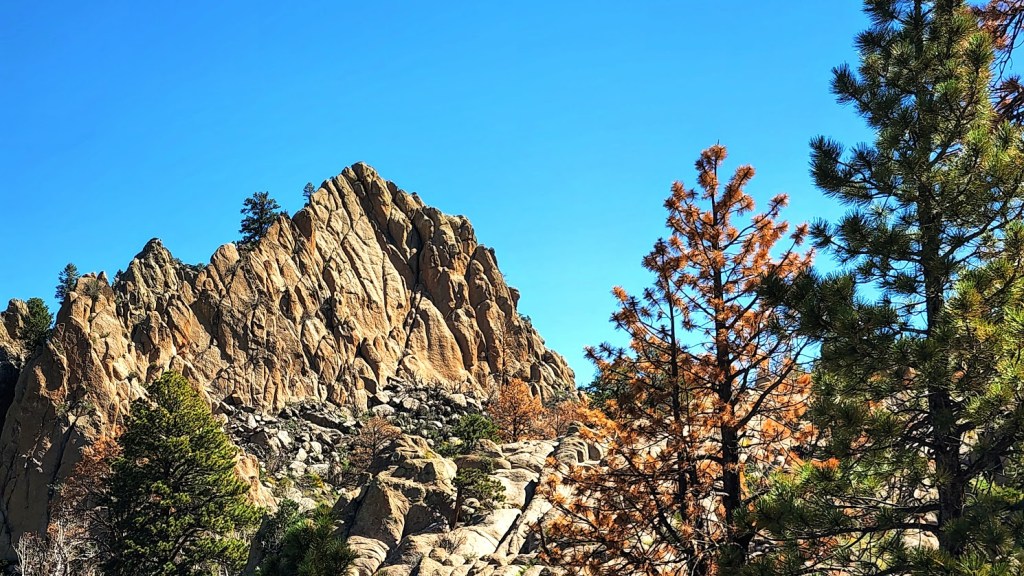
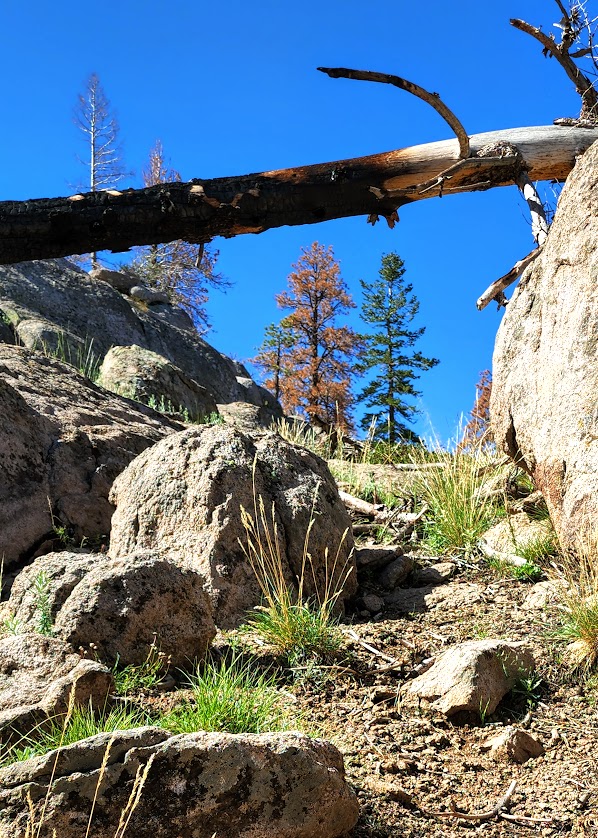
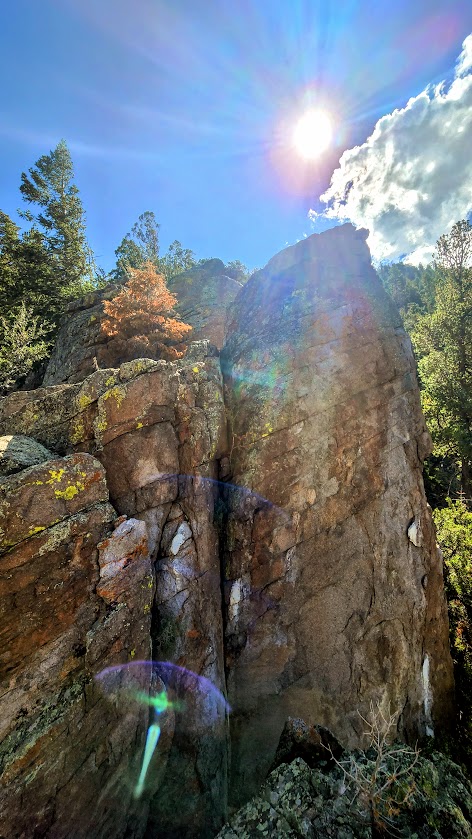
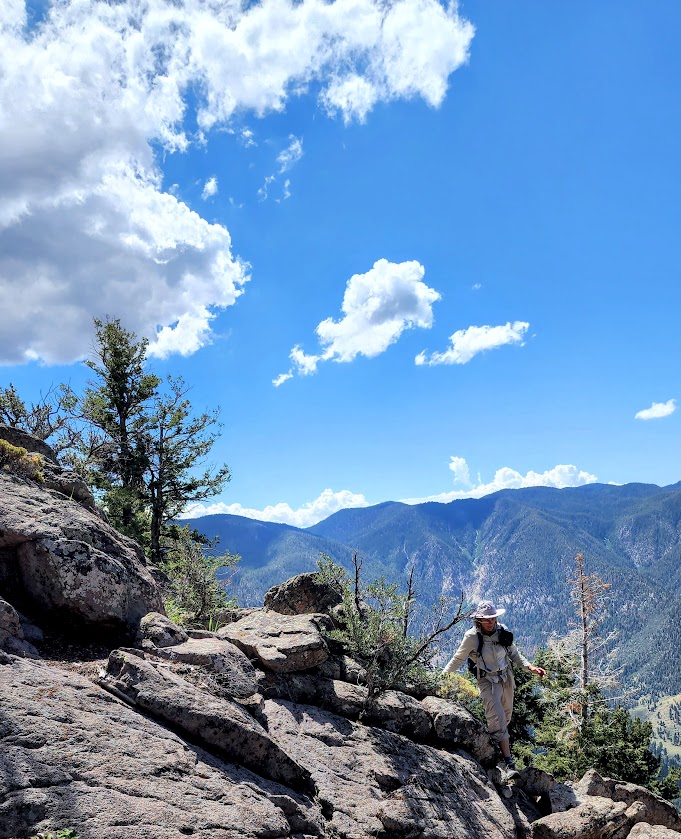
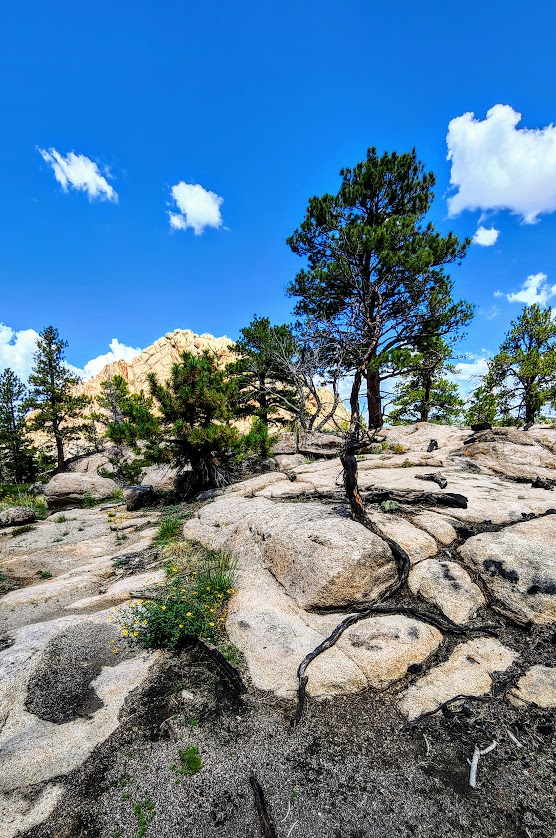
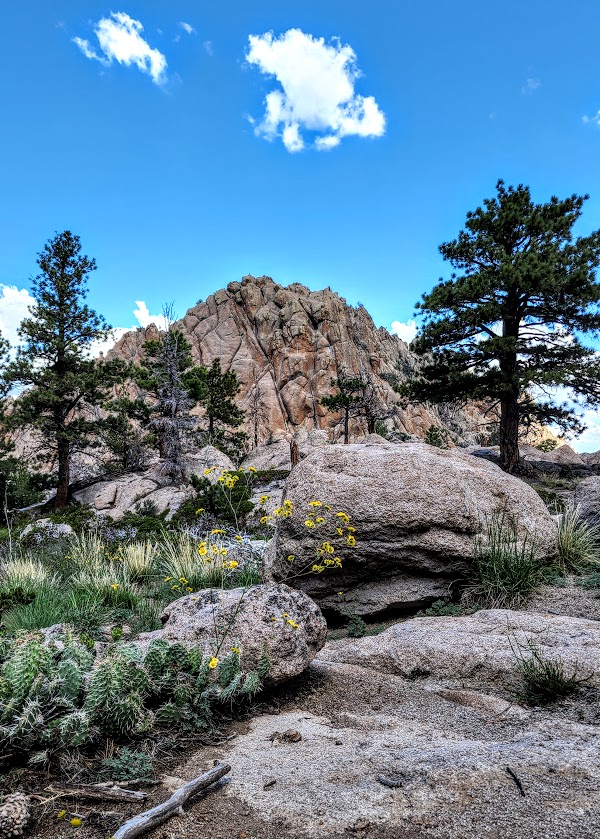
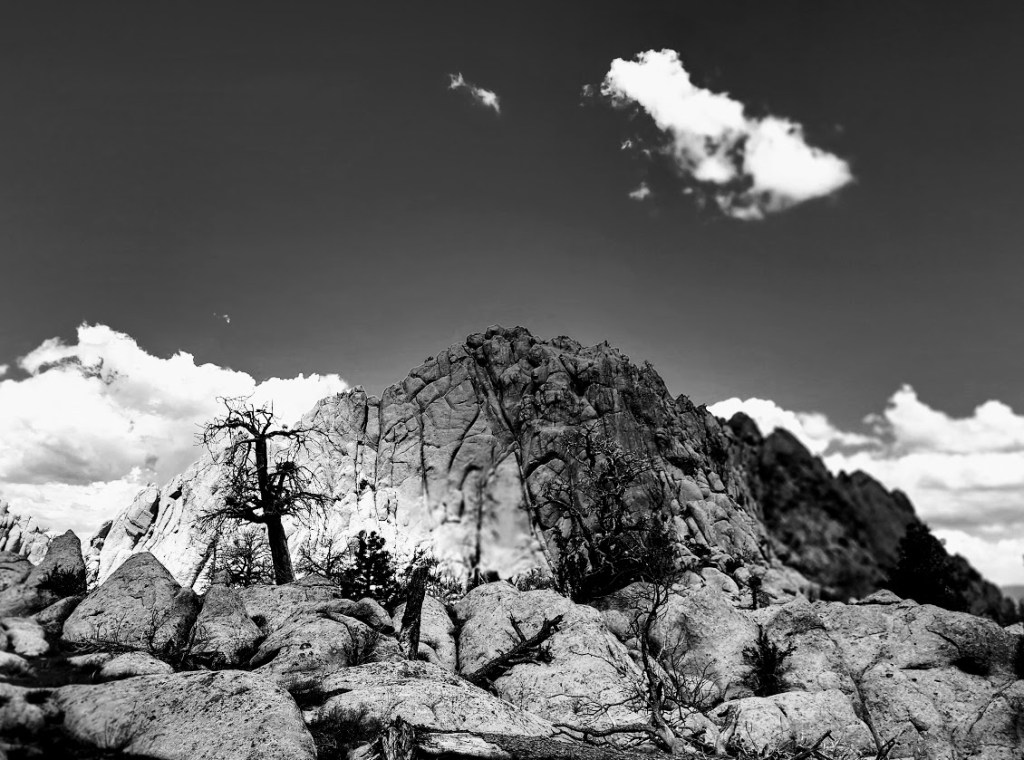
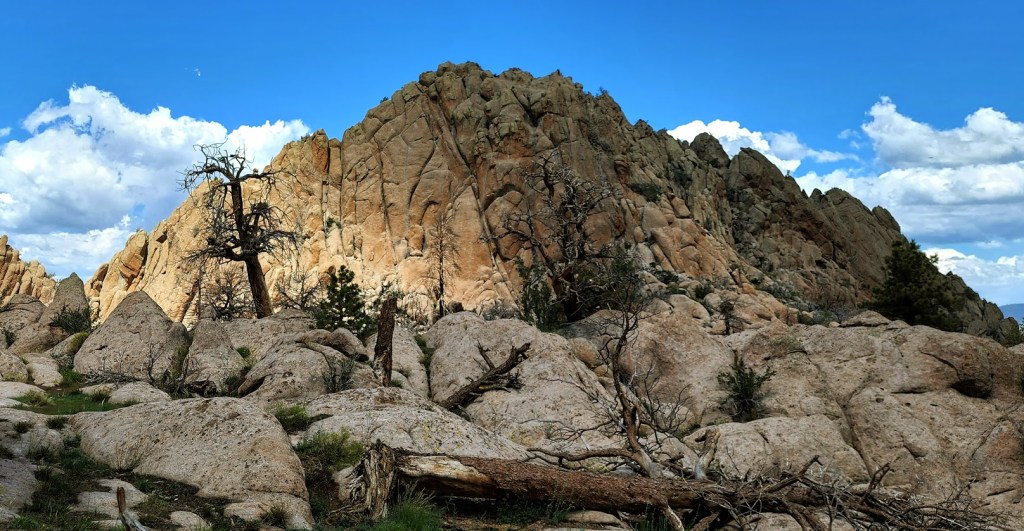
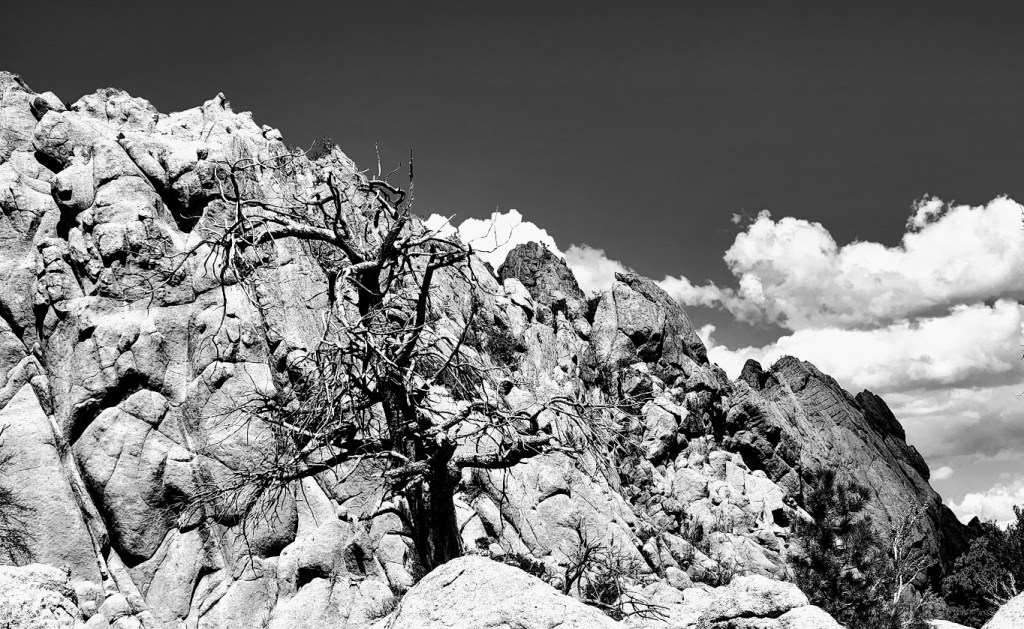
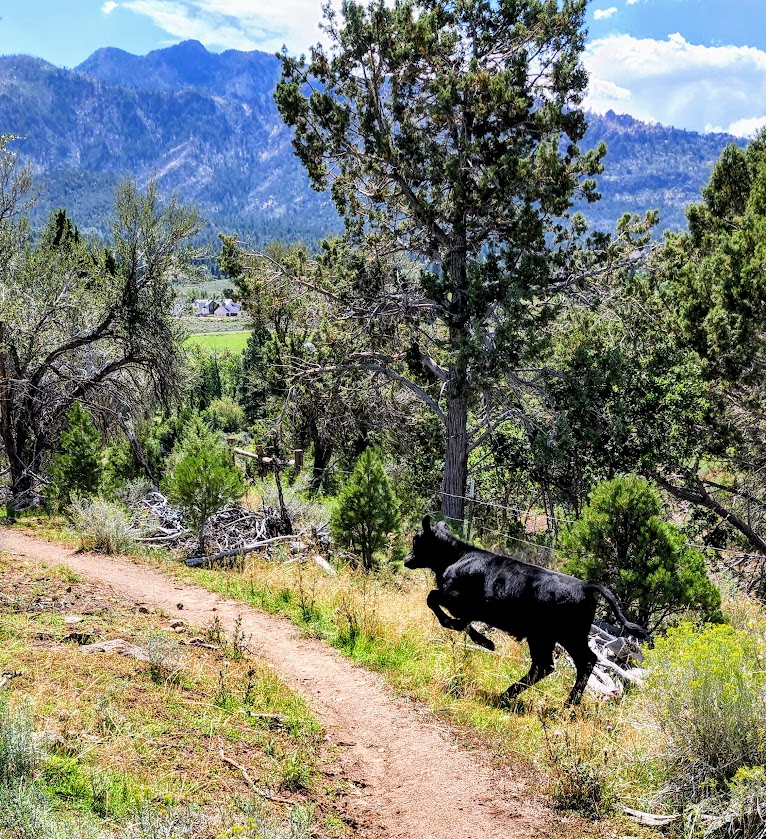
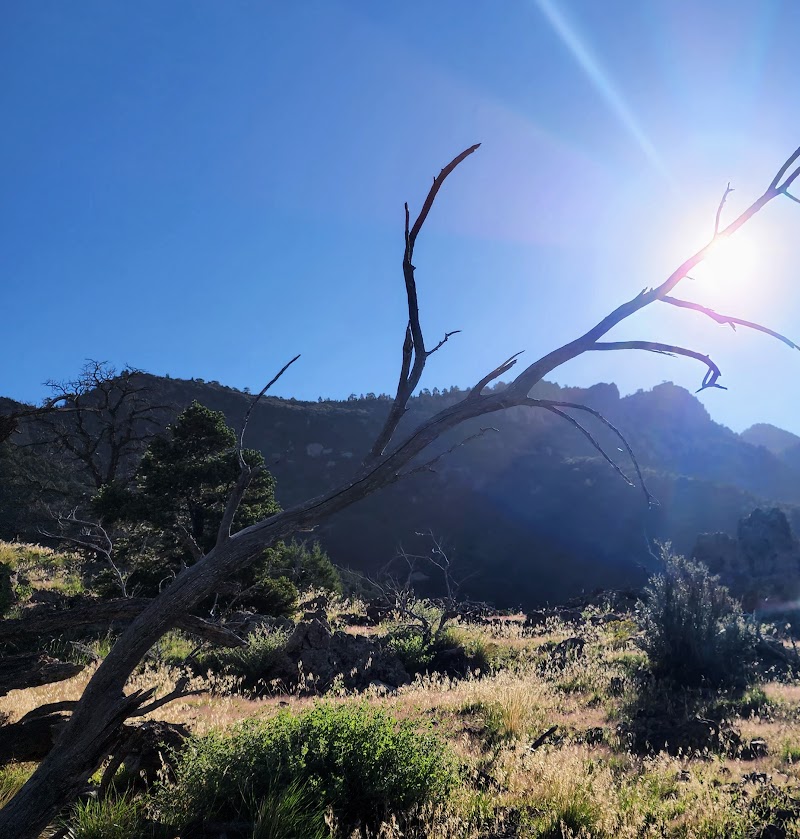
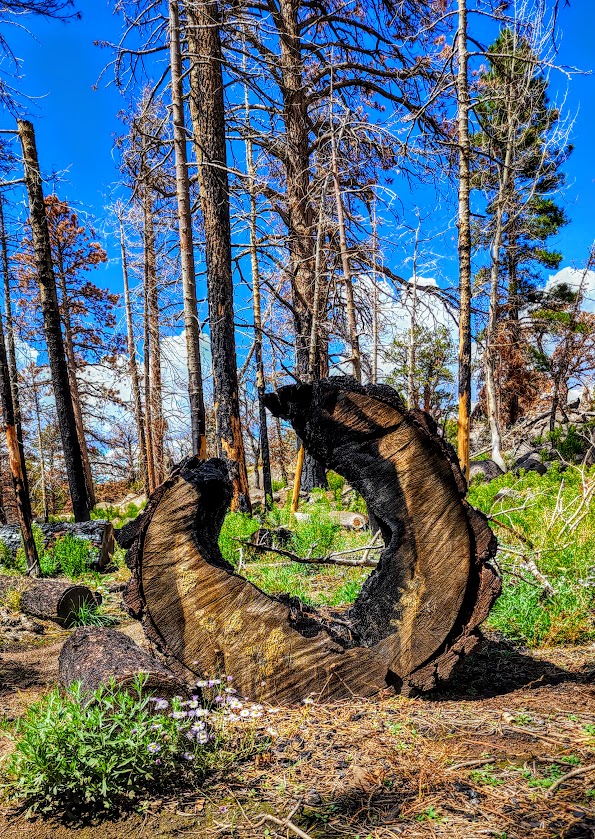
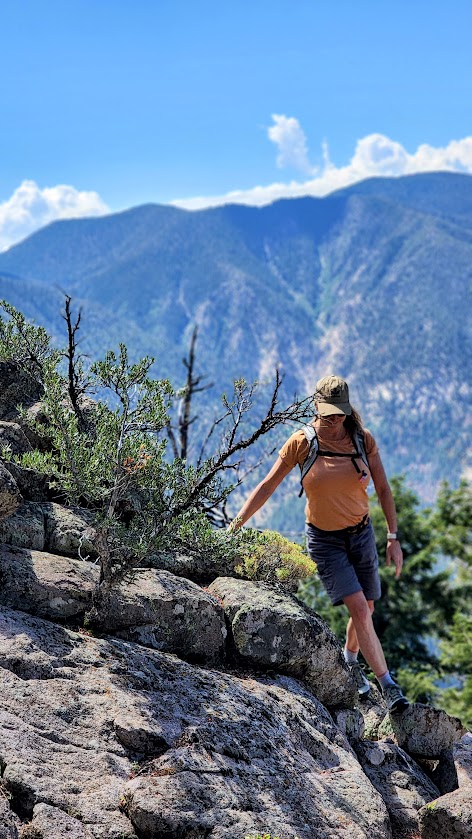
I found the Gardner Peak Trail in Pine Valley quite grand. Indeed, it may be my new favorite Pine Valley hike. The Gardner Peak Trail delivers on several levels—it’s varied and interesting all the way to the top. It’s a steady, but fairly gentle climb (2k) through forest, through nature’s rock gardens, through a meadow, (and a recent burn area), and on up to a couple of peaks—2 rocky and the one, eponymous, taller tree-lined Gardner. Pick a peak, any peak, and play. Plenty of grippy, rock scrambling opportunities. The panoramic views are a delightful reward as well. The trail is easy to follow and trail run-able until you get to mile 3. After that, all bets are off. It quickly becomes a route-finding (or create your own route) obstacle -course challenge through deadfall, boulders, scratchy shrubs, and more. If you don’t have a Garmin or All Trails, you might settle for the beautiful “false peak” rock outcropping with panoramic views a I did my first time through.
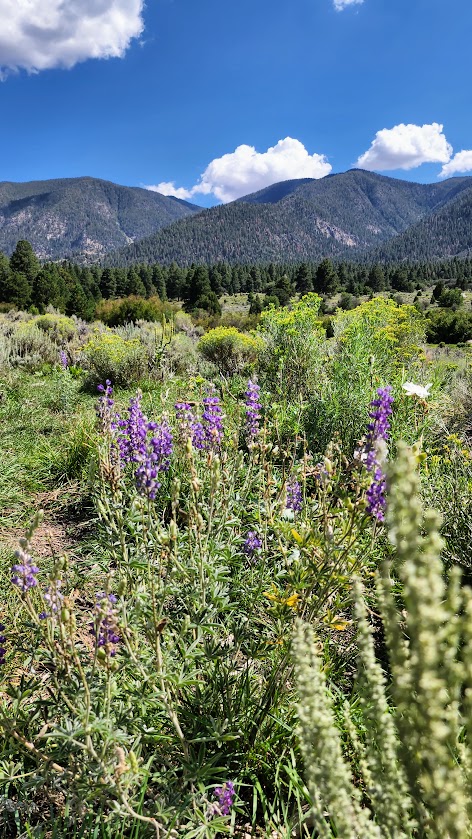
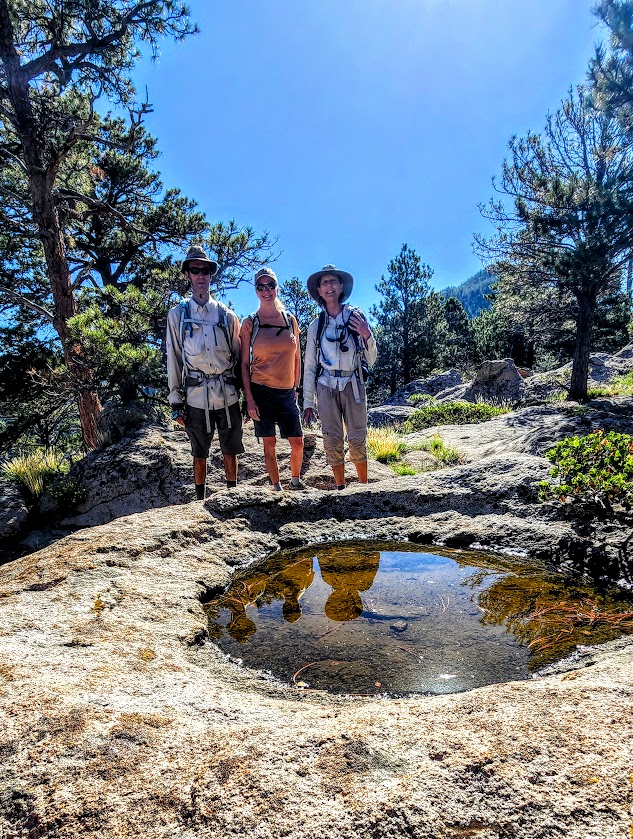
Second time is a charm of sorts. Went back to find the “real peak” —this time with my friend and extraordinary explorumentary blogger, Sue Birnbaum and her husband, who were nice enough to guide me and my friend Robin to Gardner Peak. It’s another mile or so from the false peak and about 800 feet higher. It involves some serious scrambling, deadfall and boulder obstacle course maneuvering, and some fancy footwork. Fun times for sure. (No major exposure or technical areas per se.) Would I do it again? Not so sure. There aren’t any panoramic views from the peak so when I do the hike next, I’ll be shooting for my preferred false peak – see slide show above. I did sign in to make the peak bag official. Interestingly enough, we came across another sign in “station”—one with rock mound around a encapsulated plastic container of old loose pages- – the other with an intact notebook. So I guess that makes 2 false peaks-lol. The next slide show is from my Gardner Peak take 2 . Extra bonus—lots of wildflowers from the recent rains and little Zen streams along the way. Nice to see the area green and thriving after the past fire.
Notes: If you’re going to the peak, I suggest using a GPS or the AllTrails app. Also, be sure to check out Sue’s blog for more detailed notes on this hike. Your feet and ankles might be happier in hiking boots. If you’re peak-bound, pants are recommended to spare the skin on your legs from scratches, scars, and impalement from errant branches, rocks, foreign objects – you get the idea. Mine looked like I had a brawl with a mountain lion and it won. If you have tender knees, a pole or 2 might come in handy on the descent. Dogs & horses are allowed.
At about .75 the Gardner Peak trail connects with the Canal Trail, which is both run-able and mountain bike-able.
Difficulty: First and last 1.7 miles is on flat pavement–easy. After that–hard, due to icy water immersion (from ankle deep to hip deep) and treacherous footing over slippery rocks. Water is so murky that you must use your hiking stick / poles every step of the way.
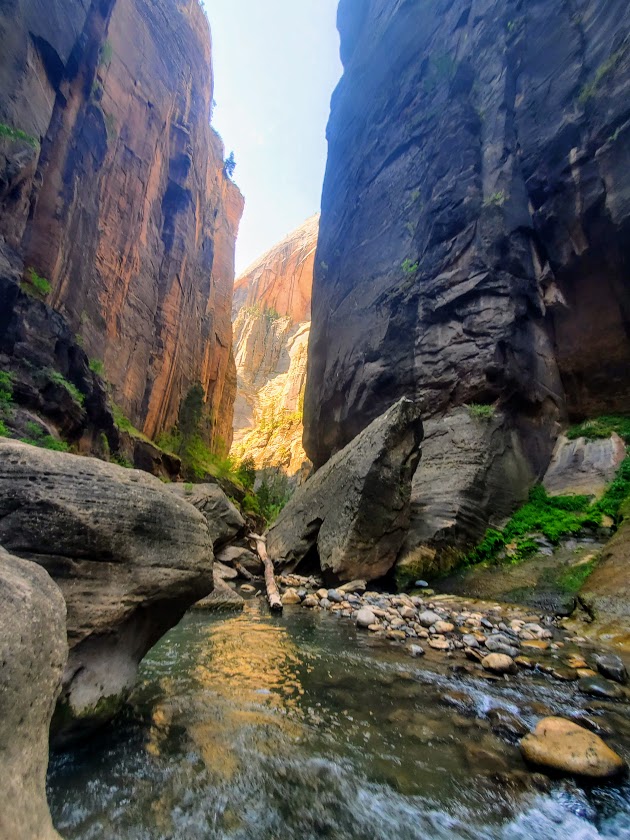
Fortunately, my friend and I were of the first few to step our feet into the icy waters of the Narrows that morning so we were able to soak in its beauty in solitude. Unfortunately, on the way back, the multitudes had arrived—unruly mobs descending on a magnificent citadel destroying all vestiges of a nature’s magnificence.
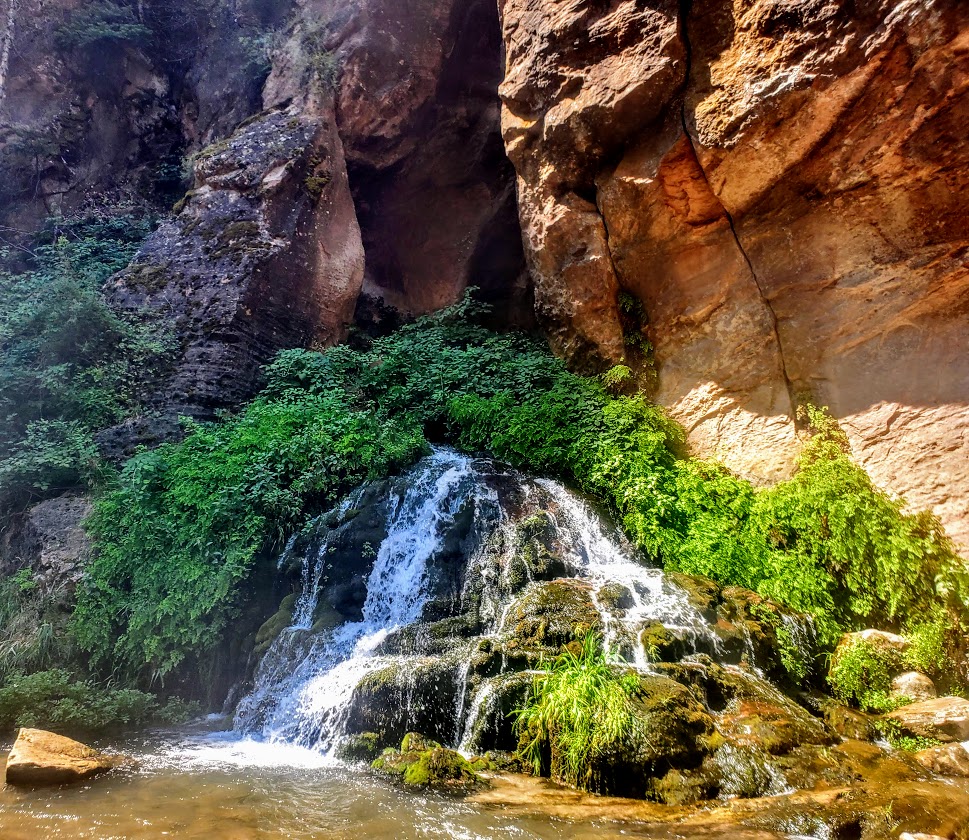
The waterfall in the feature picture above is the official turning around point for the Narrows. If you wish to add on a nice side trip on the way there, on the way back, or as an alternative, check out Orderville Canyon. It’s the right fork at about the 2.5 mile mark. It’s much greener, and in my opinion, prettier than the Narrows itself. Unfortunately, my bettery dies so I wasn’t able to take any pictures there. Guess, I’ll have to return. Orderville Canyon is also a bit less traveled, which in my book, is always a win
Yes, the Narrows is cool, but in my opinion, over-hyped. I’m so fortunate to be discovering so many equally or more beautiful, less-populated spots all over Utah. Zion National Park’s inability and/ or unwillingness to minimize crowds is discouraging and certainly offputting.
There is a 17-mile top-down challenging route that requires canyoneering and some swimming, likely it rules out the masses, but there’s no avoiding them for your final 5 miles when you’re most likely to be a bit hangry anyway… I’ll let you know if and when
Soapbox: In my opinion, ZNP needs to permit this hike ASAP to preserve the area from the irreversible impact of the HORDS of HUMANS and enhance visitor experience. They do it for the Subway and it works well. Never felt overwhelmed there, but the Narrows felt like being in a city subway. Perhaps they should flip the names.
Notes: Water temperature ranges from 40 to 60 degrees. In the fall, winter and spring, dry gear is recommended. (My first time was inMarch and I froze. Came back in July and was fine in shorts.) Rent info: https://www.zionguru.com/narrows-rental-equipment Hiking sticks/poles are a necessity. Go early to avoid the crowds as much as possible.
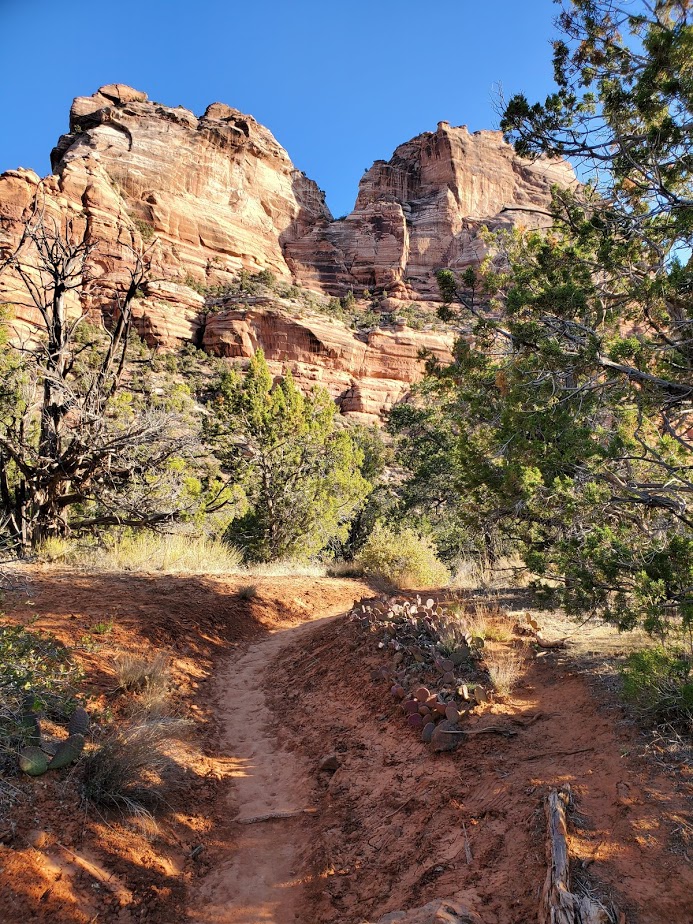
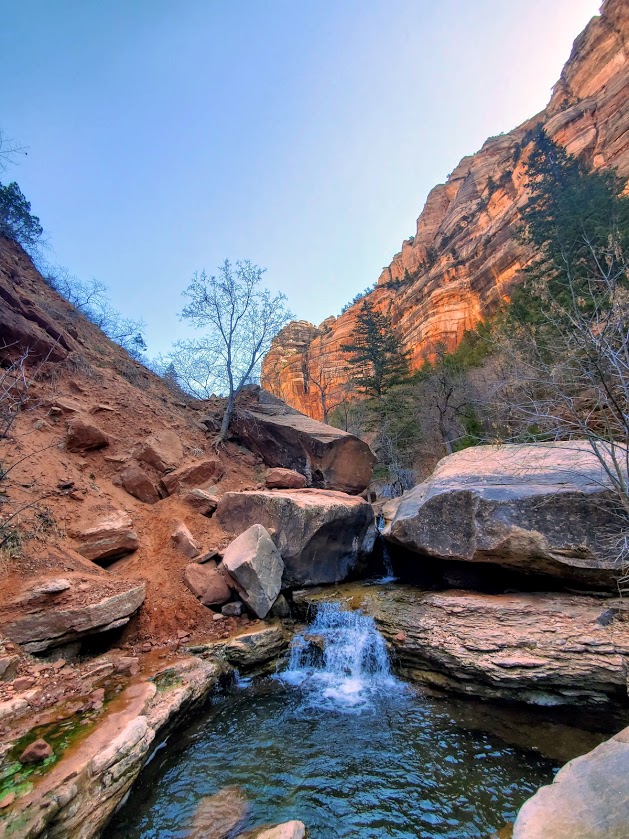
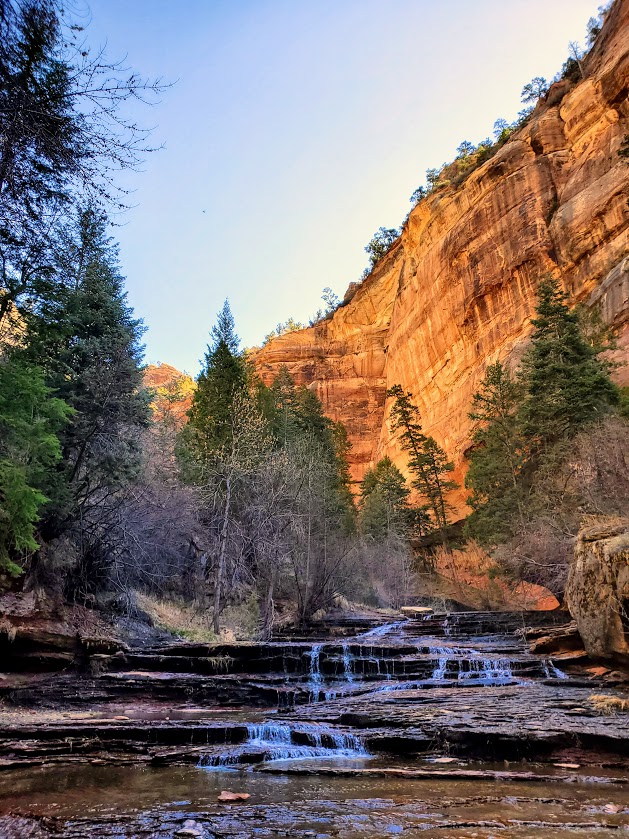
Difficulty: Moderate, depending upon your fitness level. (Zion National Park’s rating is strenuous.) Steep and exposed initial descent and return ascent, otherwise fairly mellow trail with lots of stream crossings / stream walking, some rock-hopping, and minor scrambles over boulders. (Good idea to have some longer hikes with some elevation challenge under your belt before attempting.) Since footing can be precarious at times, especially at the Subway itself, but also along the way, expect the hike to take longer than mileage would indicate. Also, you’ll want to take the time to savor the beauty that surrounds you. Average hike times range from 5 to 9 hours.
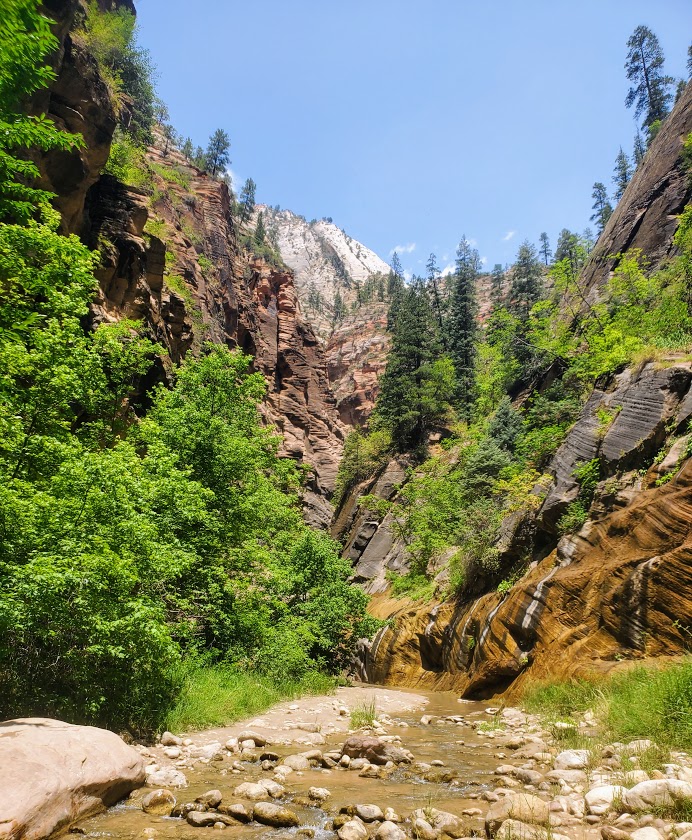
Definitely one of my favorite Utah hikes so far—epic scenery, waterfalls, the magnificent, iconic beauty of the Subway, and a solid workout.
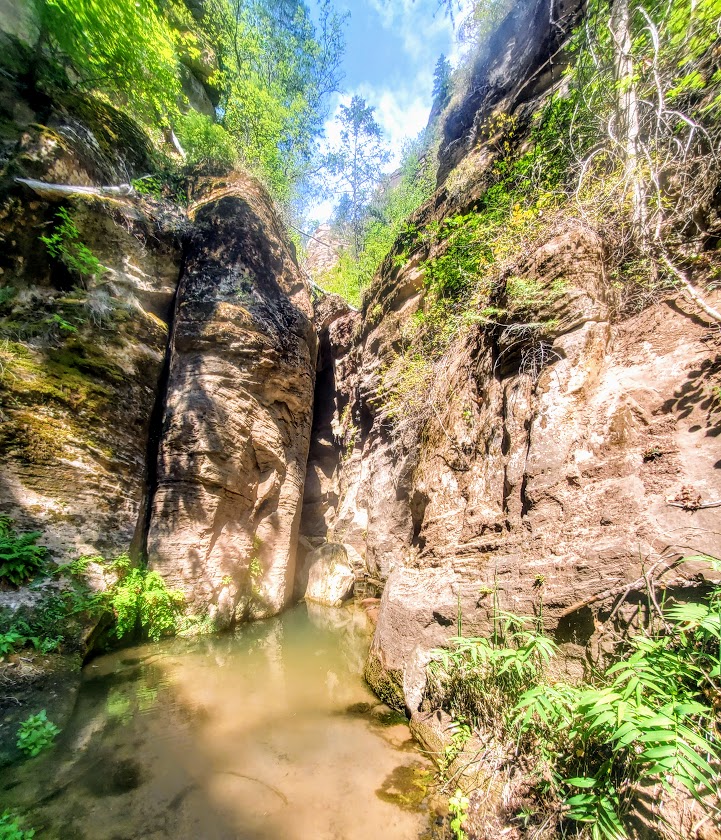
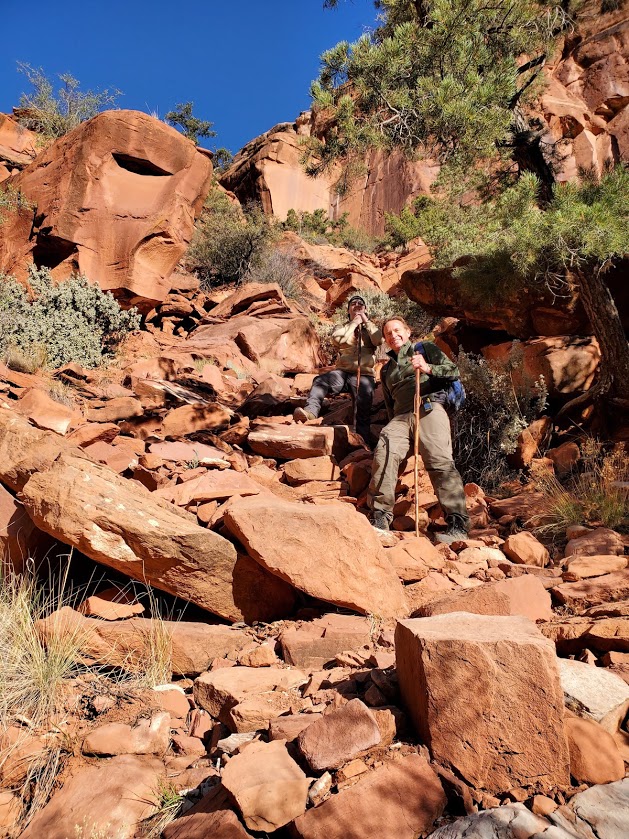
More than 1 of us accidently took the wrong “trail” down. Not sure how that happened – maybe it was too early in the morning, and too much excitement. If it looks and feels like you’re navigating down a precipitous, vertical avalanche area —retrace your steps back to the trail and continue on. While the descent and ascent are steep, they are on a definite trail.
The hike description noted a strenuous and steep descent / ascent so we didn’t think we’d gone astray until we found the real trail (pic on right) on the way back.
Apparently, there are some dinosaur tracks just off the “trail” somewhere – their whereabouts remain a mystery to me. I’ll let you know if I find them on my next trip.
Keep your eyes out for snakes, toads, and trout.
And yes, there’s also a top-down route to the Subway that requires canyoneering, rappelling, and swimming. It may be in my future—will report back, if and when.
Heads-up:
Walking stick with a solid rubber end and grippy shoes highly recommended. (You’ll be traversing many slippery rock sections through the stream and at the subway itself. Be cautious – safe is better than sorry. Many helicopter rescues occur here. Don’t be one of them.)
Be aware of flash flood danger and heat exhaustion exposure. Get the weather report and double-check with rangers. I went in April and it was 90 degrees by midday—some fellow had heat stroke on the trail. (Bring plenty of water, a hat, and sunscreen.)
This is a day use only area and permits are required. An advance lottery system applies from April to October and calendar reservation applies from November through March. There is also a last-minute drawing and you can always check for cancelations day of—unlikely, but we met a couple who nailed both a same day cancellation opening for the hike and a campsite so you never know. (Permits are $15 for 2, $20 for up to 7, and $25 for up to 12 people.) Lottery, reservation, and permit details here.
Good luck – it’s soooooooo worth it!
Getting there: Left Fork Trailhead on Kolob Terrace Road